
Calling all budding artists! Are your kids eager to learn how to draw a butterfly easily? Look no further, because we have a fun and easy guide just for them! In this step-by-step tutorial, we’ll take your little ones on a creative adventure where they’ll discover the magic of drawing their very own butterflies. With clear instructions and simple techniques, children of all ages can easily master this beautiful art form. So grab some paper and crayons, and let’s unleash their imagination as we learn how to draw a magnificent butterfly together! Get ready for a delightful journey into the world of art and watch their confidence soar as their butterfly creations take flight. Let’s dive in and draw some fluttering masterpieces!
Follow the steps below to learn how to draw and colour a vibrant Butterfly easily for kids.
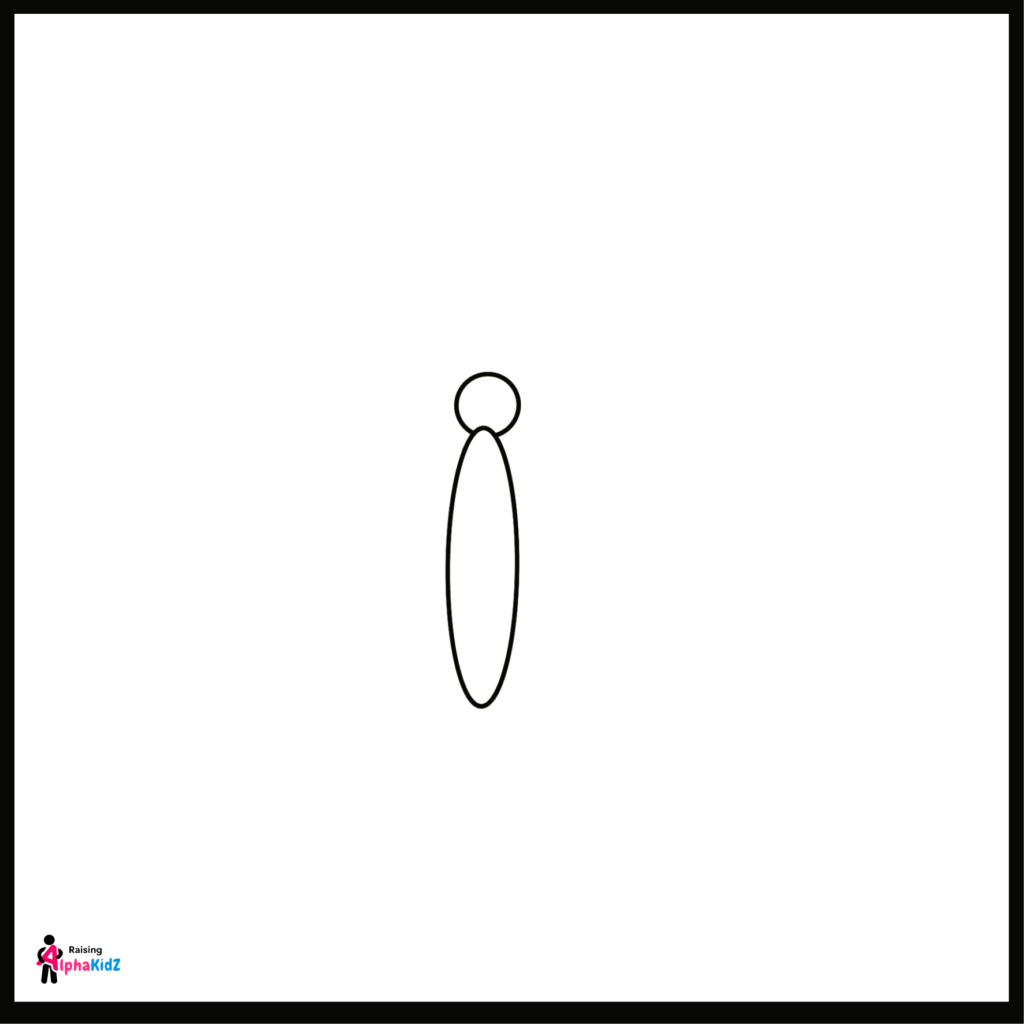
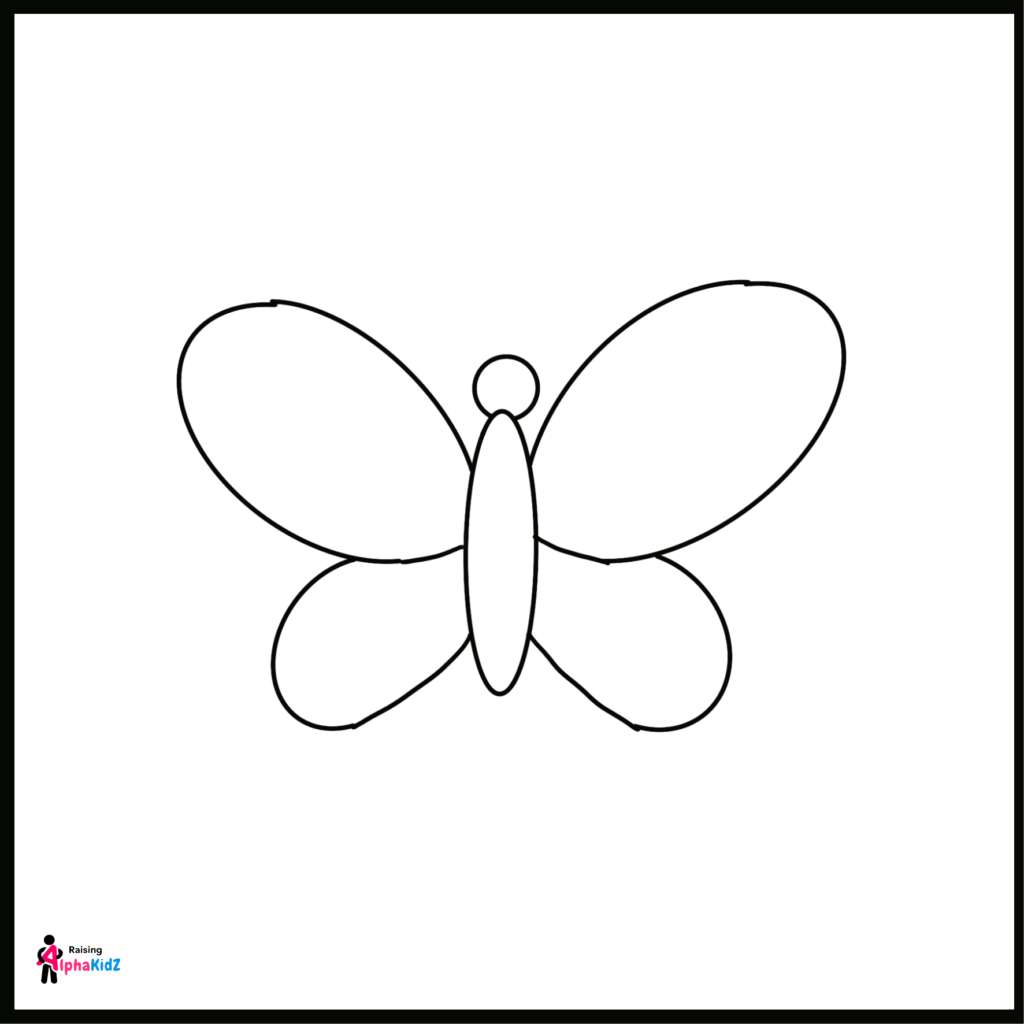
Step 1:
Start by drawing a small oval shape in the center of your paper. This will be the butterfly’s body. Make the oval slightly elongated and draw a circle at the tip of the oval.
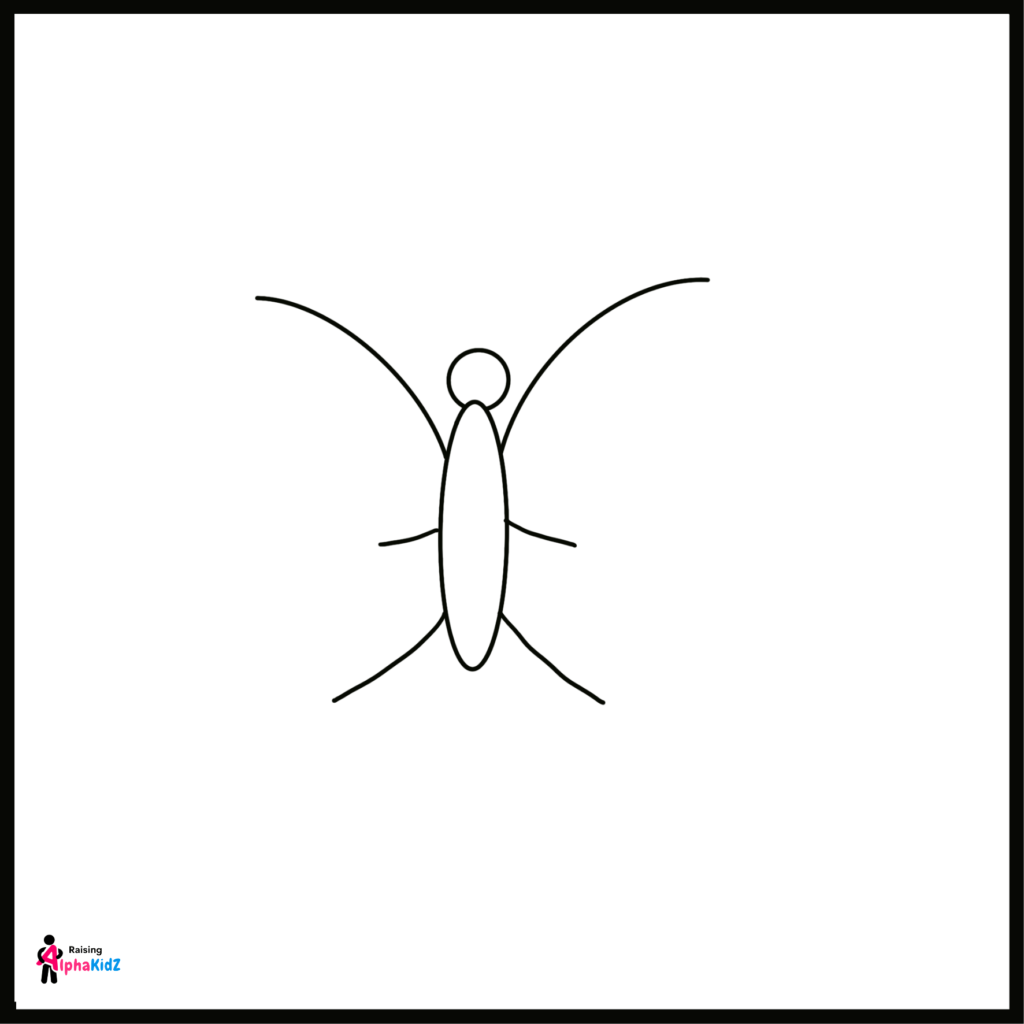
Step 2:
From the top and bottom of the oval, draw two long, slightly curved lines that extend outward. These will be the upper and lower wings of the butterfly. Similarly, draw a small curved line at the centre of your oval.
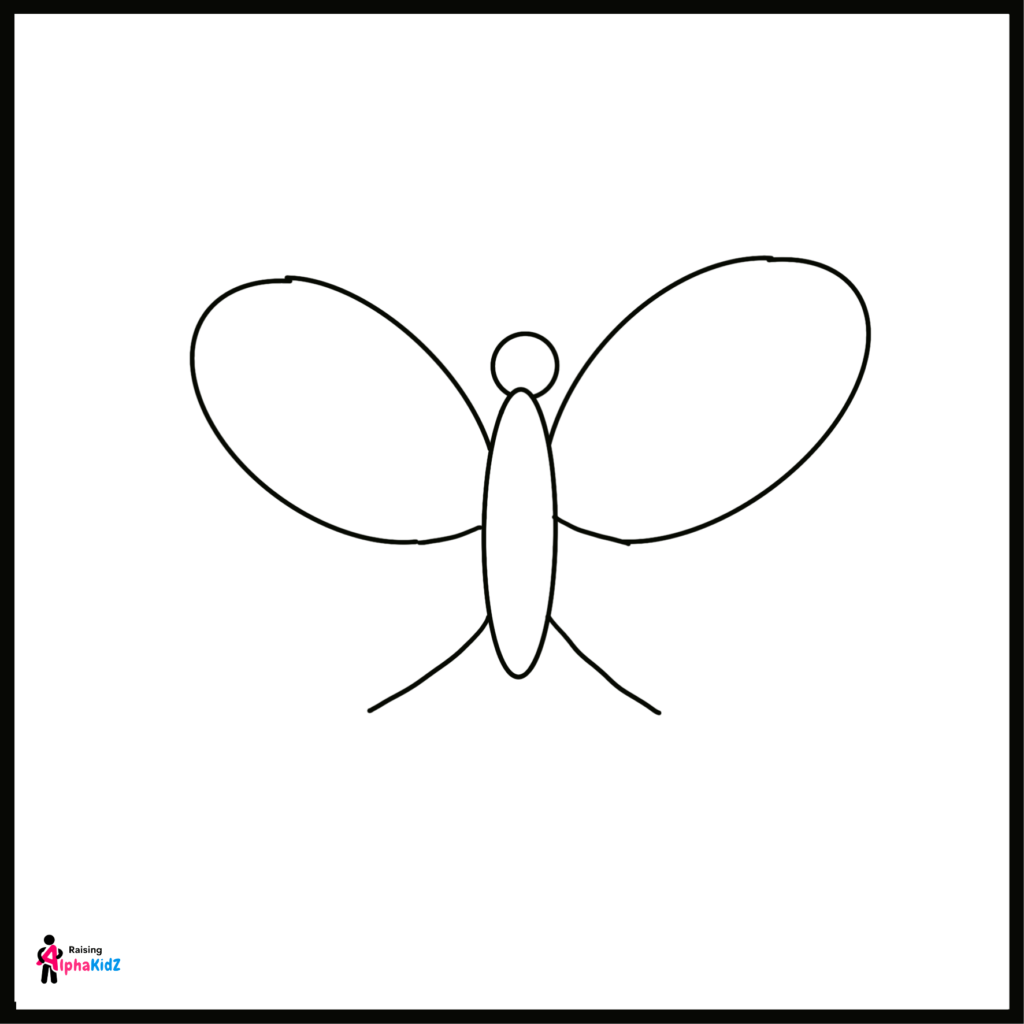
Step 3:
To create the upper wings, draw two large, curved lines that connects the curved line from the top of the oval body and extend outwards and upwards. These lines should curve gently and meet at a centre line in the body.
Step 4:
Repeat the same for the lower wings, but this time draw the curved lines downwards, meeting at a point below the body. The wings should be symmetrical.
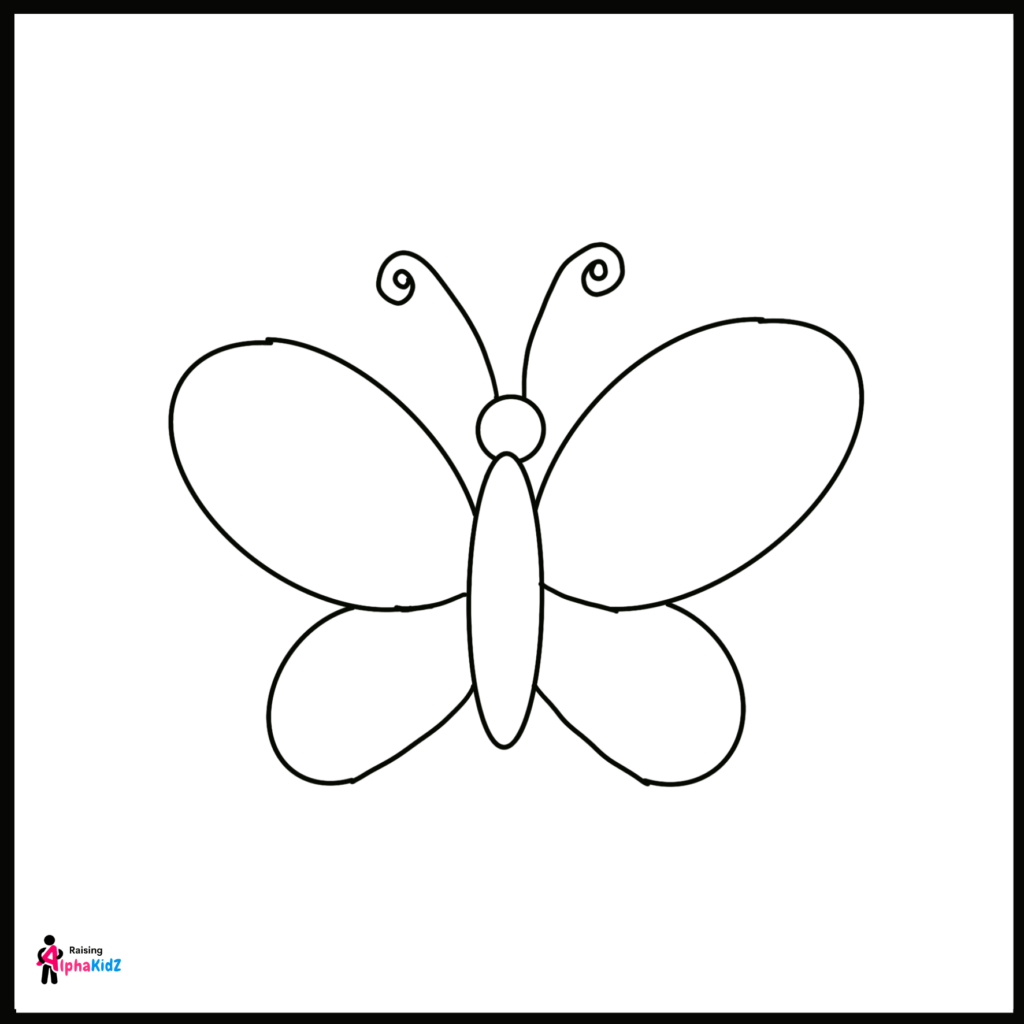
Step 5: Let’s draw the butterfly’s antennae. From the top of the oval body, draw two long, curved lines that extend upwards. These lines should be thin and slightly curved. At the end of each line, add a small oval shape to represent the tips of the antennae.
Step 6:
Now, let’s add some details to the body. Draw series of curved lines inside the oval shaped body of the butterfly. To draw the eyespot, draw two curved lines inside the circle at the tip of oval.
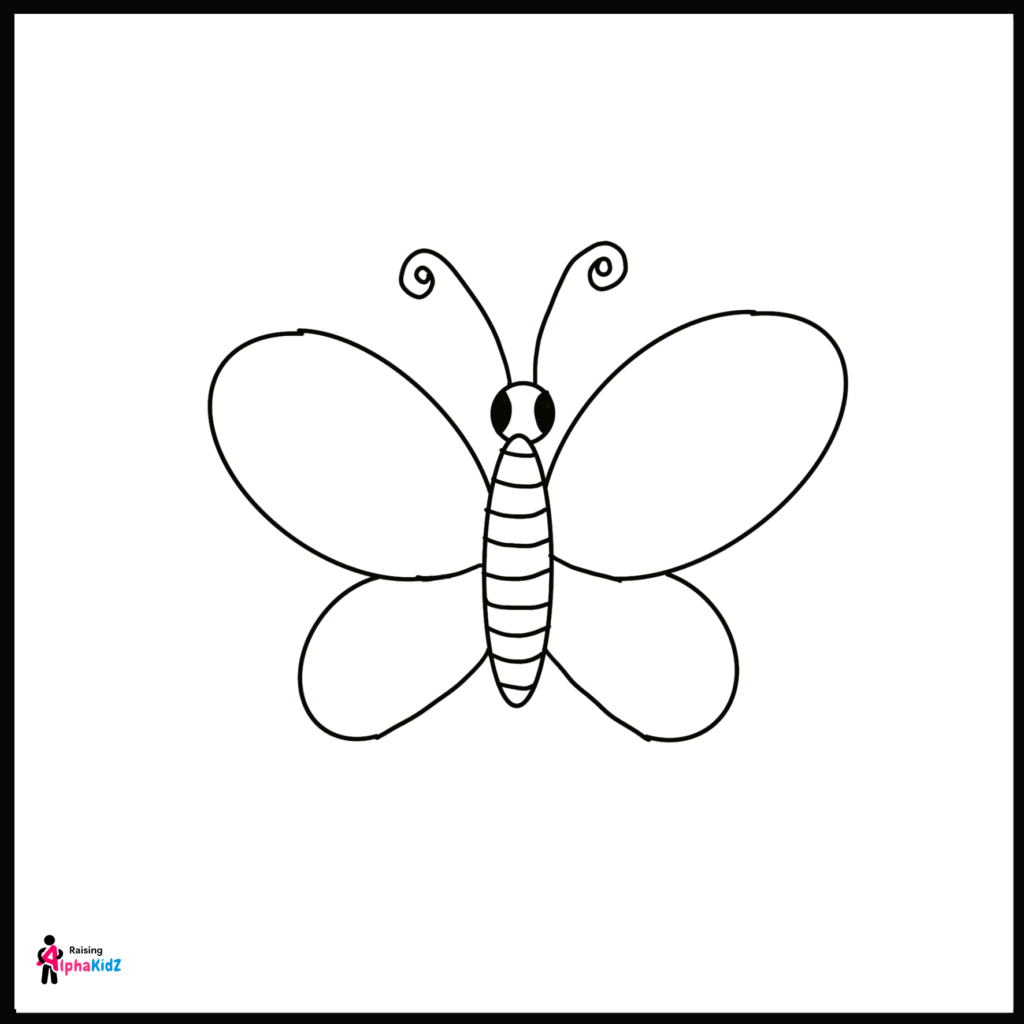
Step 7:
Now, it’s time to give the butterfly some patterns! Use your imagination and draw various shapes and patterns on the wings. Butterflies have endless possibilities when it comes to patterns, so feel free to get creative. You can draw circles, ovals, stripes, dots, or any other designs you like. Experiment with different shapes and sizes to make your butterfly unique.
Step 8:
Once you’re happy with the patterns, go over the pencil lines with a marker or pen. This will make your butterfly drawing bold and crisp. Erase any unnecessary pencil lines to clean up the drawing and make it look polished.
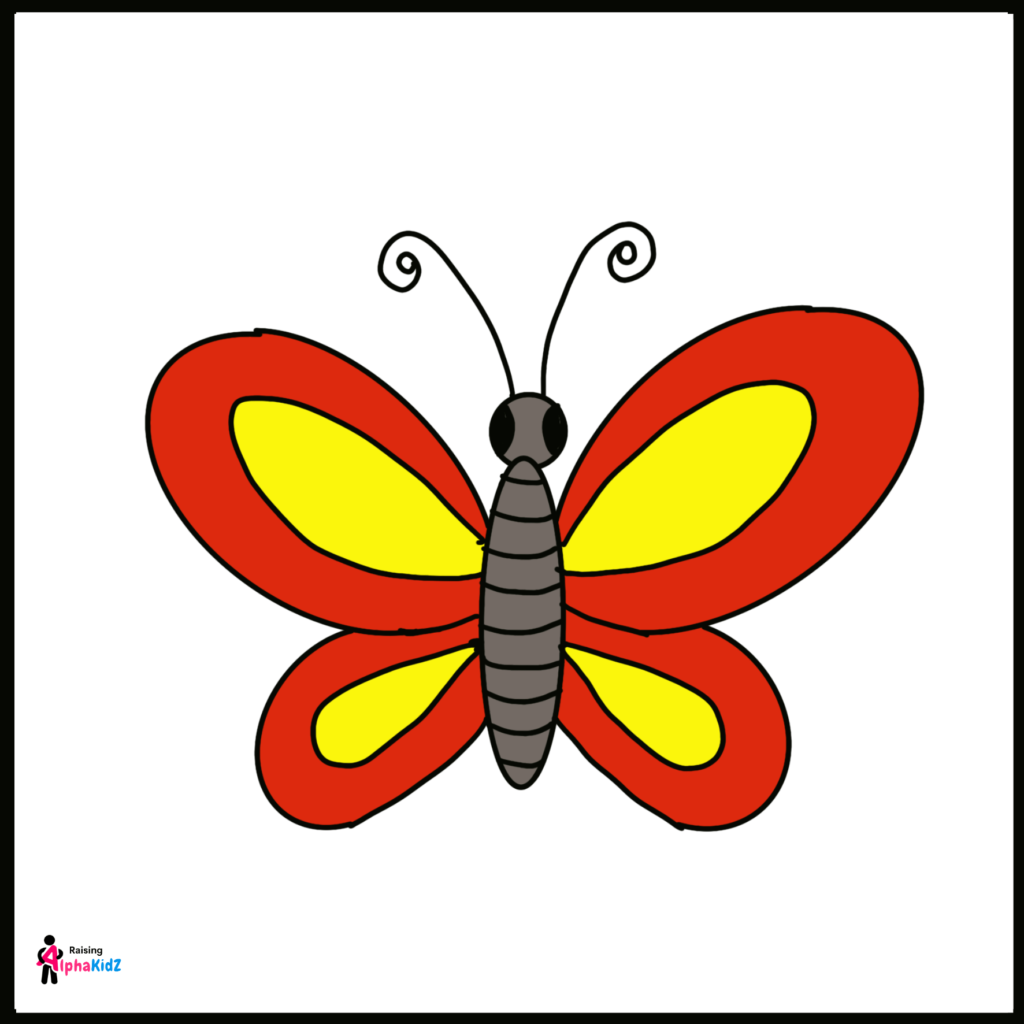
Step 9:
Finally, it’s time to bring your butterfly to life with colors! Know that Butterflies come in a wide range of colors, so feel free to use your favorite hues. You can use crayons, colored pencils, or markers to color in the wings and body. Experiment with different combinations and make your butterfly as vibrant as you’d like. You can also try blending different colors to create a gradient effect on the wings.

Also Remember, there’s no right or wrong way to color your butterfly. Let your creativity soar and have fun throughout the process. Enjoy the joy of creating your own beautiful butterfly!