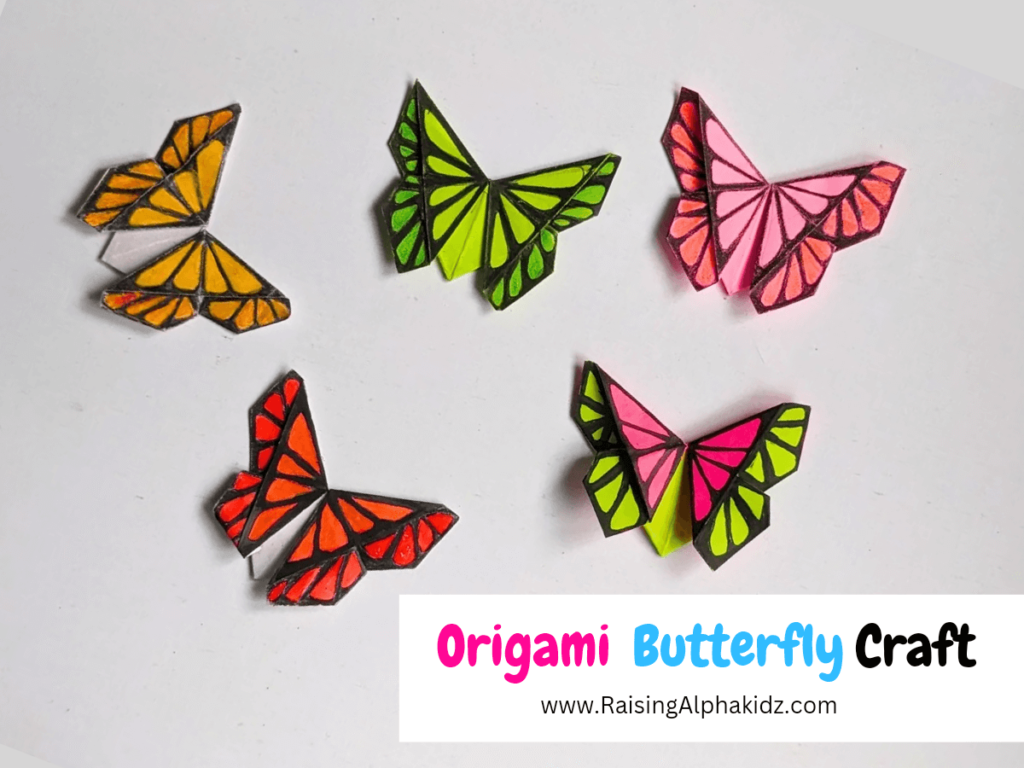
Origami Paper Butterfly Craft for Kids
Crafting paper butterflies is a fun and easy activity for kids. Follow the steps below to create your own beautiful origami paper butterfly craft.
Craft Essentials
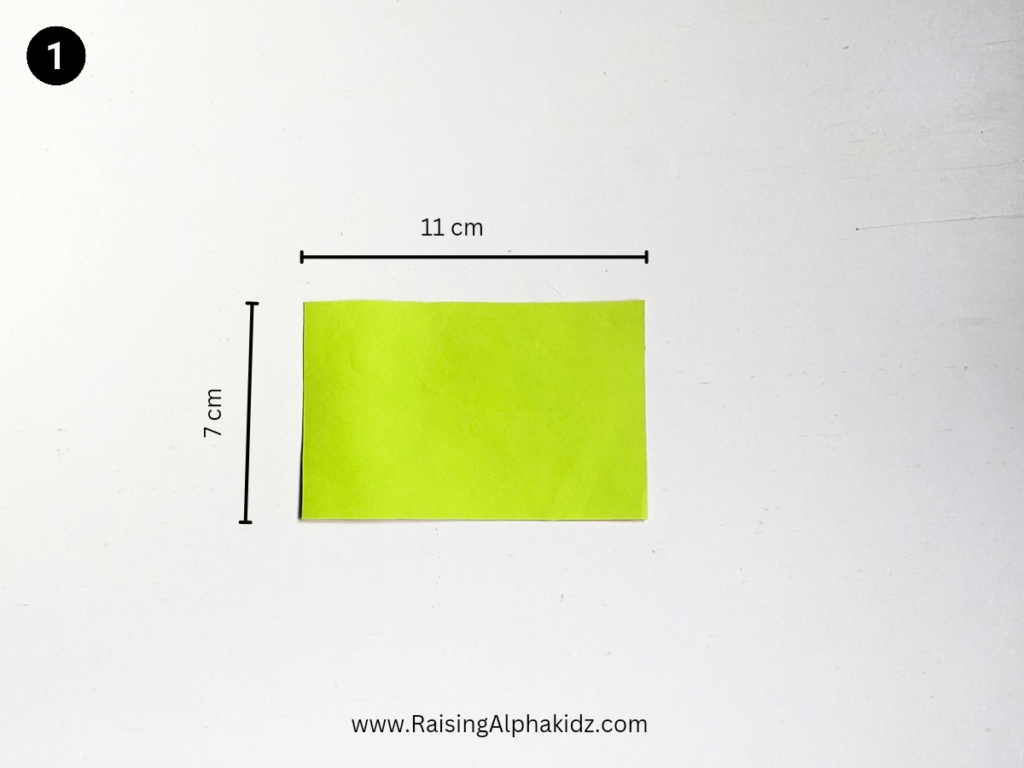
- Color sheet (length 11cm * width 7cm)
- Scissors
- Markers or colored pencils (for decoration)
How to Make Origami Paper Butterfly Craft
1). Cut the Color Sheet: Start by taking a color sheet of length 11cm and width 7cm.
2). Fold in Half (Lengthwise): Fold the sheet in half along the length (11cm side).
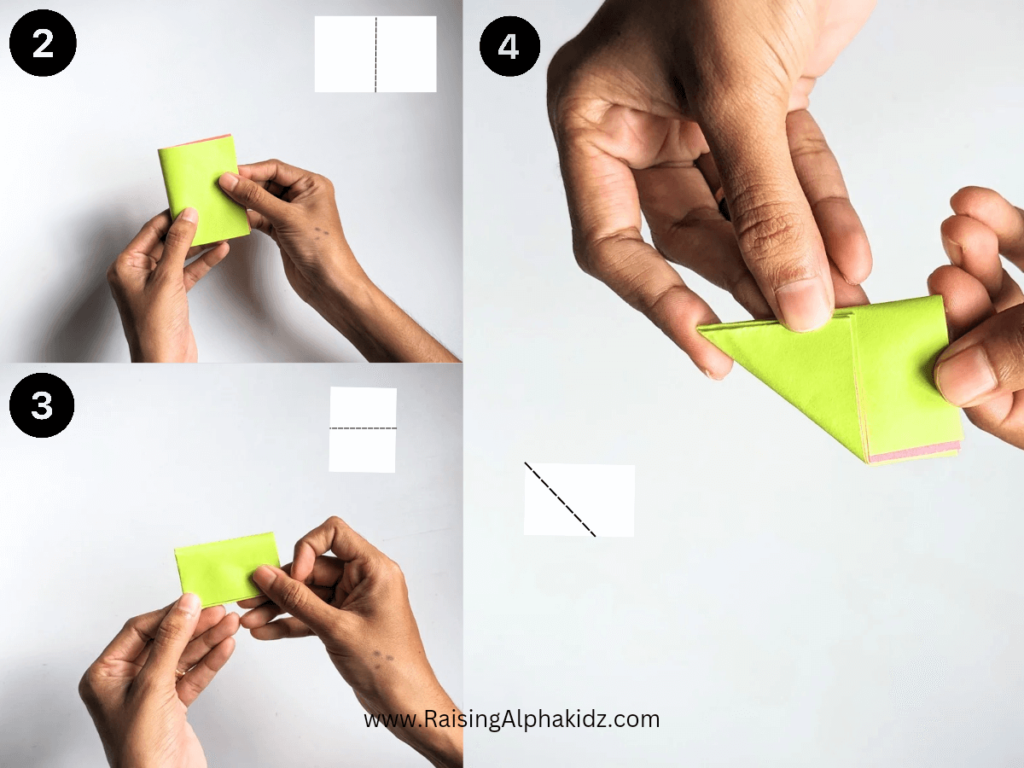
3). Fold Again: Fold the sheet in half once more, creating a smaller rectangle.
4). Diagonal Fold: Now fold the folded sheet diagonally, forming a triangle shape. (Refer to an image or figure for guidance.)
5). Open the Fold: Open the sheet to see X-shaped fold impressions in the center.
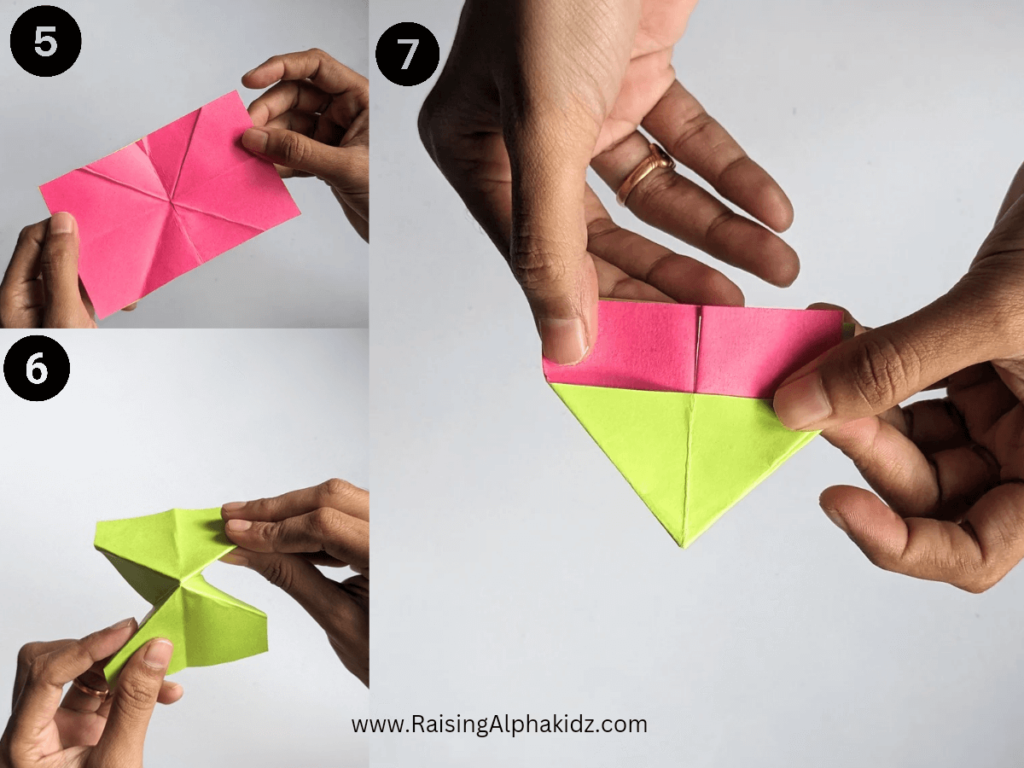
6). Follow the X Fold: Using the X-shaped impressions, fold the paper along the lines, forming a shape like an ‘X’.
7). Hut Shape: You will get a “hut-shaped” fold when following the creases.
8). Invert the Paper: Turn the hut-shaped paper upside down and fold the base of the hut as shown in the figure.
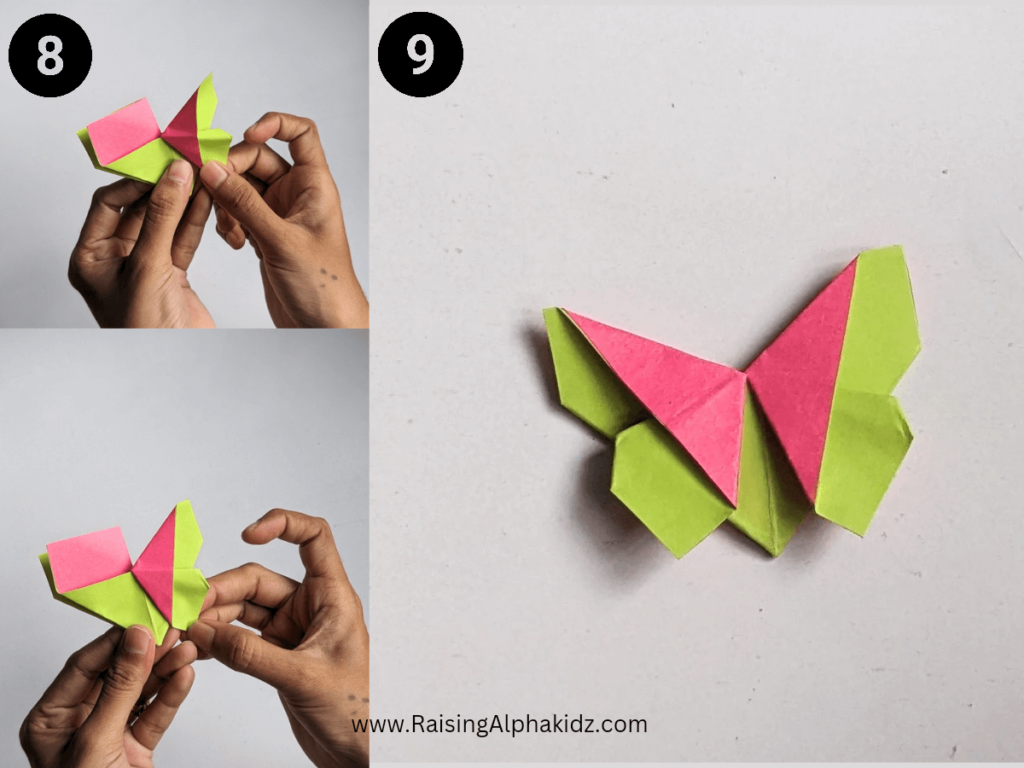
9). Repeat for the Other Side: Follow the same procedure on the other side. You’ll now have a beautiful paper butterfly!
10). Decorate: Use markers or colored pencils to draw patterns or designs on your butterfly’s wings.
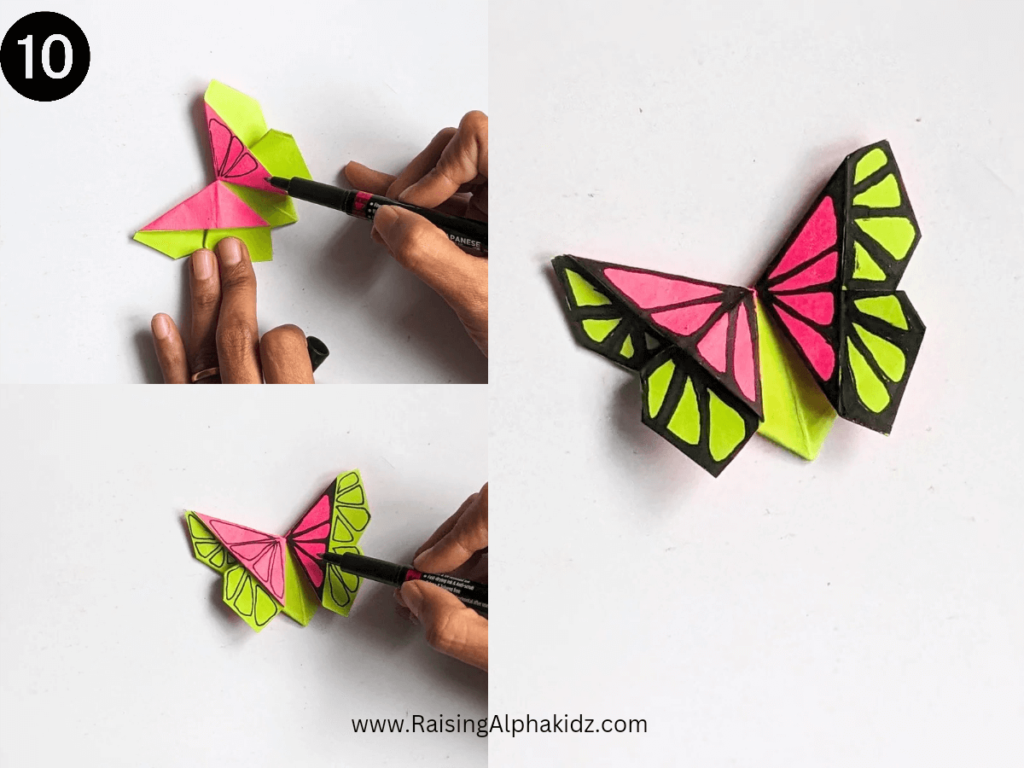
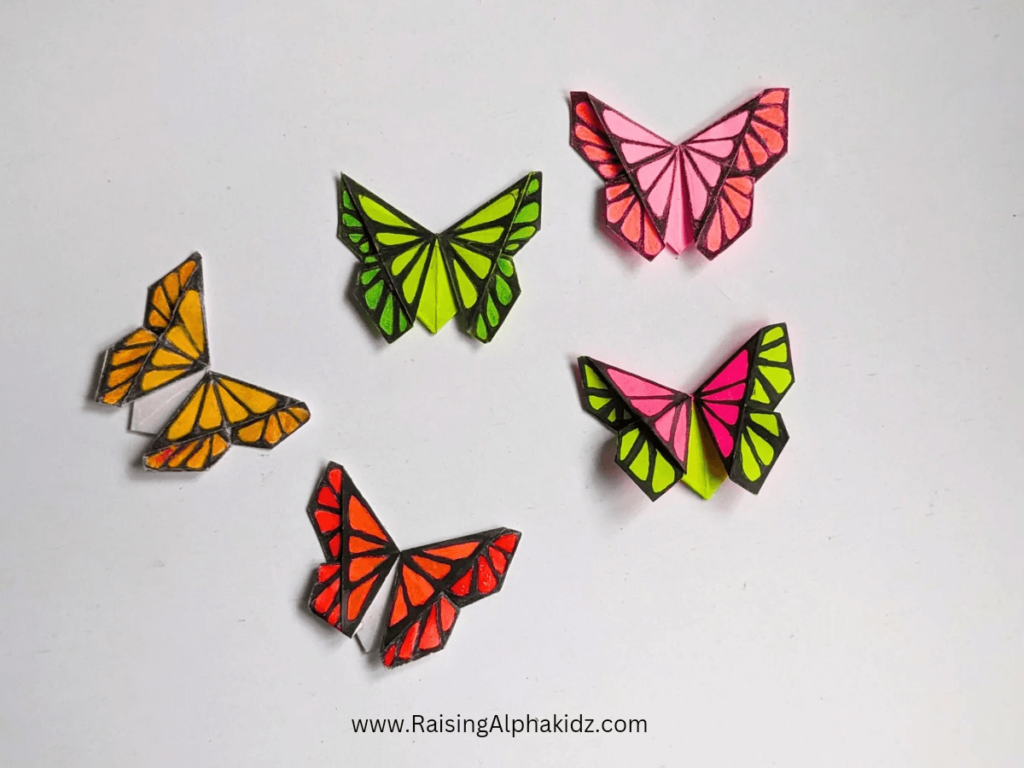
Use different colored origami sheets to craft butterflies in various color tones!
Did You Know? Fun Butterfly Facts:
There are over 17,000 species of butterflies worldwide. A butterfly’s wings are covered with tiny scales, which create the vibrant colors you see.
The life cycle of a butterfly has four stages: egg, larva (caterpillar), pupa (chrysalis), and adult butterfly.
Related: Download Butterfly Lifecycle Colouring Pages For Kids
Get creative and add your own touches to your butterfly! Feel free to make a whole garden of paper butterflies to decorate your room.

