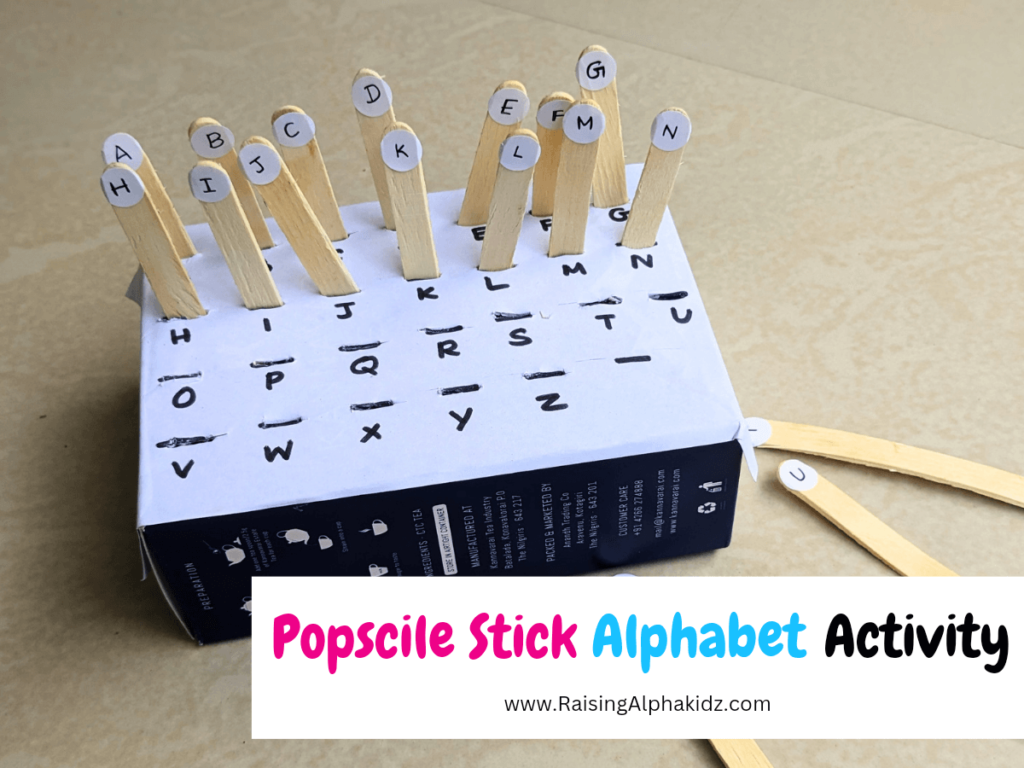
Welcome to our creative corner where learning meets fun! Today, we’re excited to share a delightful DIY project: Popscile Stick Alphabets Activity. With just a few craft essentials and a dash of imagination, you can create an interactive learning experience for your little ones.
Crafts Essentials:
- Cardboard box
- Paper
- Sketch pen
- Popsicle sticks
- Glue stick
- Knife cutter
How to Make Popscile Stick Alphabets Activity
Prepare the Sheet:
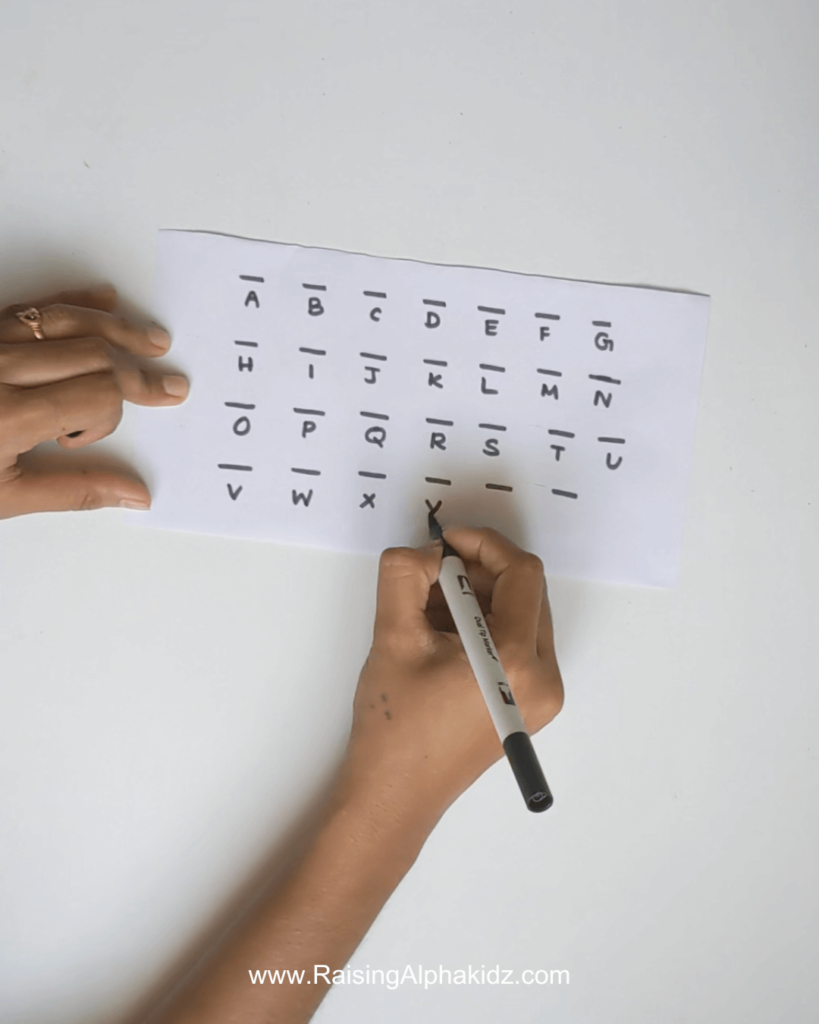
Start by drawing 26 dashed lines on a piece of paper. Beneath each dash, neatly write the alphabets from A to Z.
Stick it on Cardboard:
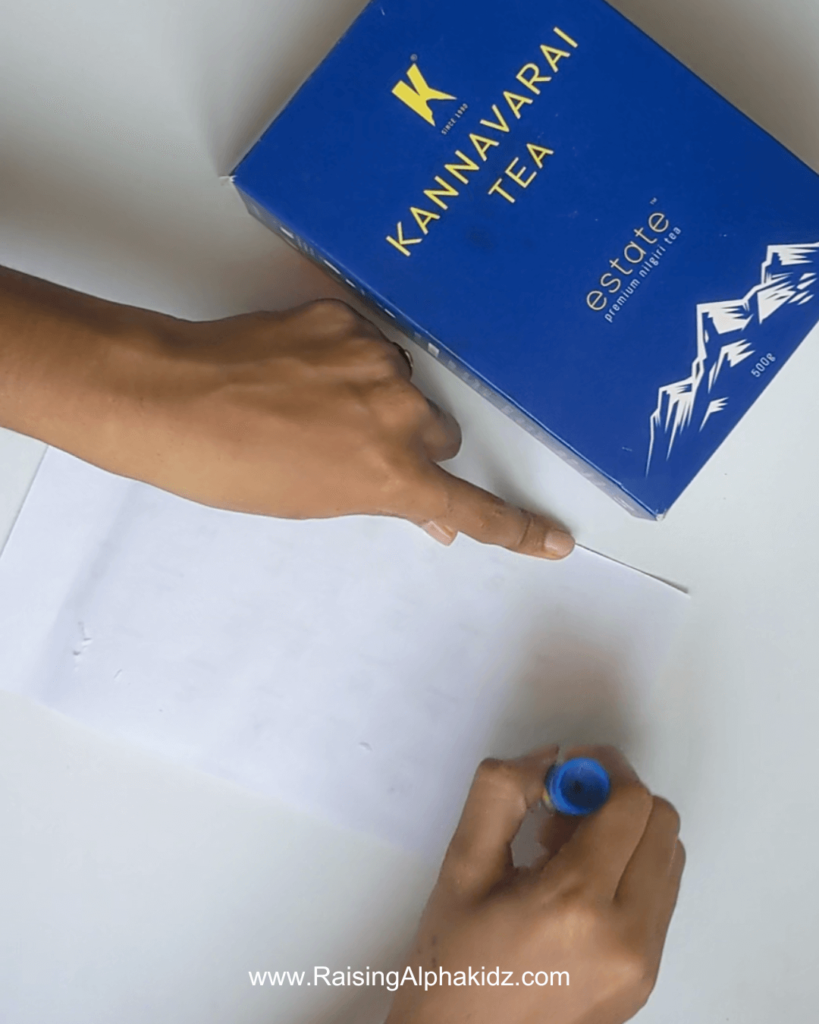
Take a glue stick and apply glue to the backside of the paper with the alphabets. Carefully paste it onto the cardboard box, ensuring it’s centered and secure.
Creating Slit Holes:
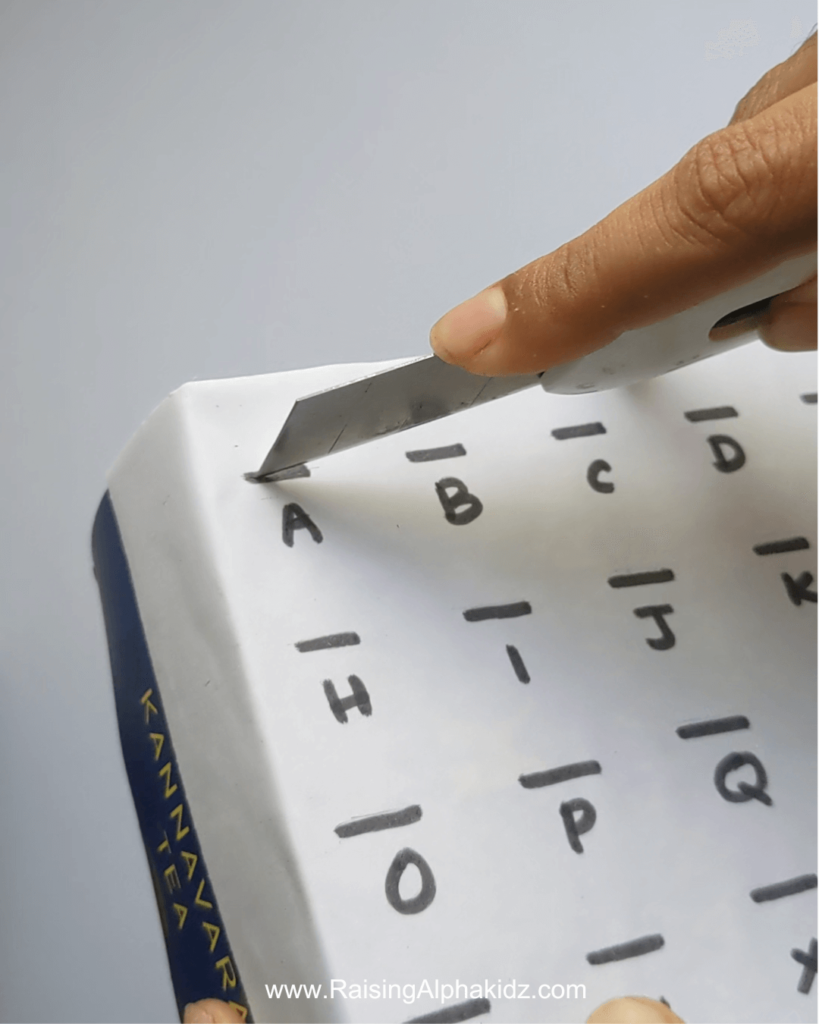
Using a knife cutter, carefully make small slit holes over the dashed lines near each alphabet. Take your time to ensure the cuts are clean and precise, allowing for easy insertion of the Popsicle sticks.
Preparing Sticker Dots:
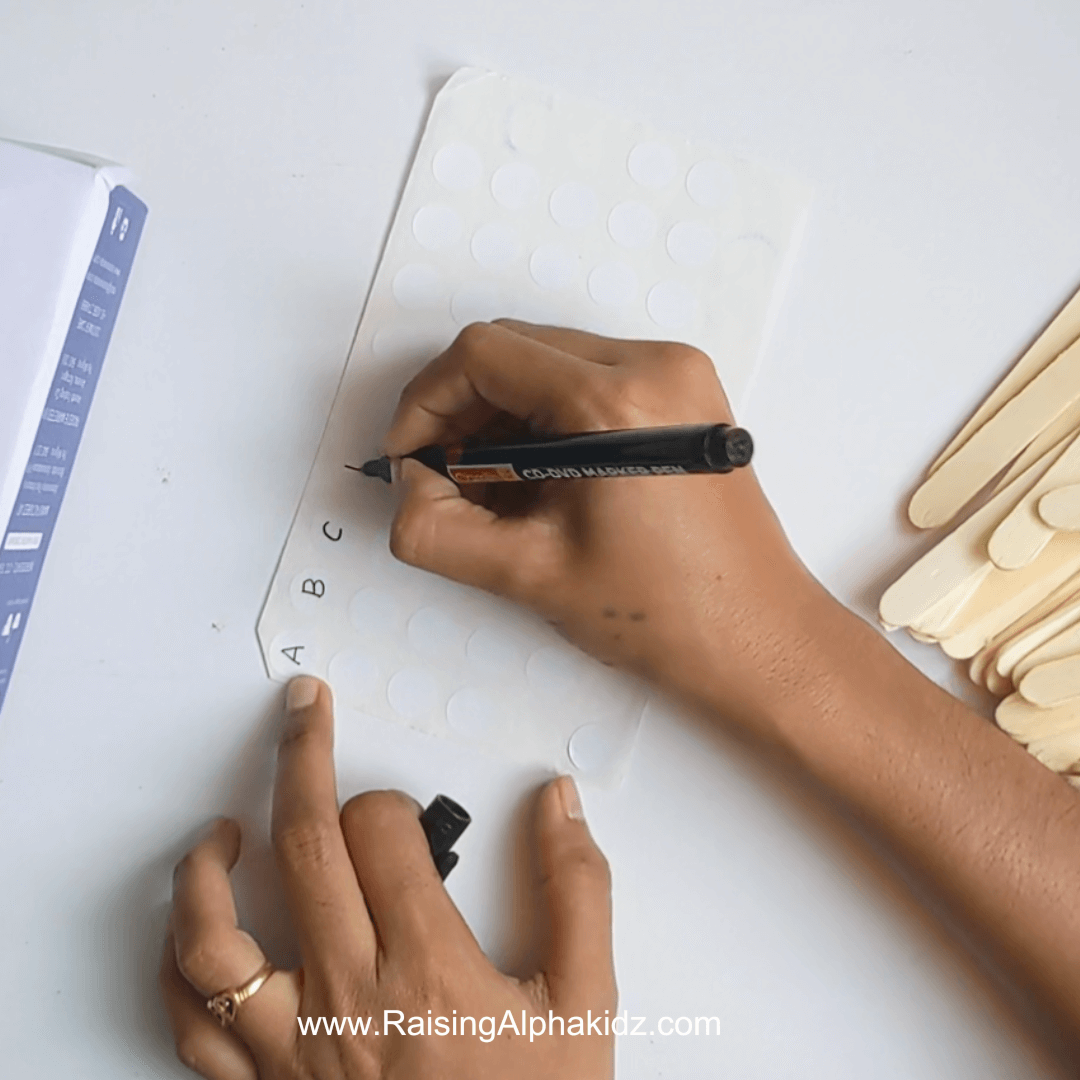
Now, it’s time to create the alphabet stickers. Write the letters A to Z on sticker dots using a sketch pen/ Marker pen. Make sure the letters are clear and legible for easy identification.
Attaching Stickers to Popsicle Sticks:
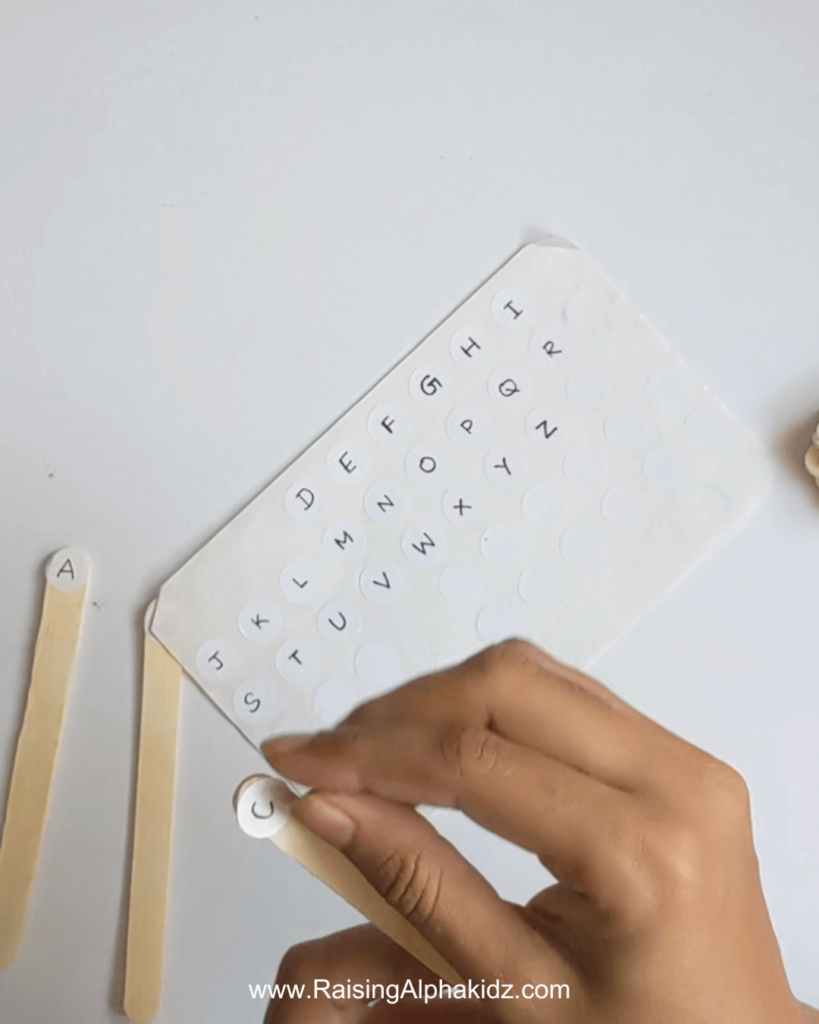
Take the Popsicle sticks and carefully stick the alphabet stickers to the edge of each stick. Ensure the stickers are securely fastened to avoid any peeling during playtime.
6. Assembling the Activity:
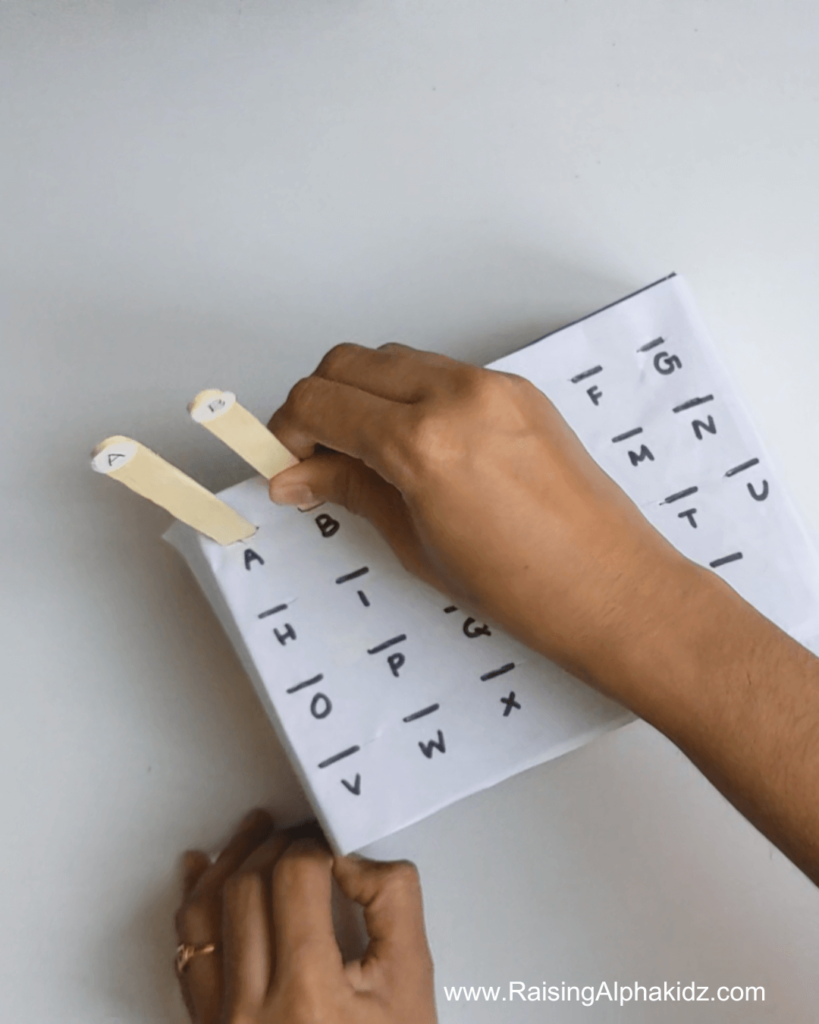
Once all the stickers are attached, insert the Popsicle sticks into the slit holes on the cardboard box to make the slit more flexible during the play.
Our DIY Popsicle Stick Alphabet Activity is now complete and ready for hours of educational fun!
How to Play
- To start a okay, offer the Popsicle sticks to your little one along with the cardboard alphabets box.
- Ask your child to identify the alphabetical letters written on the box, one letter at a time.
- Then, guide them to find and insert the particular alphabet from a mix of Popsicle sticks.
- Make the activity more advanced by writing small alphabetical letters on the sticker dots and asking your child to identify the lowercase versions of the uppercase alphabet written on the cardboard box.
- You can also get more creative by incorporating color matching, number and picture matching, and more with this same activity type.
Advantages:
- Enhances letter recognition and fine motor skills.
- Promotes cognitive development through interactive learning.
More Popscile Stick Activities With FREE Printable
1) DIY Popscile Stick Puzzle With FREE Printable.
2) 7 Exciting POPSCILE STICK Activities For Kids With FREE Printable.
More Alphabet Activities With FREE Printable
Feed The Monster: ALPHABETS ACTIVITY For kids
With a little creativity and some basic craft supplies, we’ve crafted a valuable educational tool that promises hours of fun and learning for your little ones. We’d love to hear about your experience with this DIY project! Did your kids enjoy the activity? Did you discover any creative twists or variations to make it even more exciting? Share your thoughts and insights in the comments below.
Until next time, happy crafting and learning! Goodbye for now, and we look forward to seeing you again for our next creative adventure.
