
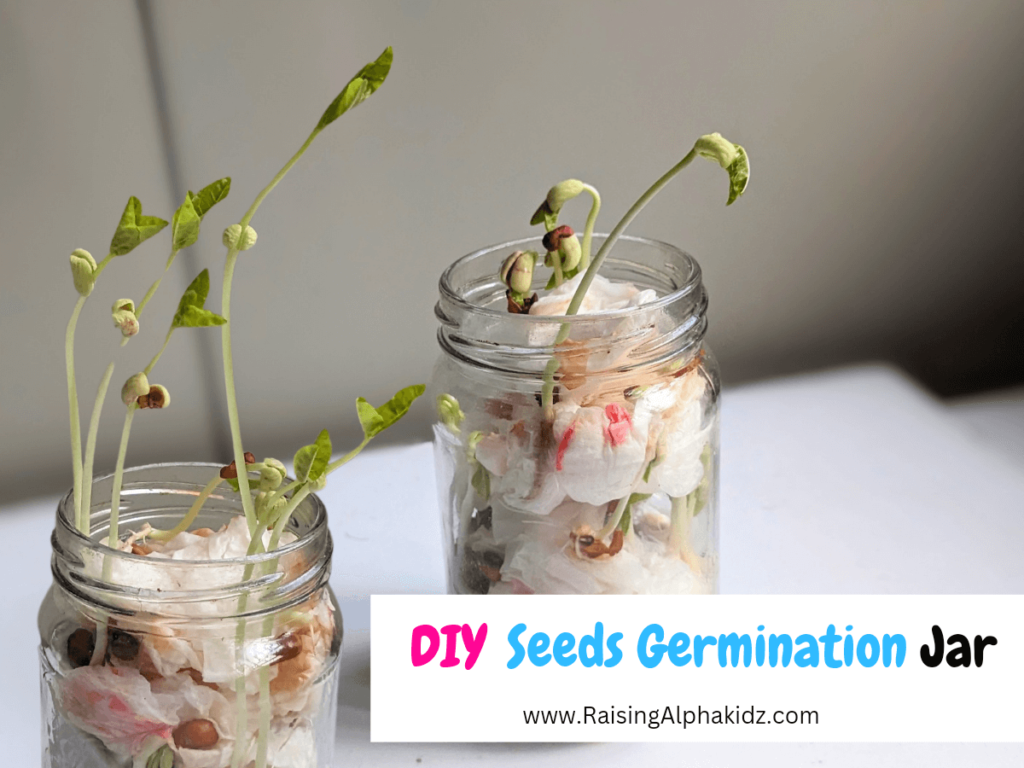
DIY Seed Germination Jar: A Fun Bean Sprout Activity for Kids!
Hello fellow parents and curious minds! If you’re looking for a simple, fun, and educational activity to do with your child, you’ve come to the right place. Today, we’re going to dive into the amazing world of germination. We’ll be making our very own germination jars, where your little one can watch seeds transform into tiny plants right before their eyes. It’s like having a front-row seat to one of nature’s most fascinating shows!
What You’ll Need:
- A Transparent Glass Jar: This is essential so we can clearly see the seeds sprout and grow.
- Any Bean Seeds: Kidney beans, lima beans, or even chickpeas work well. We’ll soak them overnight to prepare them for planting.
- Tissue Paper: We’ll use this to create a cozy environment for our seeds.
- Water: Just enough to keep our seeds moist.
Let’s Get Started: How to Create Your Germination Jar
Soak the Seeds: Before we begin, we need to give our bean seeds a little head start. Soak them in water overnight. This helps soften the outer shell, making it easier for the seed to sprout.
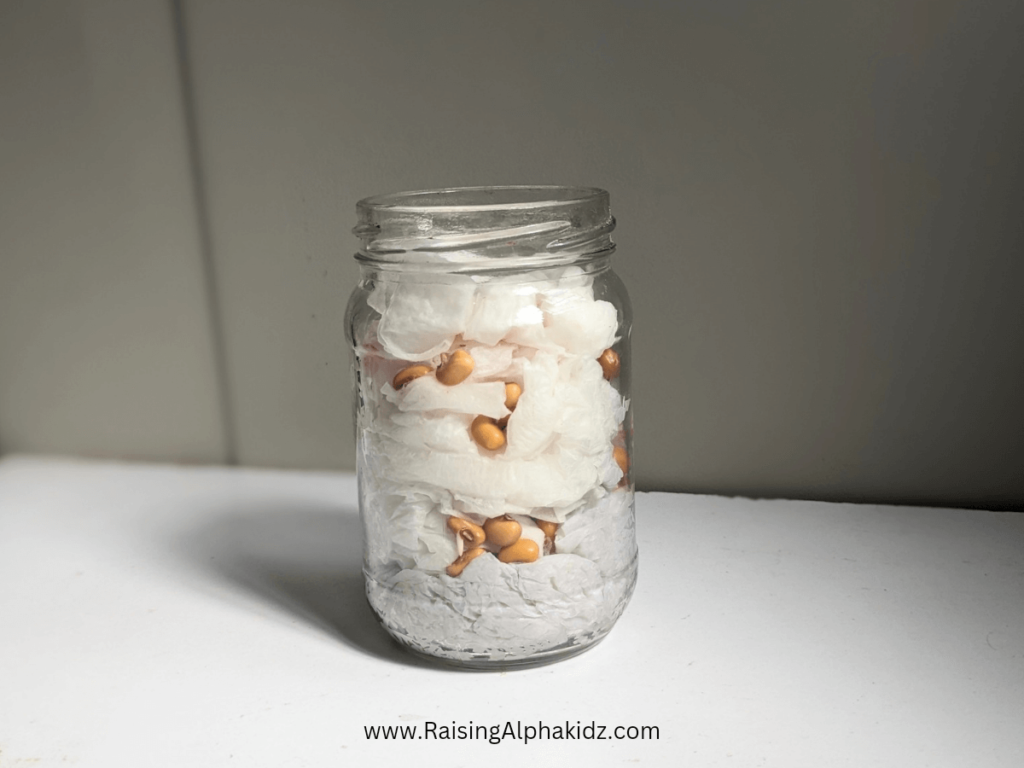
Prepare the Jar: Take your glass jar and start stuffing it with tissue paper, one layer at a time. Don’t pack it too tightly—we want the seeds to have room to grow. As you stuff the tissue paper, gently place the soaked bean seeds between the layers. Make sure the seeds are positioned against the glass so you can see them clearly.
Add Water: Once your jar is full of tissue paper and seeds, it’s time to give them a drink! Sprinkle a little water into the jar, just enough to moisten the tissue paper. Be careful not to overwater—the seeds need to stay damp, not drenched.
Find the Perfect Spot: Place the jar in a bright spot, like near a window, where it can soak up plenty of sunlight. Sunlight is crucial because it helps the seeds grow strong and healthy.
Watch the Magic Happen: Now comes the fun part—waiting! Each day, check on your seeds and see how they’re doing. Within a few days, you’ll notice tiny roots starting to emerge, followed by small shoots pushing up toward the light.
The Stages of Germination: What’s Happening Inside the Jar?
Day 1-2: Seed Swelling and Root Emergence
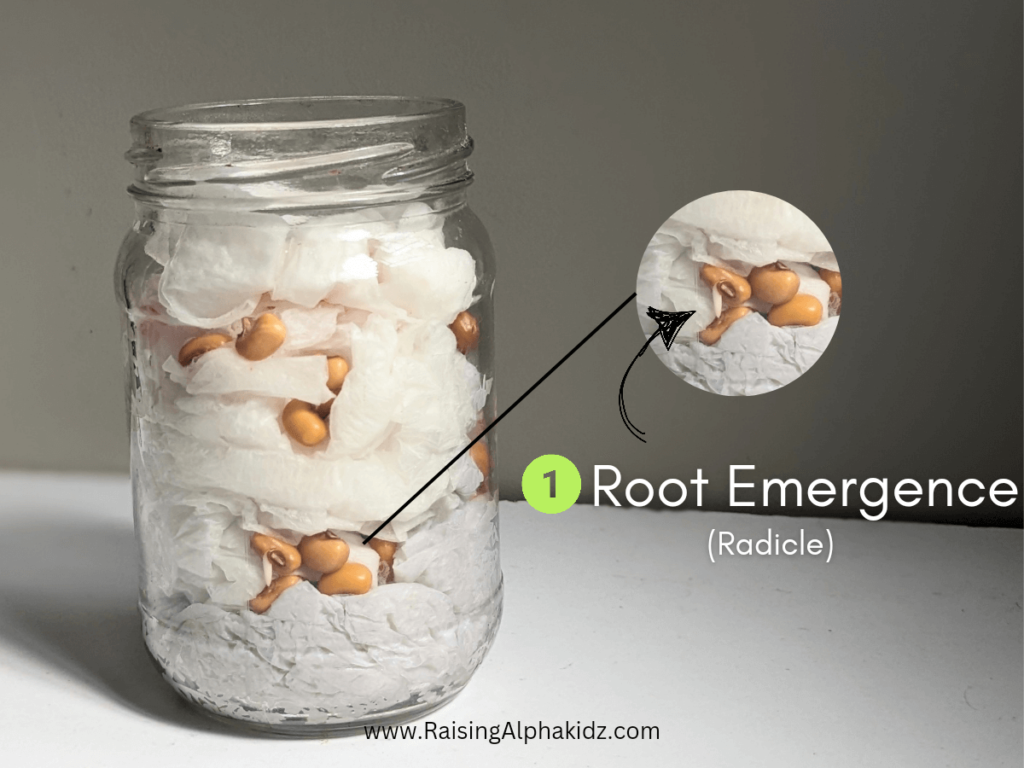
At first, your child will notice that the seeds look a bit bigger than before. That’s because they’re absorbing water and getting ready to grow. Soon, a tiny root (called a radicle) will poke out of the seed. This root will anchor the plant and start to draw nutrients from the soil—or in our case, the tissue paper!
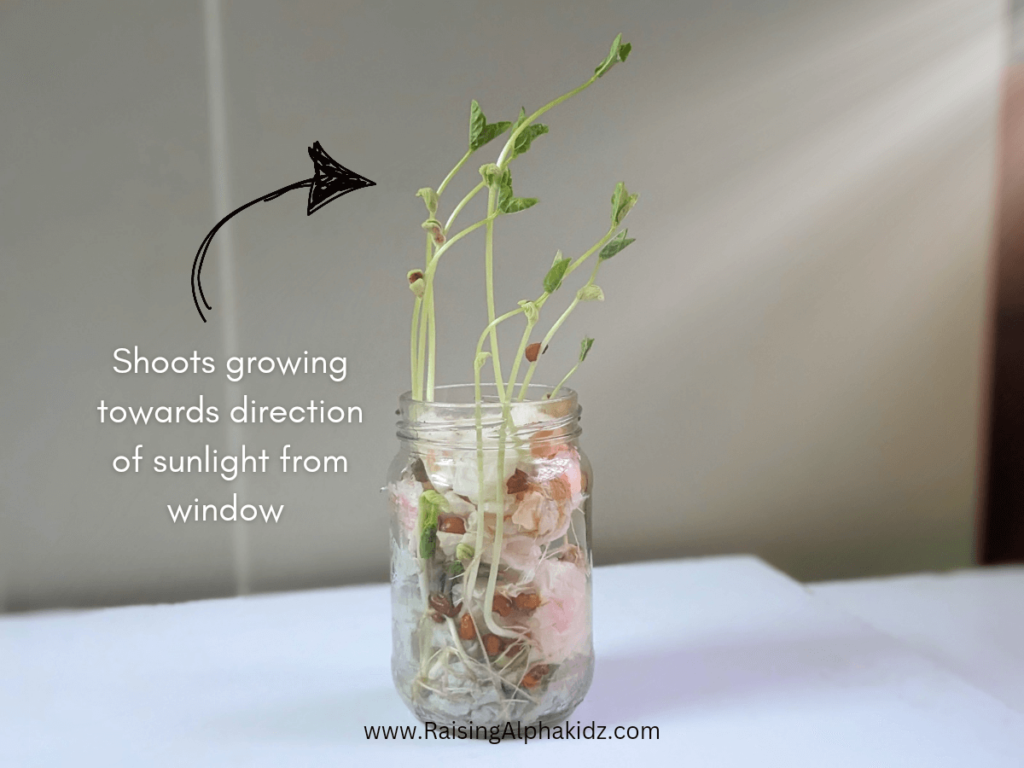
Day 3-5: Shoot Growth

Next, a small shoot will start to emerge from our DIY Seed Germination Jar. This is the beginning of the plant’s stem, known as the hypocotyl. It will push upward, searching for light. This is a great time to talk to your child about how plants need sunlight to make their food through a process called photosynthesis.
Day 6-10: Leaf Formation
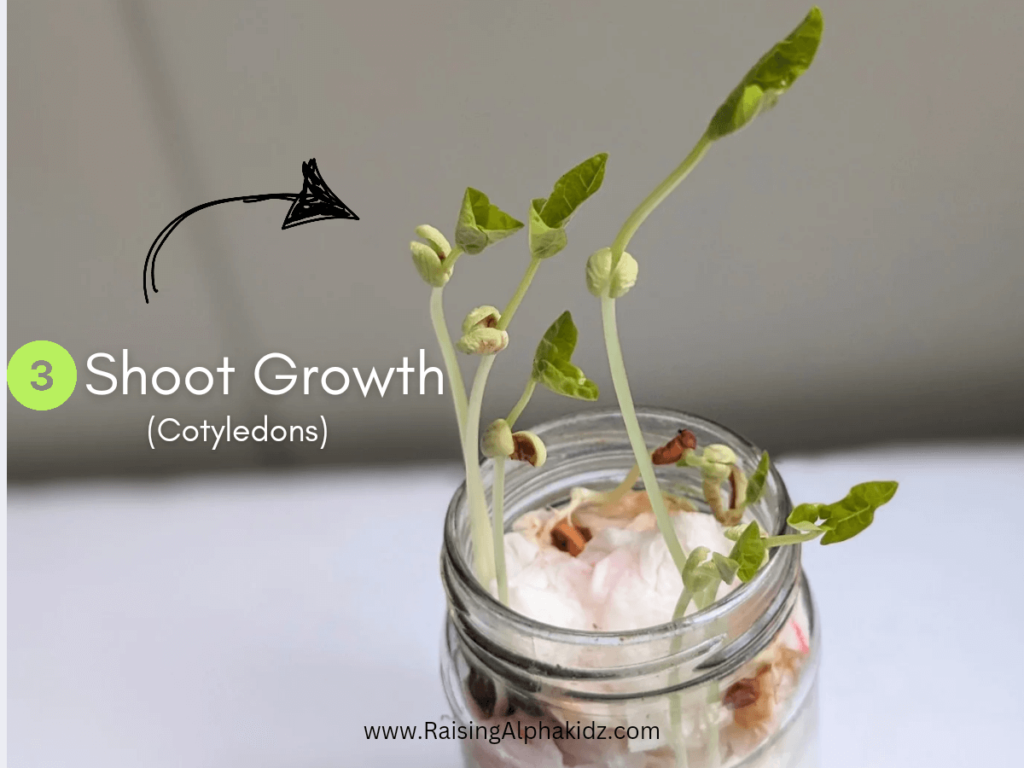
As the shoot grows taller, tiny leaves will begin to form. These leaves will soon open up, and your child will be able to see the little plant in all its glory. Explain to your child that these first leaves, called cotyledons, are important because they provide the young plant with the energy it needs to keep growing.
Day 10 and Beyond: Growing Stronger
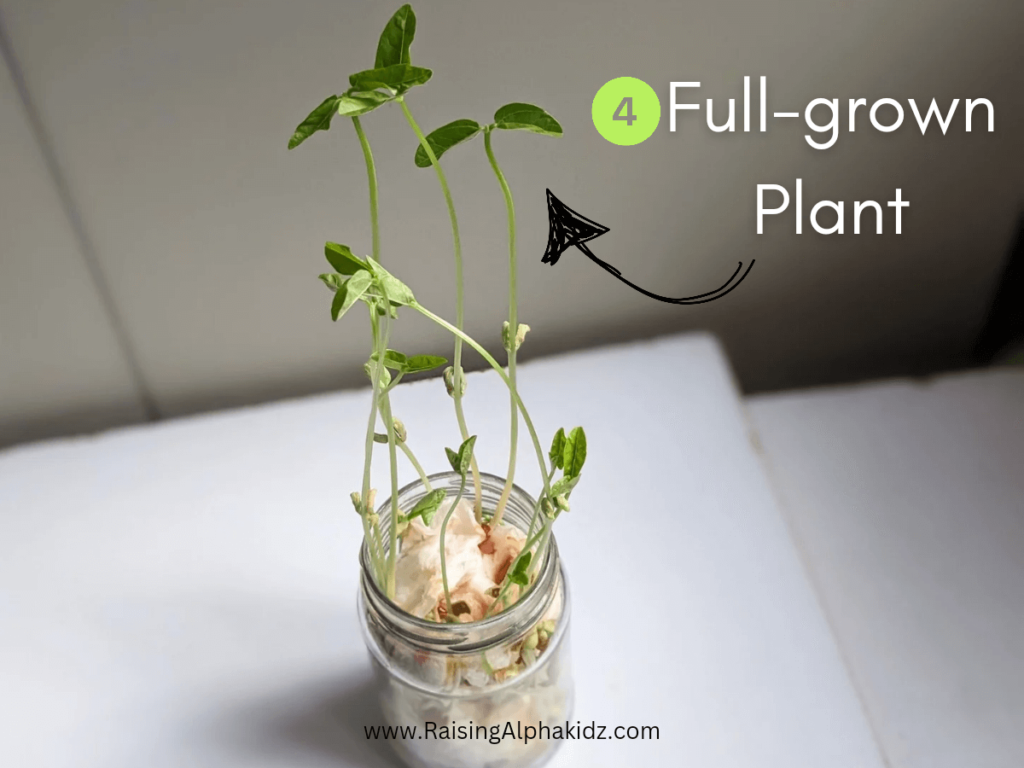
Now that your DIY Seed Germination Jar has many bean plants with sprouted leaves, it’s well on its way to becoming a full-grown plant. Keep the tissue paper moist, and watch as the plant continues to grow. Soon, you might even see it outgrowing the jar!
Fun Facts to Keep the Learning Going
- Did you know? Beans are one of the oldest cultivated crops in the world! They’ve been grown for thousands of years.
- Seeds Need Rest Too: Just like us, seeds have a period of dormancy where they rest before they start growing. Soaking the seeds wakes them up and tells them it’s time to grow!
- Plants Can ‘See’ the Light: Plants have special cells that help them detect light, which is why your bean plant’s shoot grows upward toward the sun.
Germination Process Activity
You can also remove the bean seeds at each stage of the germination process and dry them by pressing them inside a rough notebook. Once the moisture is removed, take the compressed seeds at different stages and paste them on a chart, gradually showing the progression from seed to plant. Use transparent tape to secure the seeds.
Also, encourage your child to draw pictures or write down what they see happening each day—it’s like being a plant scientist! This simple germination activity brings something new and exciting to observe each day.
I hope you and your little one enjoy watching your seeds sprout and grow. It’s a magical process that never gets old, no matter how many times you see it!
Checkout Other Science Activity For Kids!