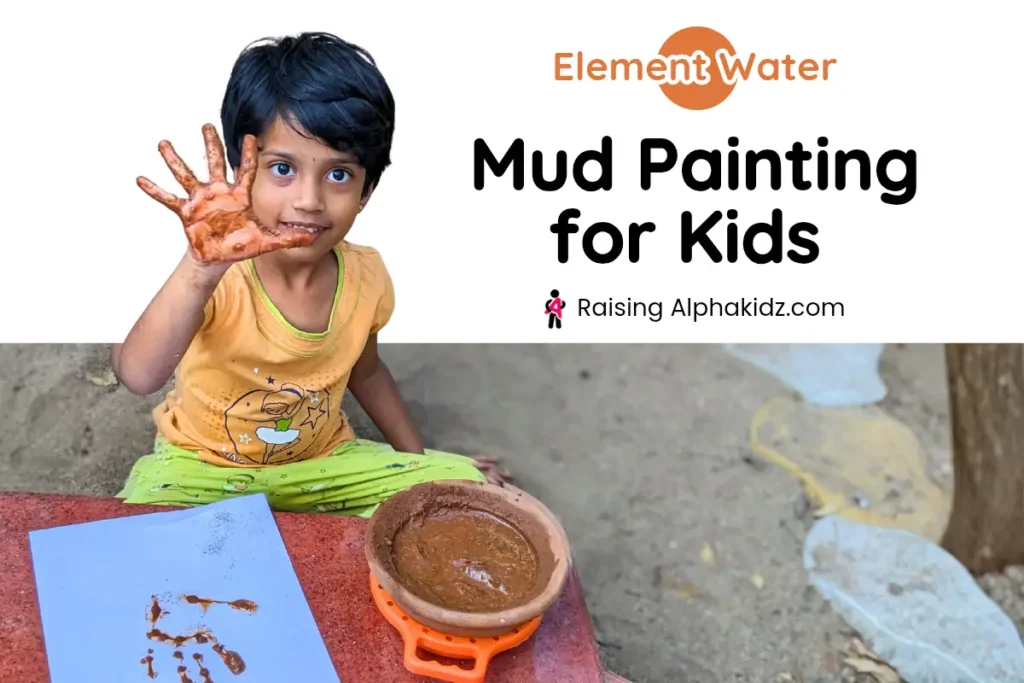
Mud Painting for Kids | Fun Outdoor Art Activity for Hyperactive Brains
- Highlights
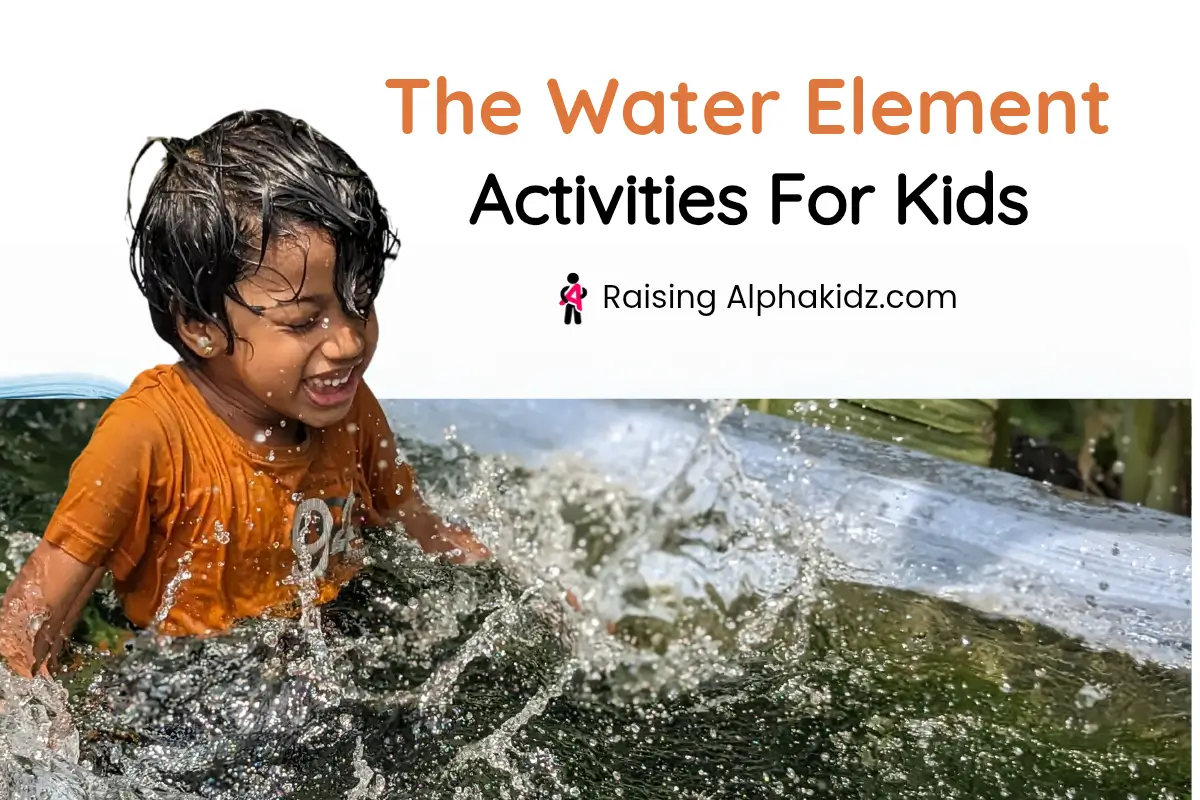
- Element: Water (Creative Flow State)
- Temperament Balance: Sanguine & Melancholic
- Age: 4+ years (Kindergarten)
- Benefits: Tactile Stimulation, Sensory Exploration, Open-ended creativity, Fine motor skills.
Hi parents!
Although we have plenty of paints and art supplies today, the human race began its artistic journey with something much simpler—mud. Reconnecting with this ancient Stone Age form of painting is never a boring experience!Today, we won’t be using vibrant colours or glossy paints. Instead, we’ll create art using the smooth, earthy brown tones of mud on paper. Curious to know how? Then let’s continue and explore one among the brilliant painting ideas, straight out of the forest school philosophy.
What is Mud Painting?
Mud Painting is the simple yet profound act of using mud as your primary medium to paint on any surface. Rather than reaching for store-bought paints, children use brushes, sponges, or their bare hands to apply the earthy mixture onto a surface. Consequently, they experiment with different textures and layering techniques, which naturally generates rich sensory and tactile experiences that no synthetic material can replicate.
Benefits of Mud Painting
Mud is heavy, cool, and textured. When they squish their fingers into it, they get instant sensory feedback. This isn’t just messy art; it’s therapeutic sensory play.
The focus here is the process art—not the final look, but the feeling of the mud sliding through their fingers. It forces their short attention spans to pause, just for a moment, to observe the texture.
Furthermore, this is where the magic of the flow state kicks in. As they dip their fingers and lose track of time, the hyperactivity gradually subsides.
Their identity dissolves into the rhythmic squelching of mud, offering a meditative calm that is rare for a racing brain. They aren’t thinking about the next crash or jump; they are simply submerged in the act of creation. Pure self-expression. Pure flow.
Craft Essentials
Mud art is a simple and easy project that never needs an expensive ingredients list. All it takes is mud from our Mother Nature. Here is what you need:
- Mud (Clay soil preferred)
- Water
- Thick Sheet of Paper (Cardstock or watercolor paper)
- Markers / Sketch pens
- Optional: Acrylic paints & PVA glue
Step-by-Step Mud Painting Activity Guide
How to Choose the Perfect Mud to Make Mud paint?
Furthermore, before we dive in, let’s talk about sourcing the right mud. Since safety comes first, opt for clean, non-toxic soil—clay-based or natural garden mud is ideal. However, it is crucial to avoid areas frequented by pets or any space with potential contaminants.

The perfect mud should hold its shape like wet sand in a bucket—firm, moldable, and ready to be sculpted by tiny fingers.
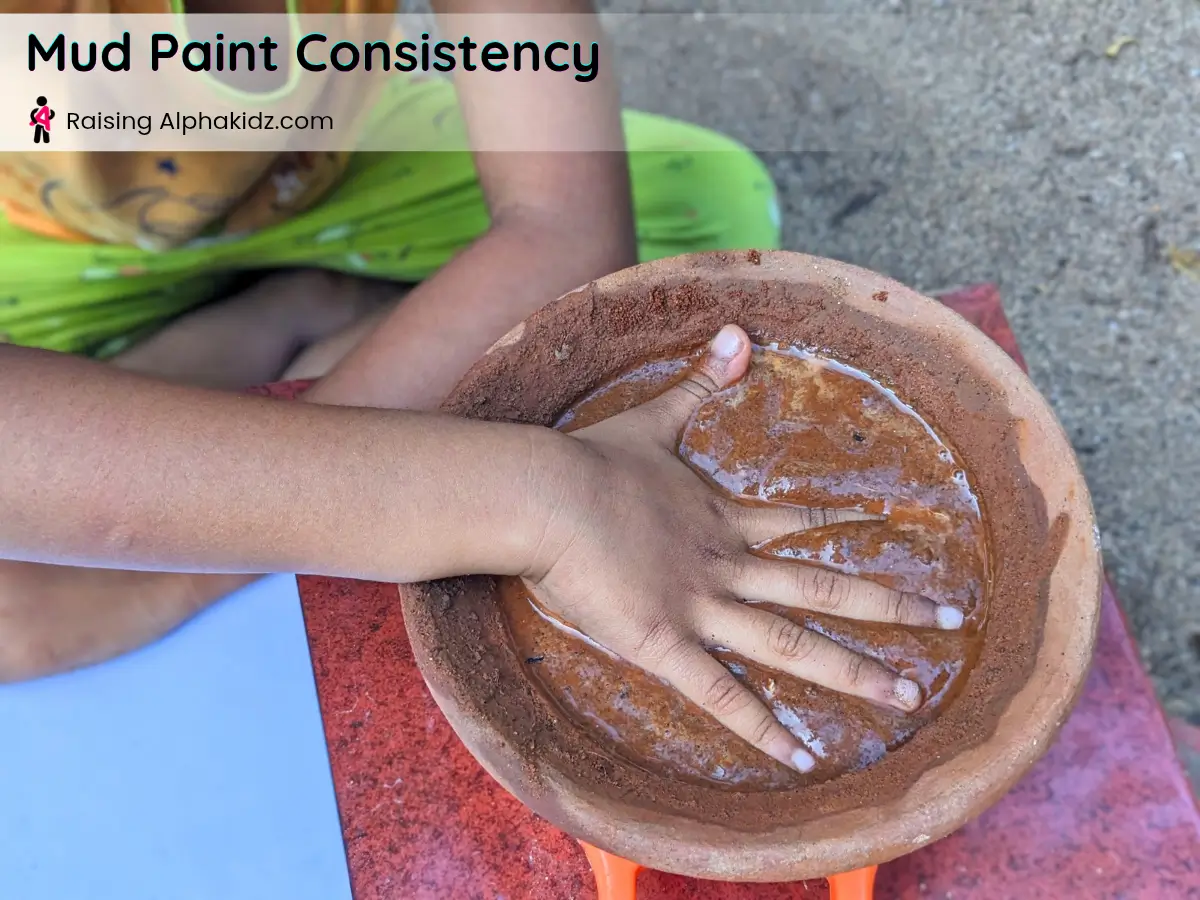
When mixed, the mud paint should flow like thick chocolate sauce—smooth, drippy, but not runny, clinging beautifully to every surface it touches.
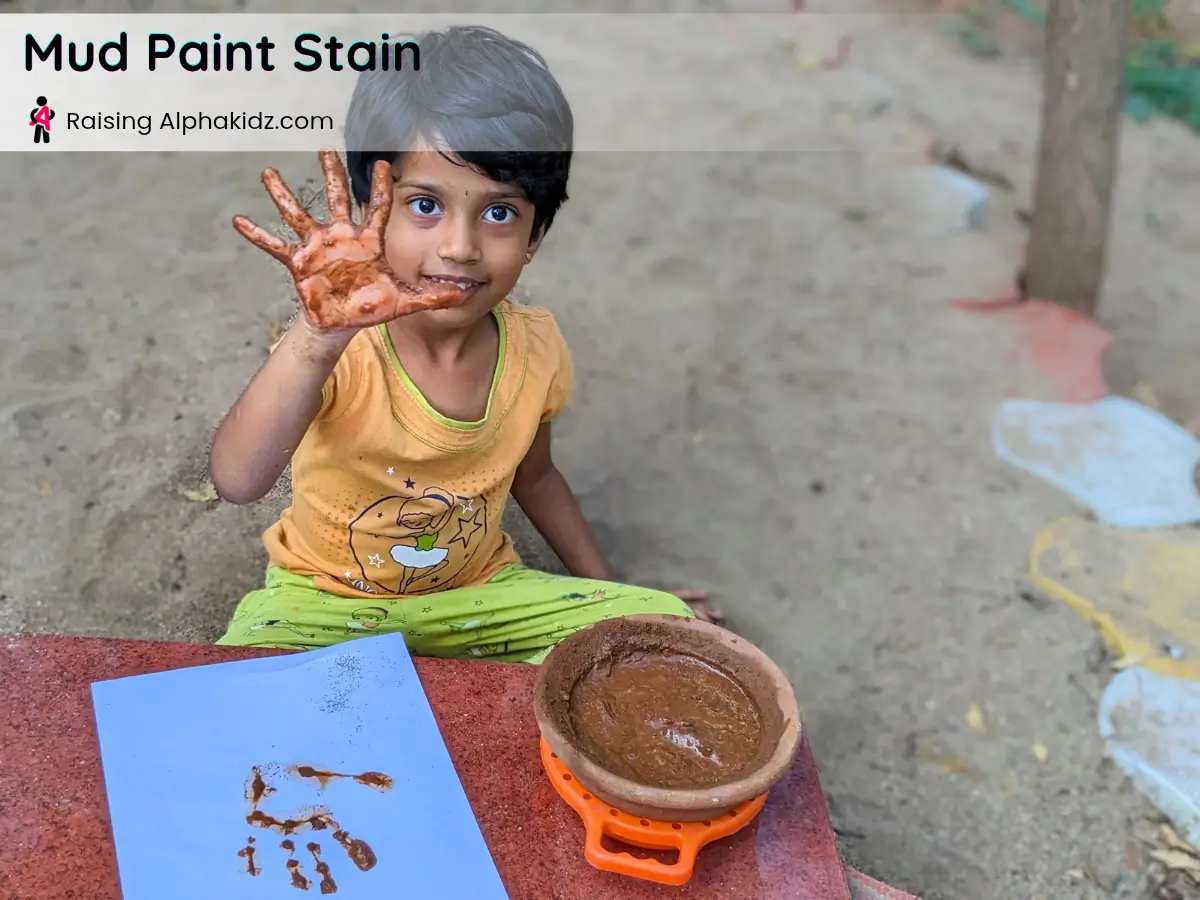
And most importantly, it should leave a rich, brownish stain on the paper—an earthy, organic mark that tells the story of pure, messy play.
How to Make Mud Paint
Making painting with mud is easier than you think. Follow these simple steps to get the perfect paint consistency.
- Source the Soil: Take clay soil from your backyard. Make sure it has more clay soil than coarse sand. Clay binds together; sand just falls apart.
- Mix it Up: Mix the soil with water to create a paint-like consistency.
- The Texture Test: To check the texture, dip your hands into the mud mixture. If it sticks to your fingers like smooth paint, you are good to go. If it feels like watery sand, you need more clay or less water.
- Add Color (Optional): If you want colored mud paint, mix acrylic color paints into the mixture to use as different colored mud paints. (Pro tip: Mixing acrylic paints also makes the paint more water-resistant).
- Waterproofing: If you want this artwork to last, you can also add a splash of PVA glue to the water and mud mixture to make it water-resistant.
- Once the paint is ready, take your paint and sheet of paper to the painting area.
Setting the Stage For Mud Painting
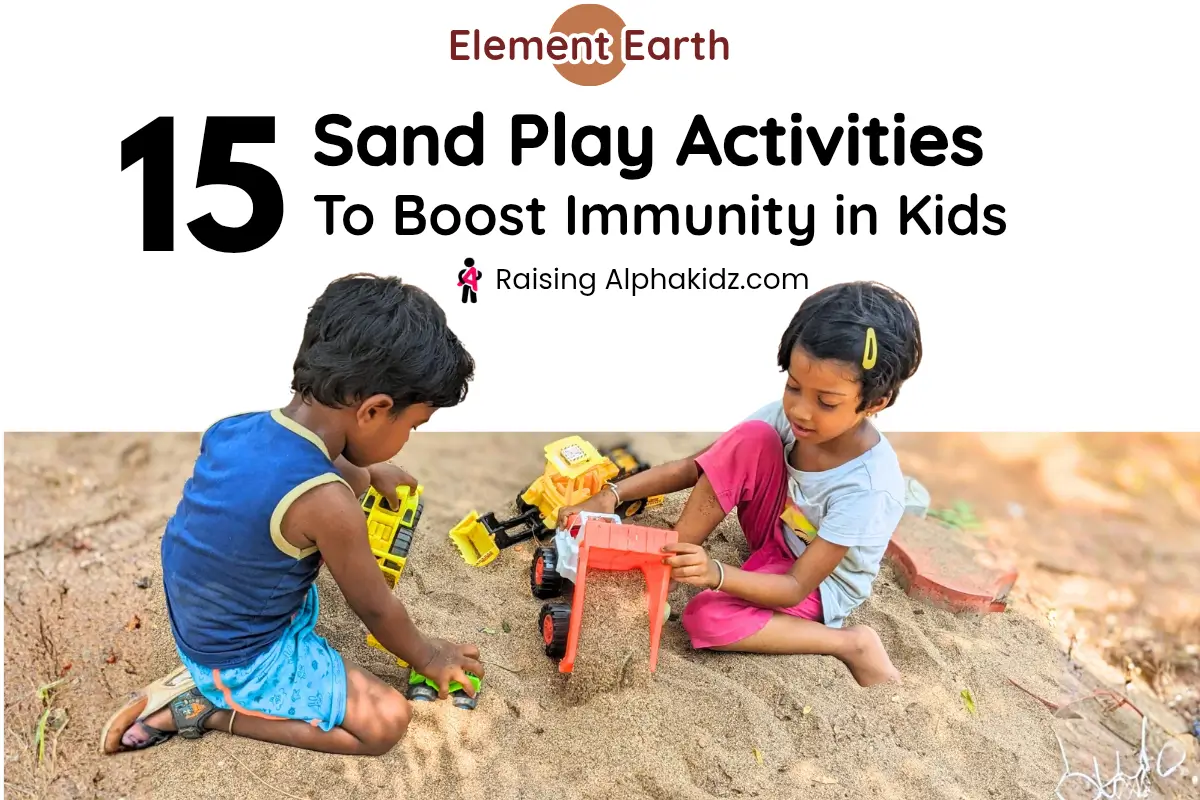
Meanwhile, setting up a designated workspace makes all the difference. Although you can do this indoors, I strongly recommend venturing outside—perhaps on a patio, a grassy patch, or, as I did, a tile shelf near the sand play area.
If you must set up inside, lay down protective newspaper to contain the glorious mess and make cleanup a breeze. Remember, this is process art; the mess is part of the journey!
How to Paint with Mud
Now for the fun part! This technique encourages fine motor skills and gives the child enough structure to feel safe, but enough freedom to explore.
1) Prep the Paper: Choose a thick sheet of paper, a cardstock, or watercolor paper. The sturdier the paper, the better the art.
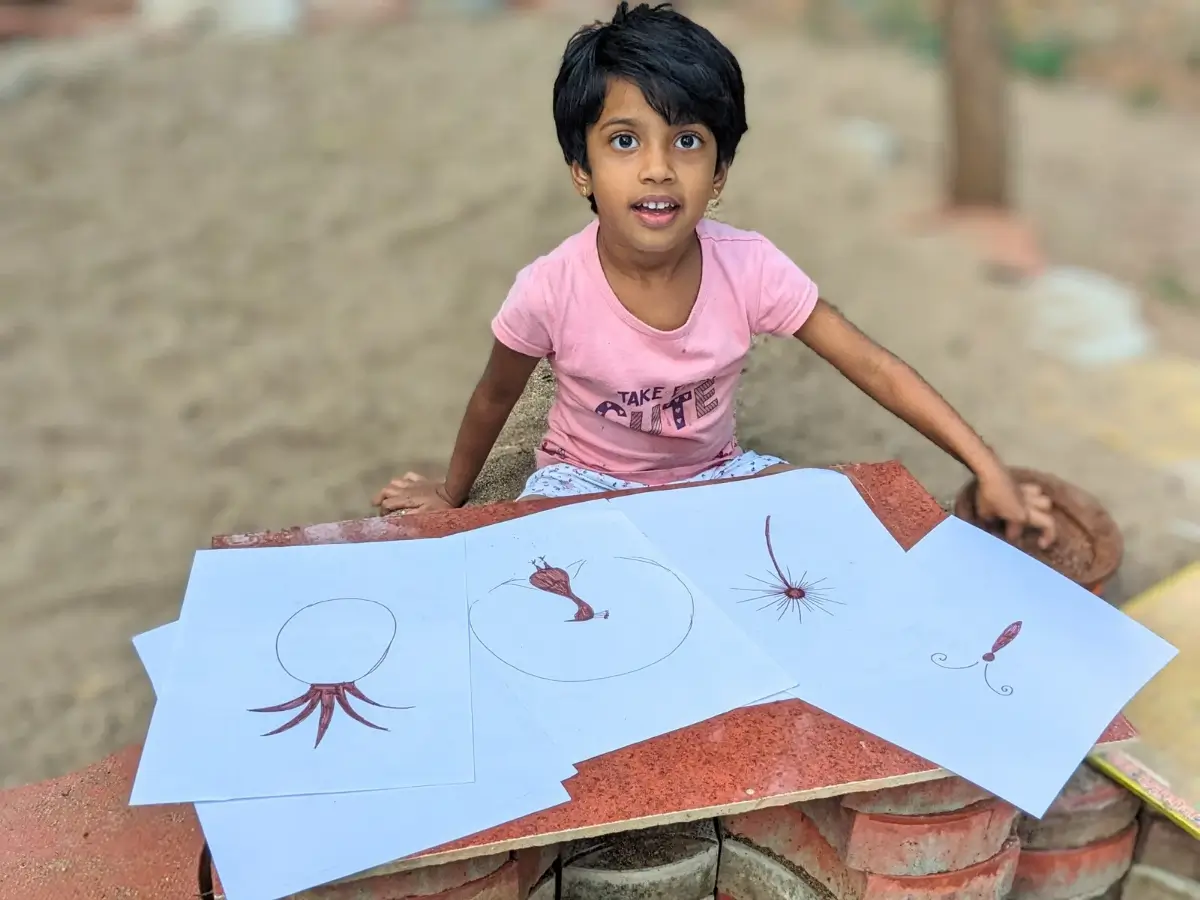
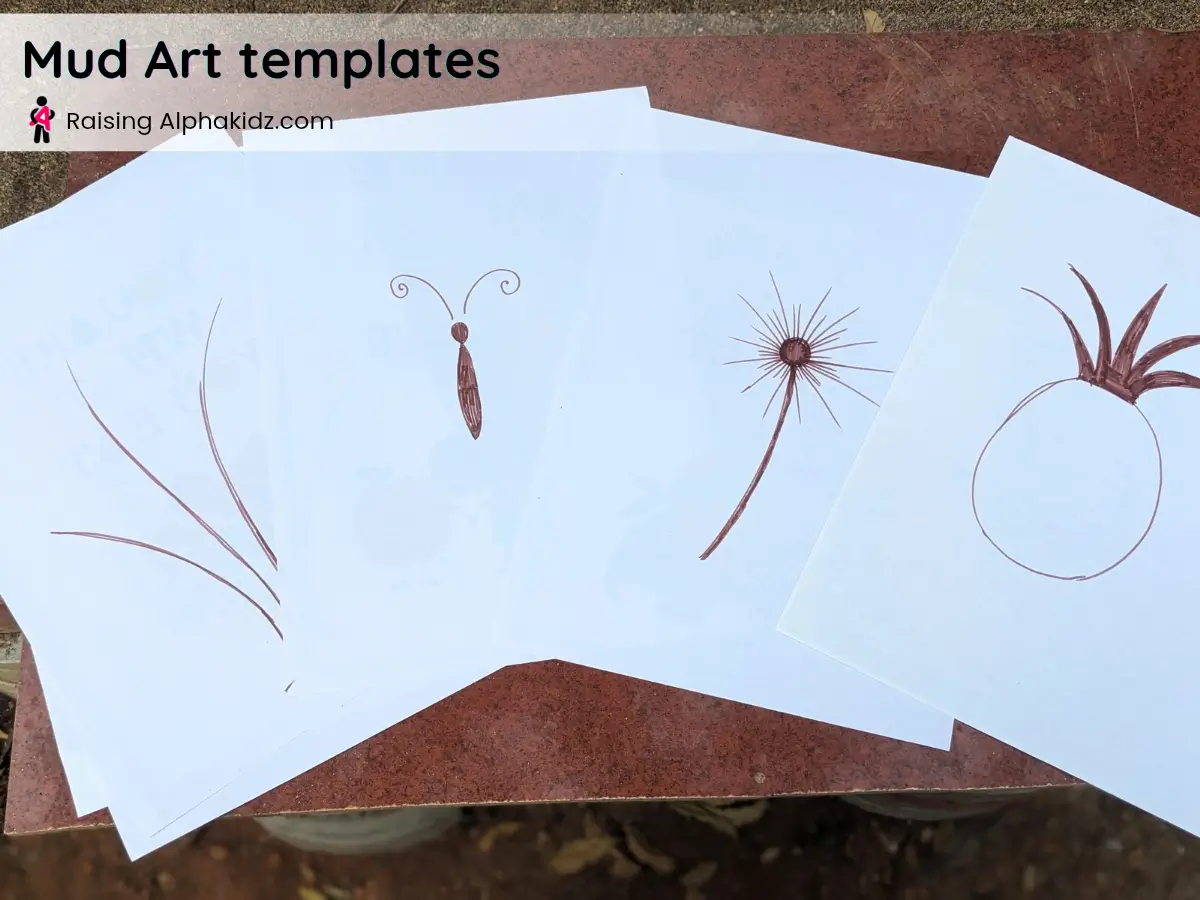
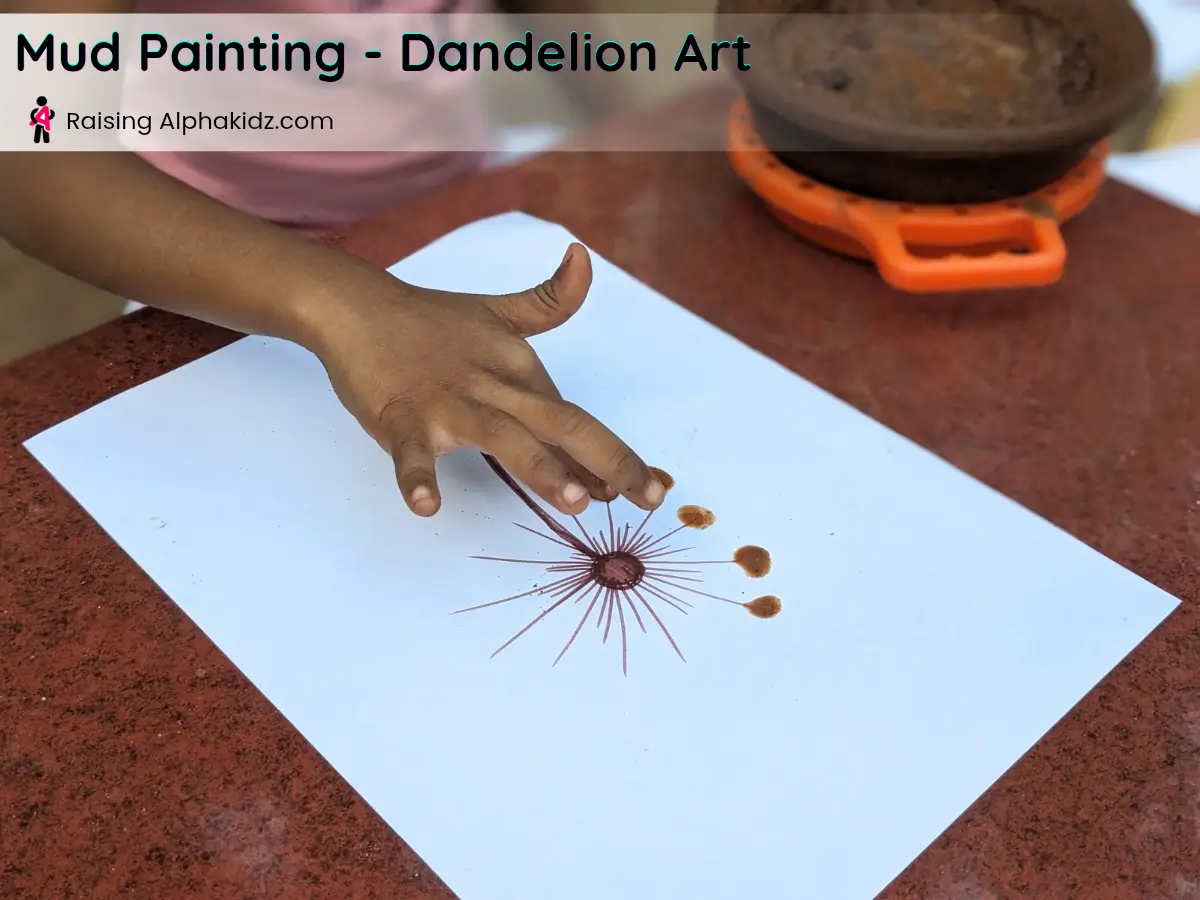
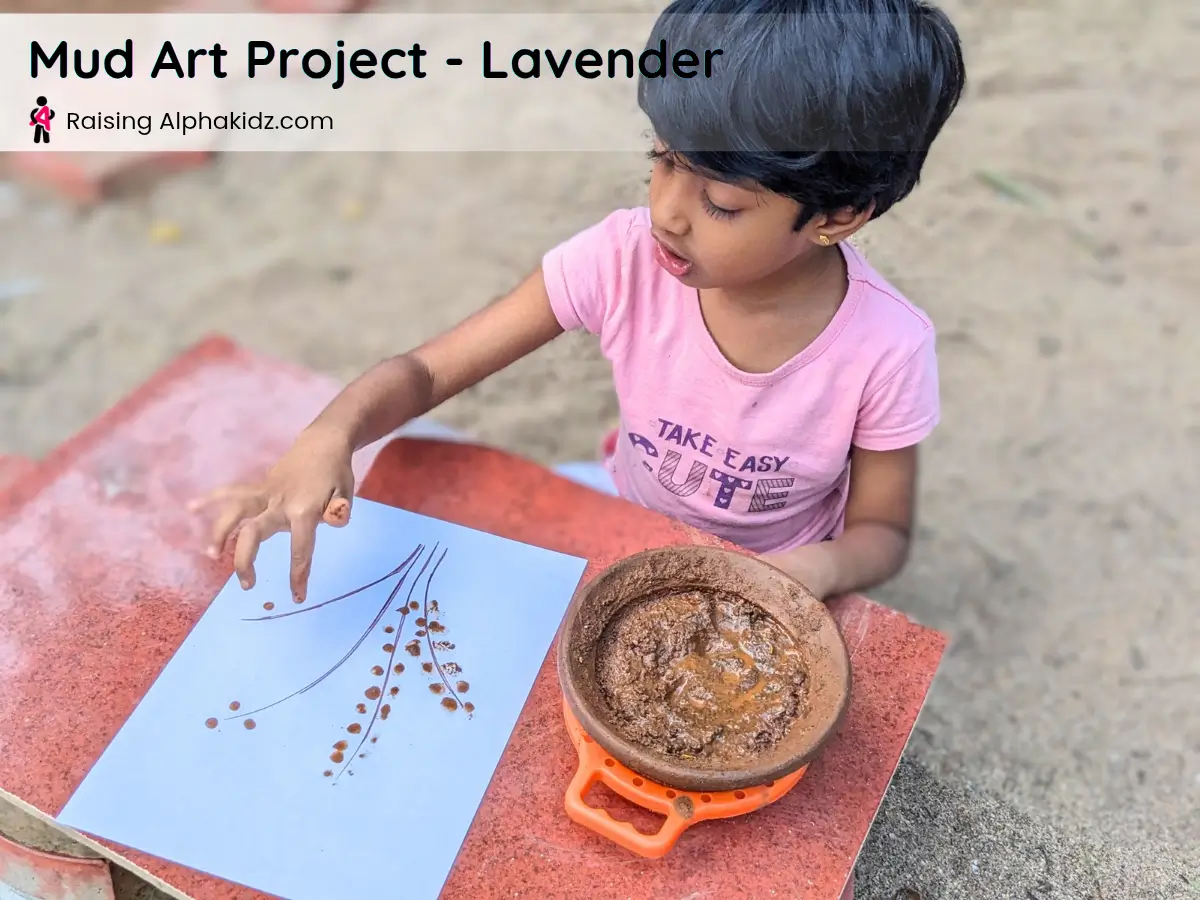
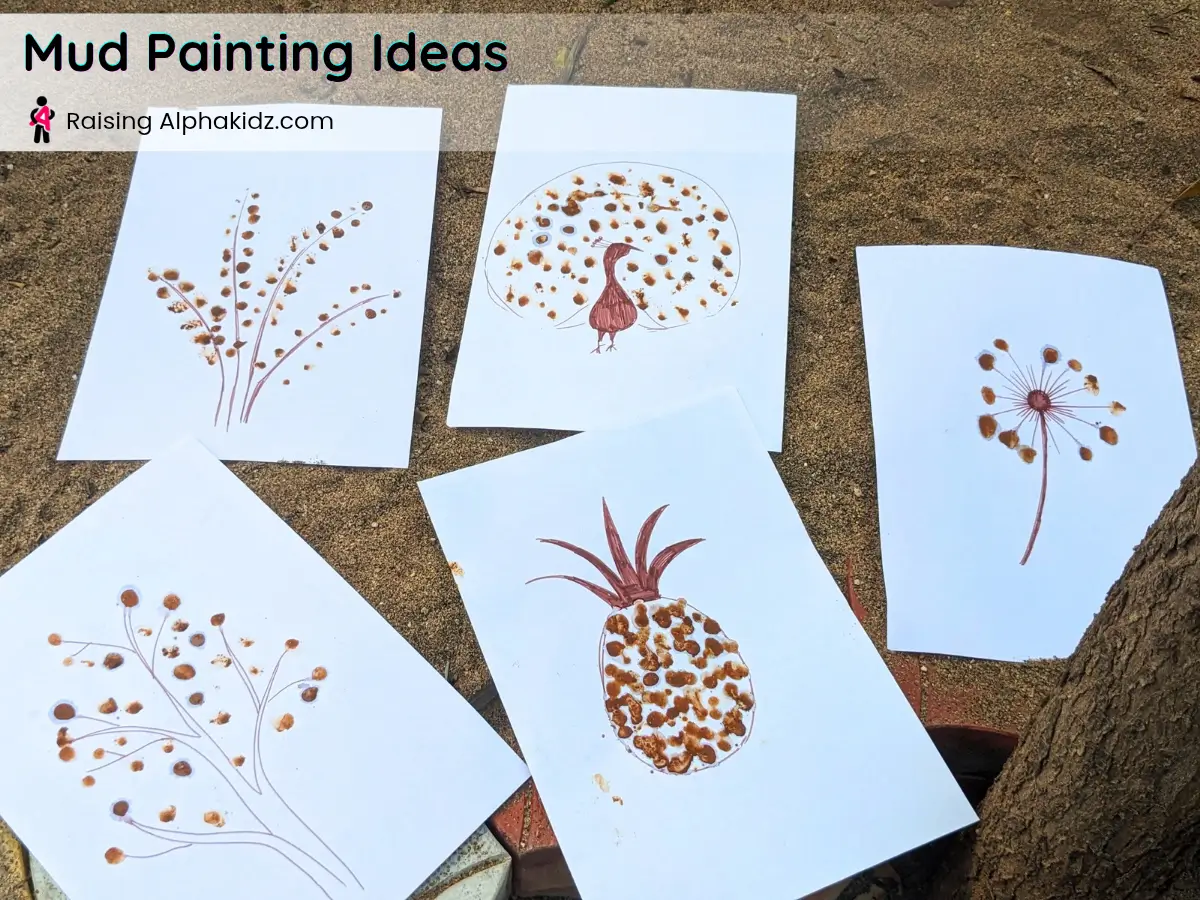
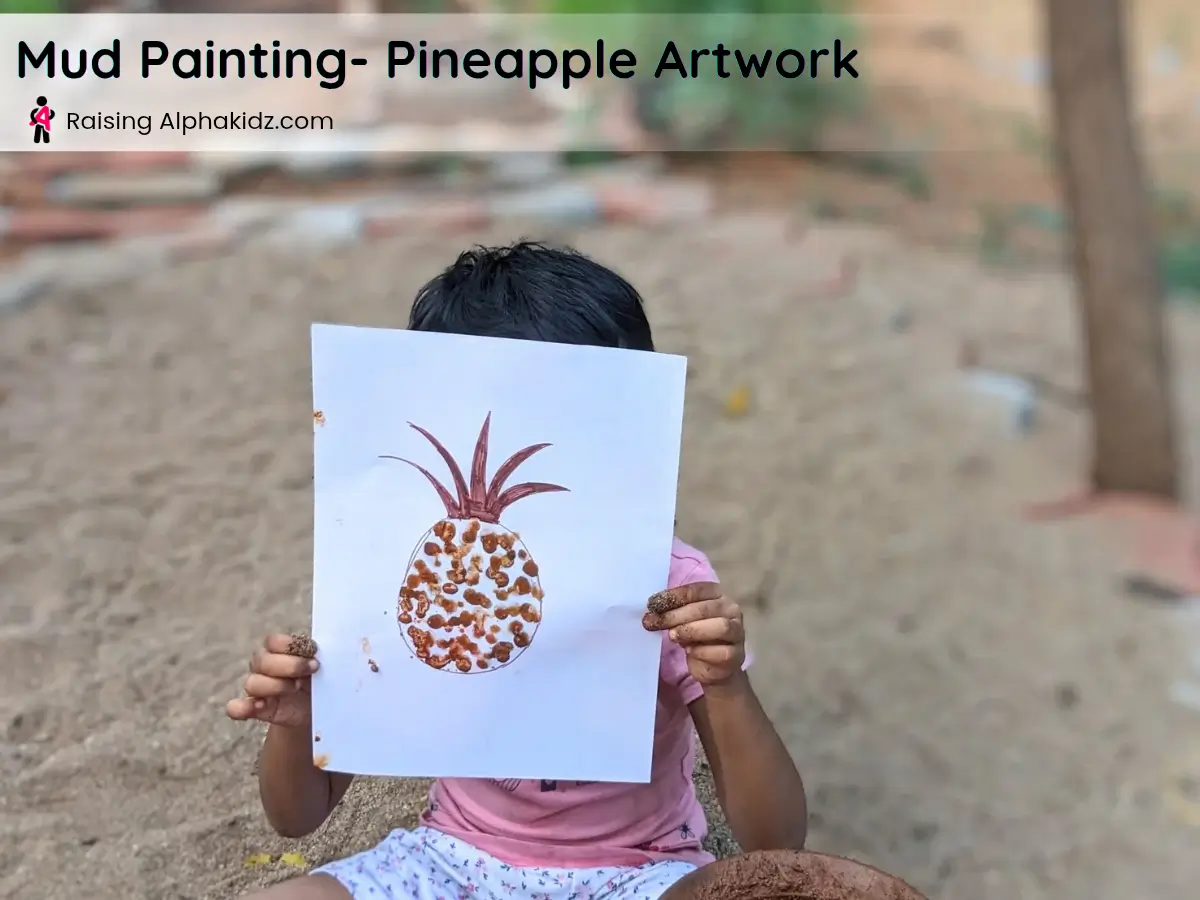
2) Draw the Outlines: Next, we are doing a guided process art. First, draw a few defined outlines of different objects on the paper. Think simple shapes—like a pineapple, a peacock, a dandelion, or lavender stems. This gives their racing mind a landing pad)
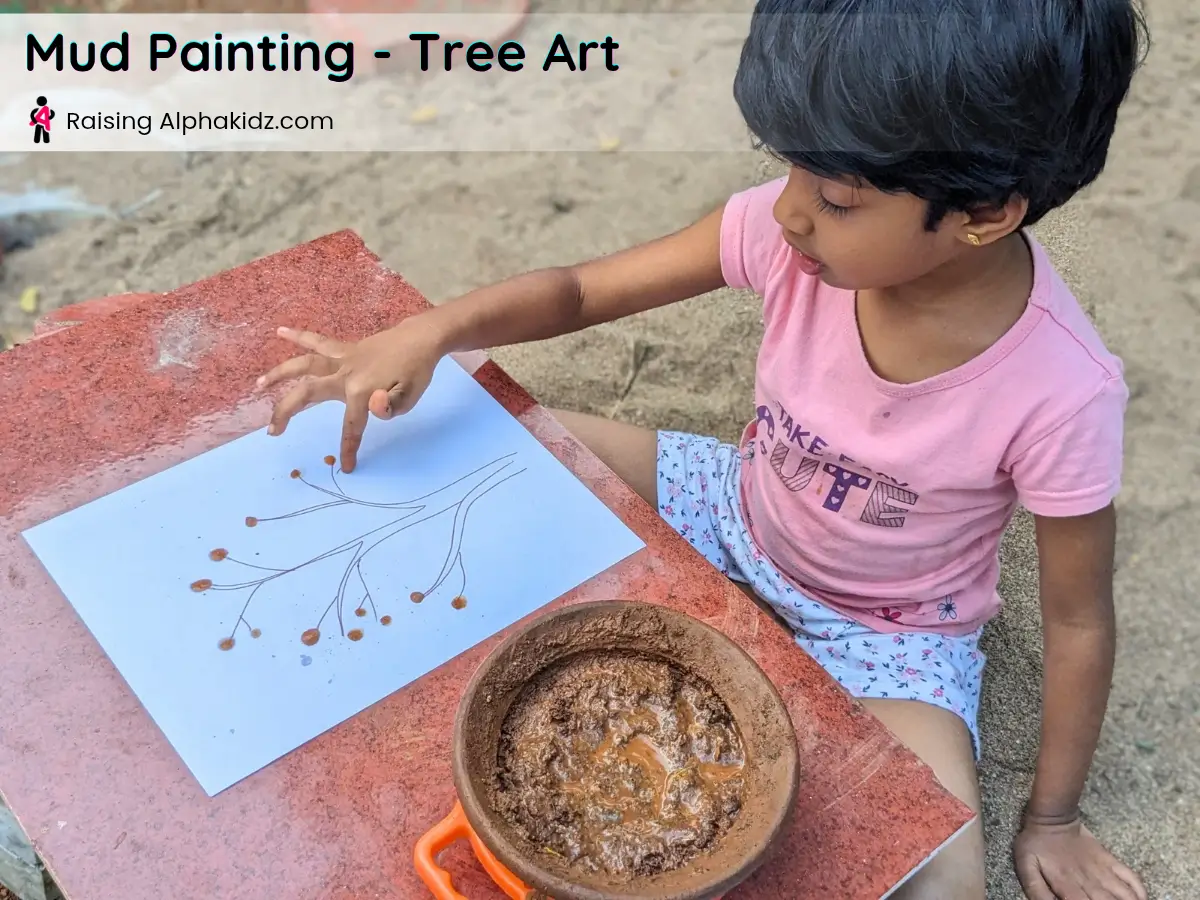
3) Do The Finger Painting: Give your kid the mud paint and the outlines you drew.
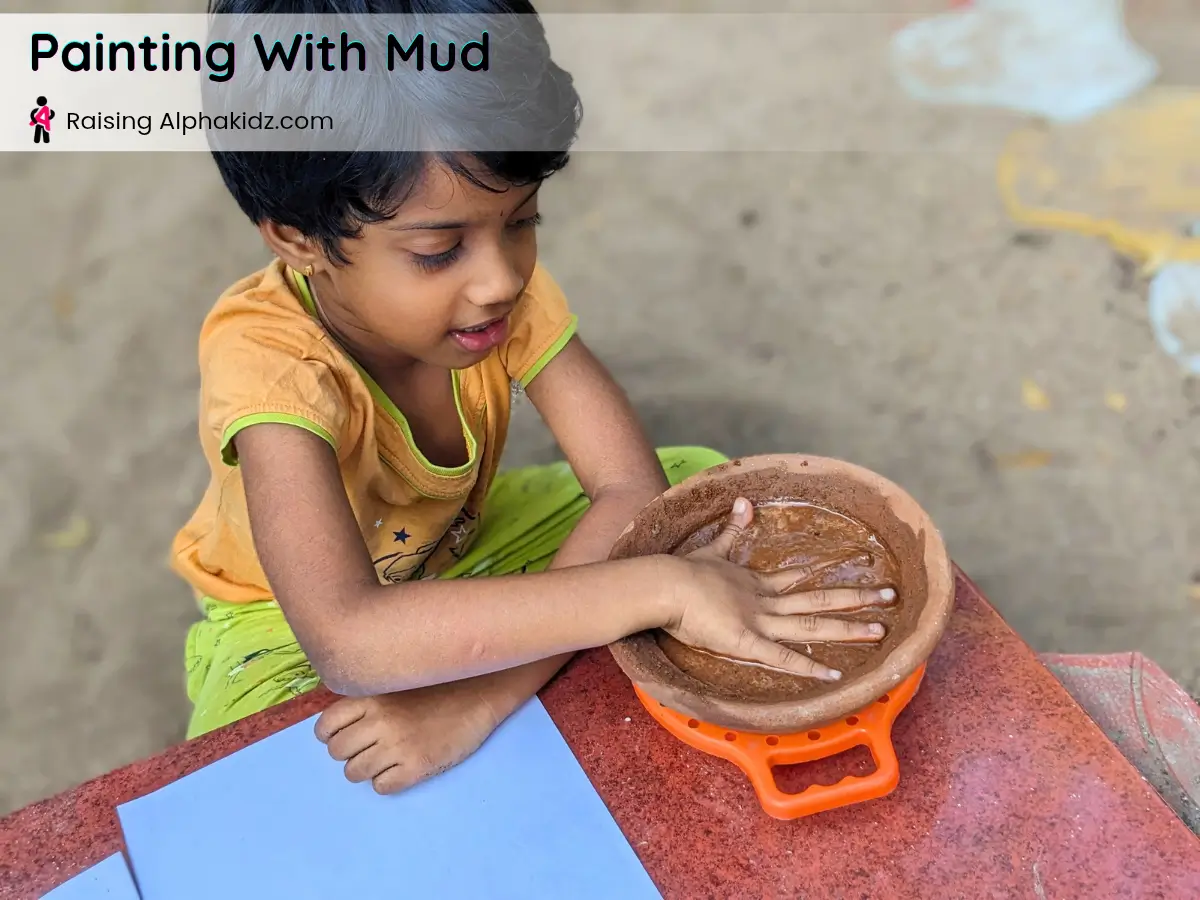
Let them dip their fingers directly into the mud paint and carefully make finger impressions of dots all over the space inside the outlines.
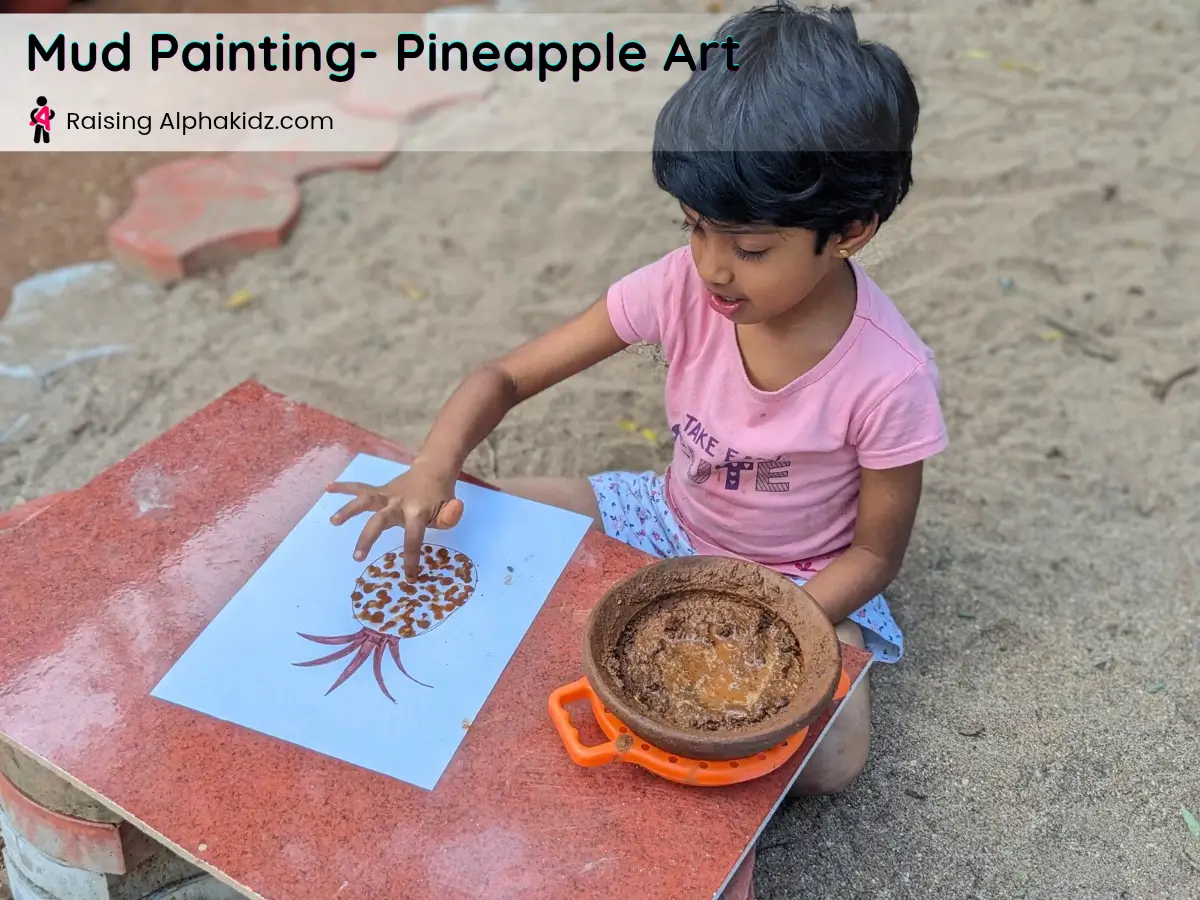
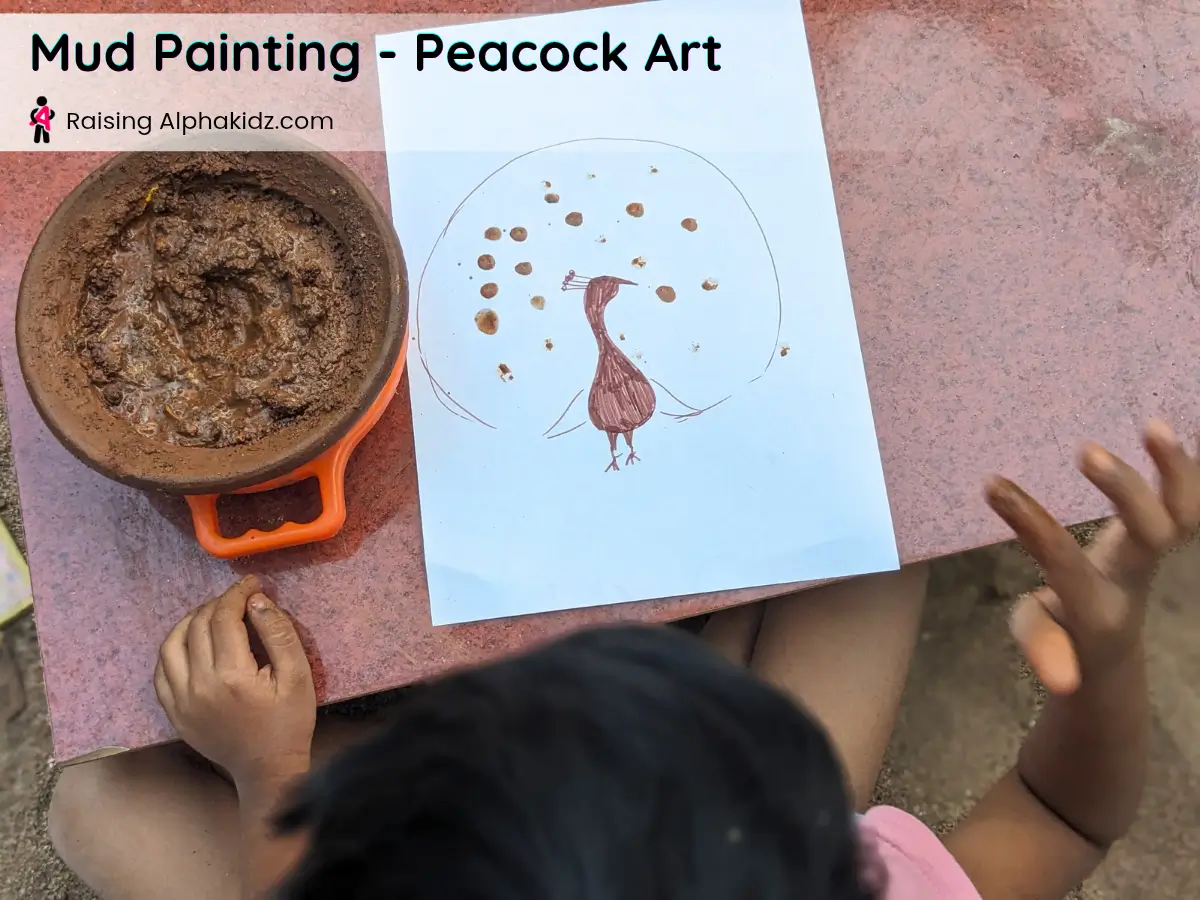
4) Create Variations: For the pineapple and peacock, let them make bold, denser mud impressions covering the entire space. Let them press hard!
5) Add Delicate Prints: For the dandelion fluff or lavender sides, let them use their fingertips to make delicate mud impressions on the sides of the veins, all across the stems.
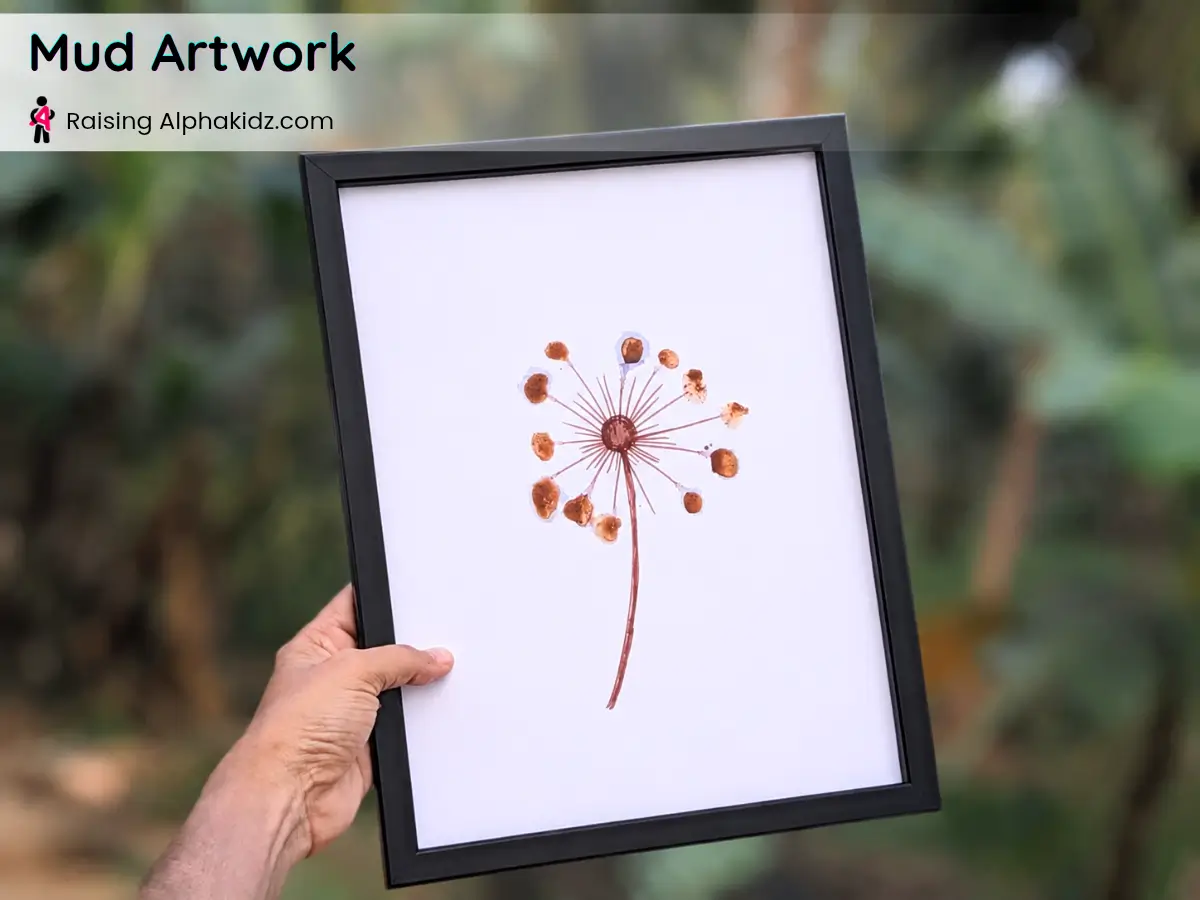
6) Let it Dry: Once the mud painting is done, allow it to dry completely. This is the hardest part—waiting!
7) Preserving the Masterpiece: If you want to preserve it, simply use a clear spray sealant to protect the texture and prevent smudging, and then frame it to hang proudly in the hallway.
Try Different mud art
Handle every mud art differently based on the requirements.
Peacock: Sweep fan-shaped fingertip impressions across the page, each one a tiny feathered eye in a grand, earthy display.
Tree: Guide them to make sturdy fingertip swirls climbing up the trunk outline, then branch out into messy, leafy splatters all across the canopy—like nature’s own fingerprint spread across the sky.
Pineapple: Tell your child to press bold fingertip patterns inside the fruit outline, until it feels plump and juicy with mud. Let them press hard to fill all the space.
Age-Wise Mud Art Adaptations
In addition, the beauty of mud art lies in its adaptability for children of all ages and skill levels. For instance,
- Toddlers can revel in simpler activities like smearing handprints or basic finger painting.
- Preschool & Kindergarten kids, can dive into more complex projects such as sculpting intricate designs or creating textured landscapes.
As a result, you should always encourage their creativity and adapt the projects to match their unique abilities and interests.
Mud Painting Beyond the Paper
Don’t limit yourself to just sheets! You can also use this painting with clay technique on other surfaces, like sidewalks, tree barks, or even cardboard boxes. Take it outside and let the forest school environment be their studio.
What Do Children Actually Learn From Mud Painting?
What do children actually learn from this muddy adventure? Quite a lot, actually. Beyond just motor skills and sensory integration, they learn cause and effect, patience, and emotional regulation.
Consequently, as their hands squish and mold, their busy minds slow down, naturally entering that beautiful flow state we talked about. They aren’t chasing external validation or worrying about perfection; instead, they are finding pure, self-contained contentment in the rhythmic movement of their fingers.
In addition , painting with mud teaches them that happiness isn’t about the outcome, but about the glorious, messy process of creating.
Final Thoughts
Let go of the outcome. If the peacock looks like a blob and the pineapple is a brown smudge, who cares? You just gave your child a heavy, regulating sensory input that calmed their nervous system. You turned a rainy day into a core memory. So, next time the impulsivity spikes, just hand them a bucket of mud and watch the magic unfold.
Happy messy making!
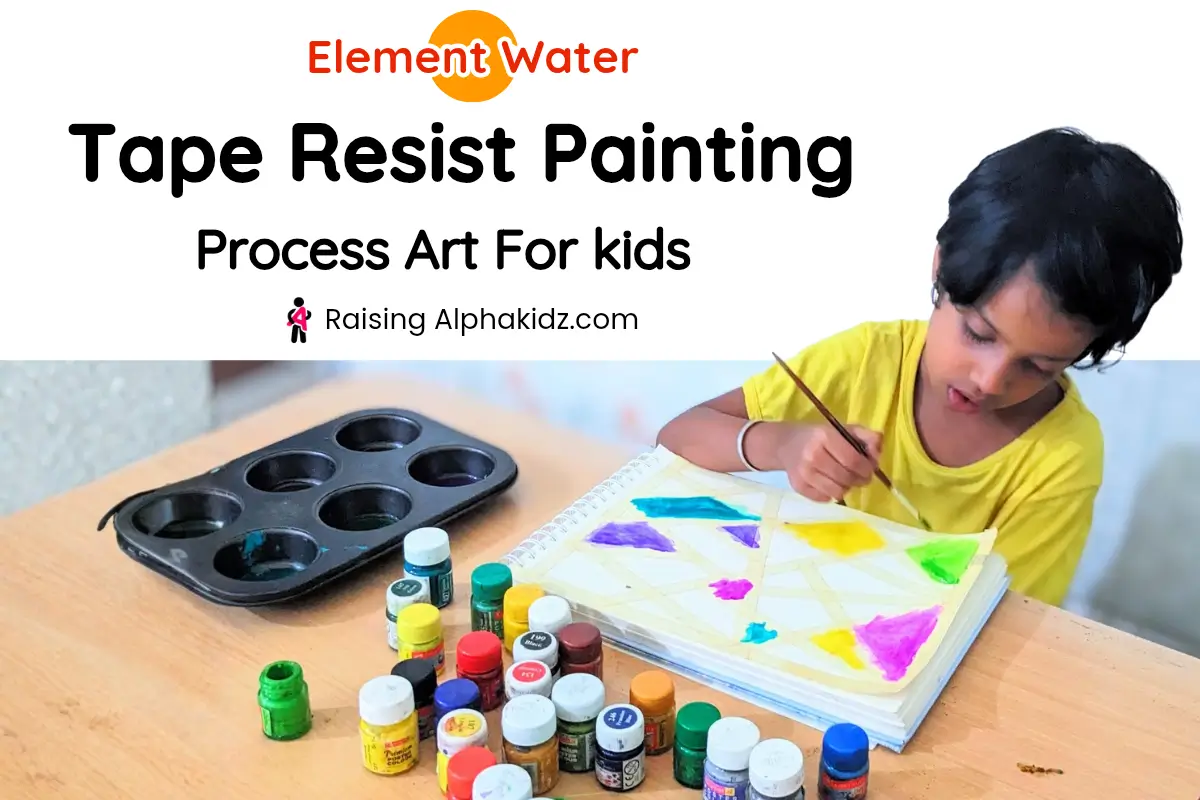
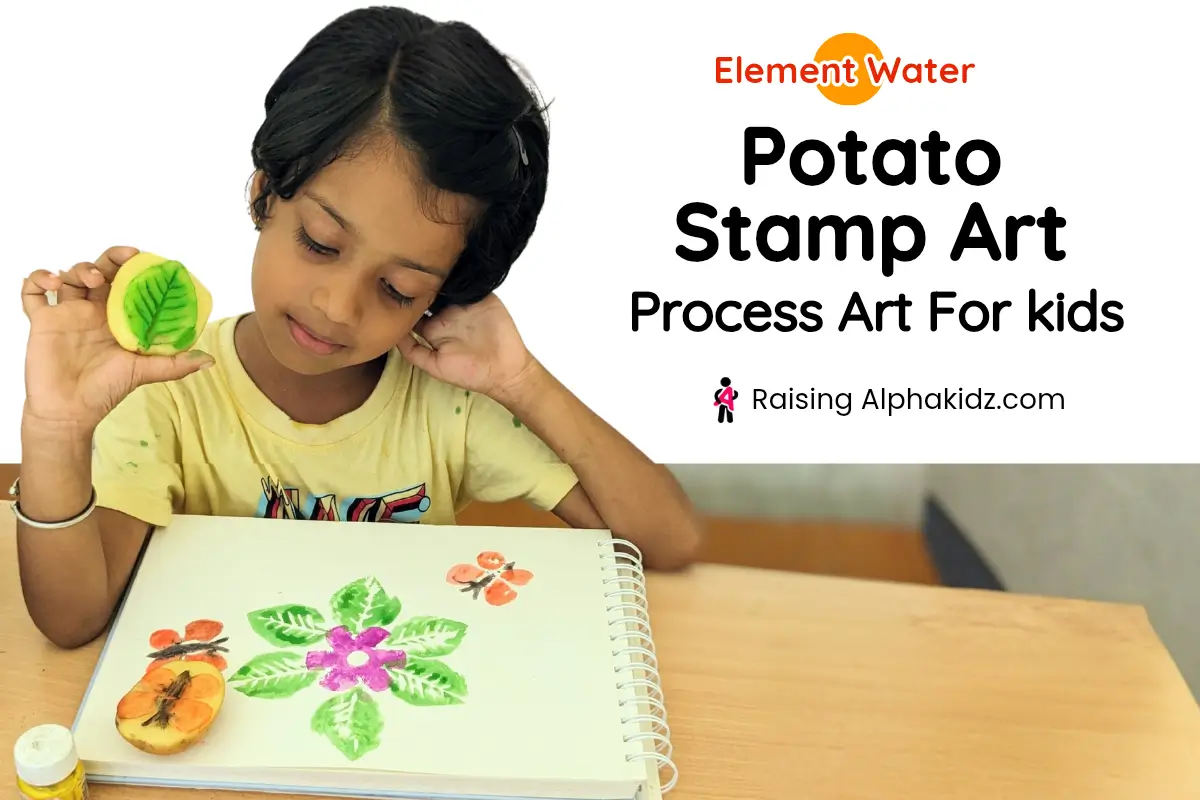
More Water Element Activities To Try Out
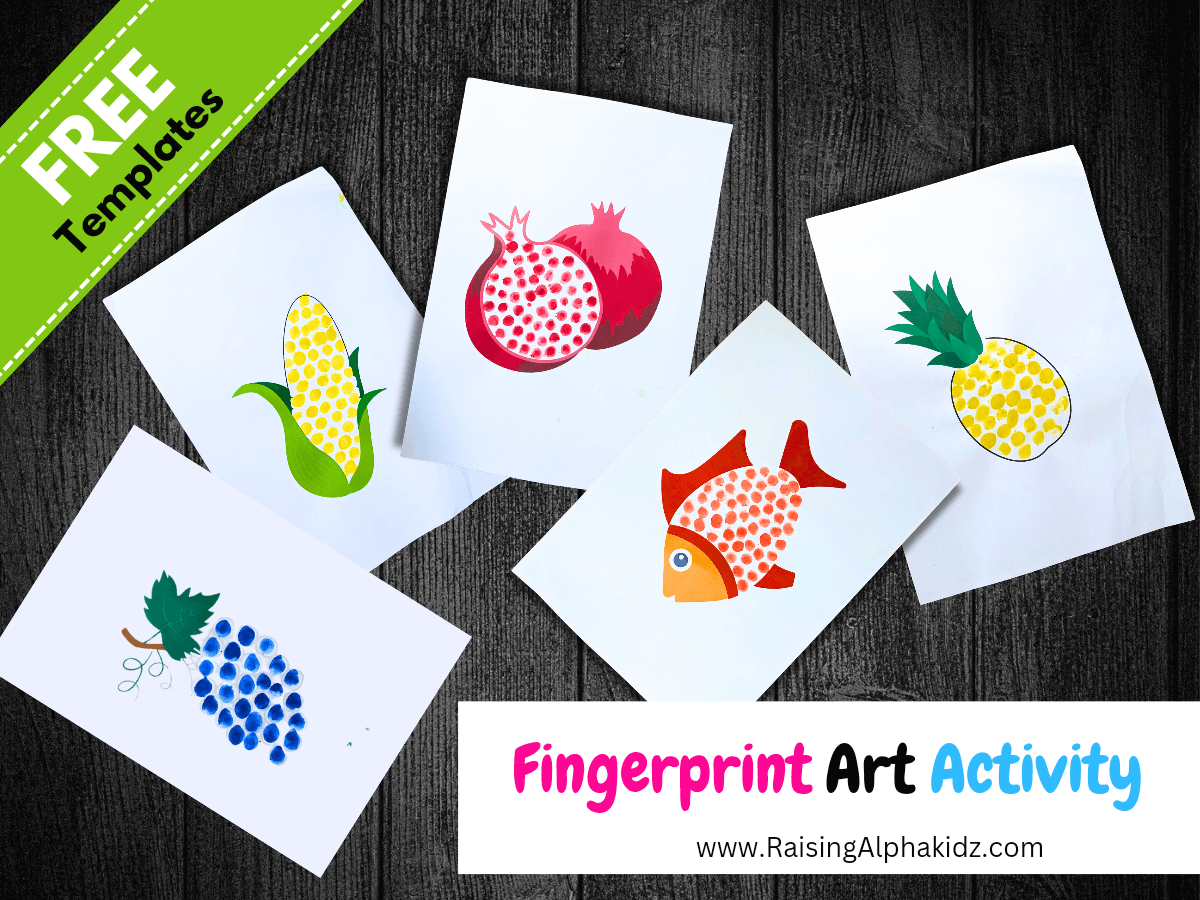
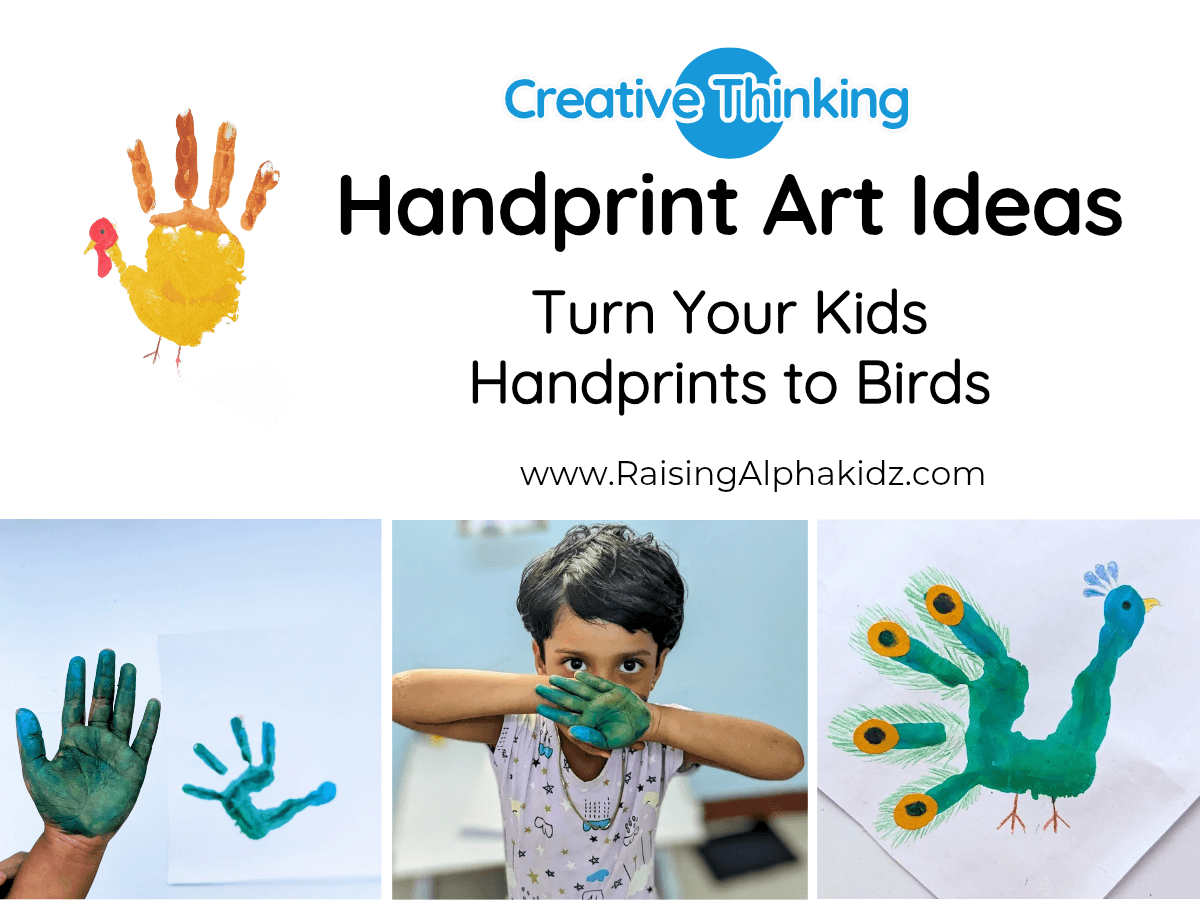
Also Read: FingerPrint Art Ideas – Free Templates