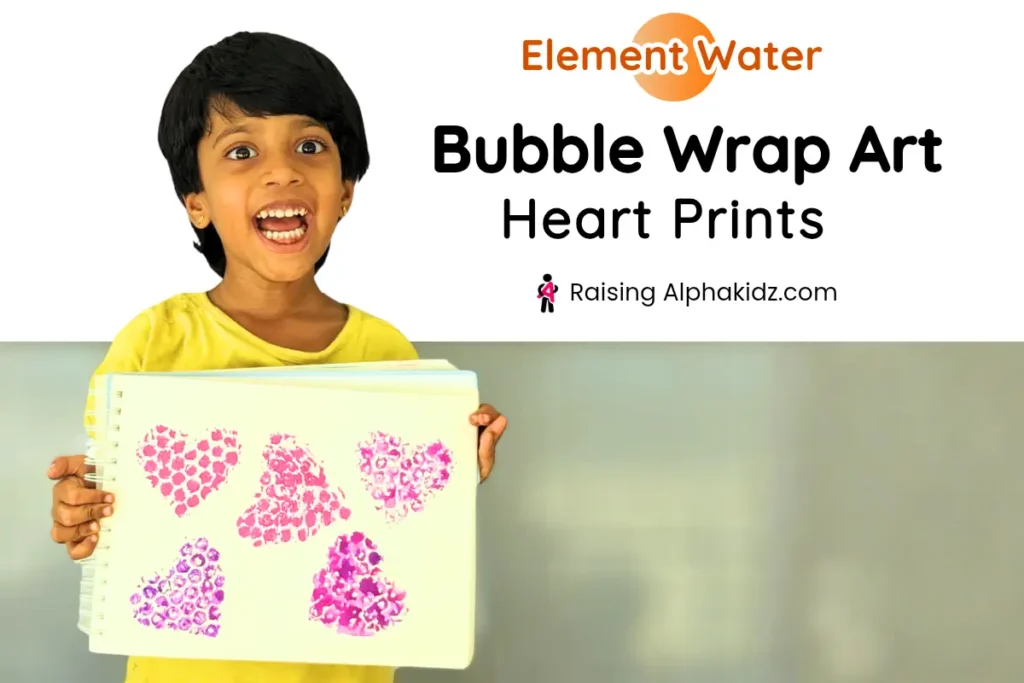
Bubble Wrap Heart Prints With Kids: Turn Packaging Scraps into Beautiful art.
- Element: Water (Creativity)
- Skills: Creative self-expression, Fine motor control, hand-eye coordination, sensory integration, patience with repetition.
- Experience: Seeing potential inside a trash, resourceful recreation, Patience with Imperfection.
- Age Group: Toddler–Preschool (free-form stamping for younger kids, shape-cutting for older ones)
Hello Parents!
Today, let’s create something beautiful with our little creators using nothing more than a scrap of packaging material. Art never needs to be confined to fancy supplies — imagination is really the only ingredient that matters. That’s exactly why process art is so much fun to explore, and today’s pick is a favorite: bubble wrap painting for kids.
If a package recently arrived at your door wrapped in bubble wrap, don’t toss it out just yet. With a few basic art supplies, that leftover packaging is about to become a printmaking tool your kids will love.
What Is Bubble Wrap Art?
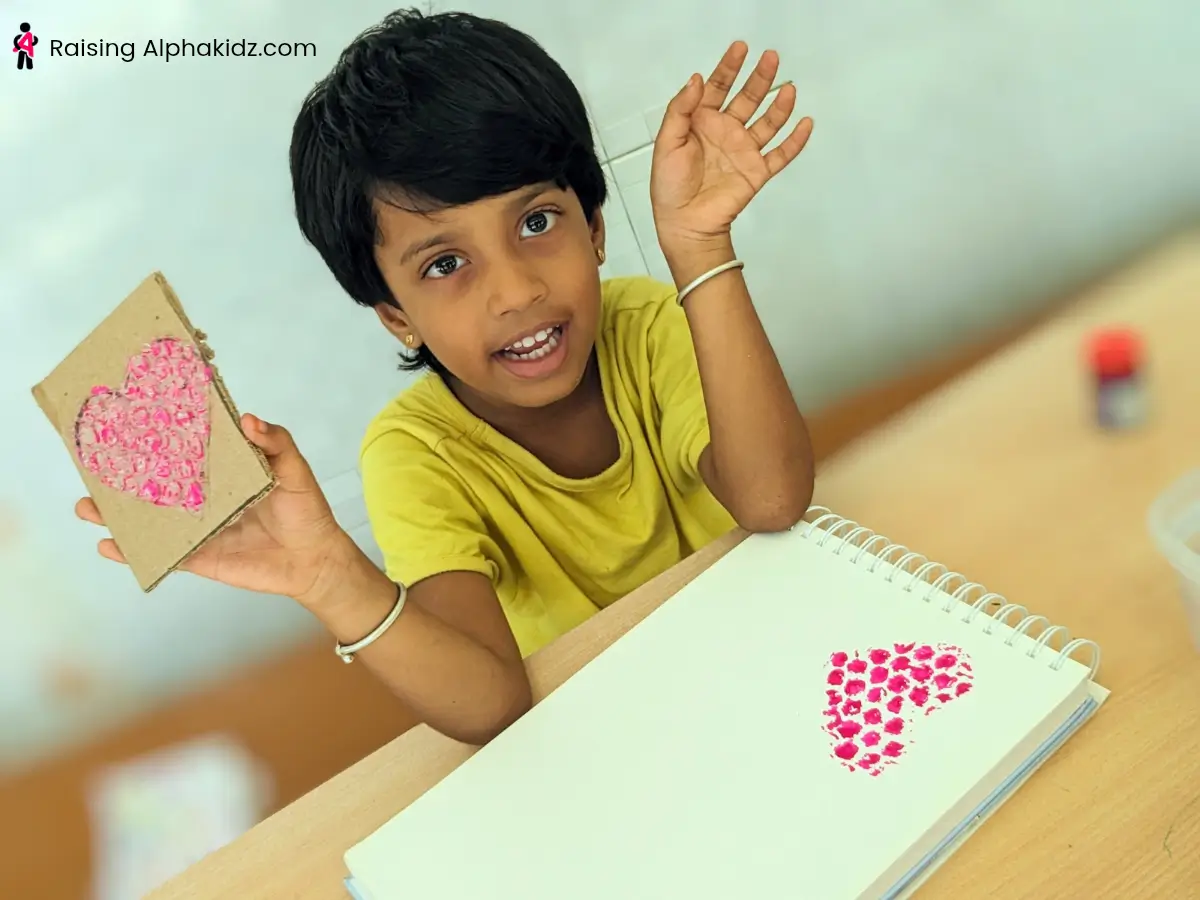
Bubble wrap art is a simple, low-cost process art technique that’s especially popular in preschool and toddler activities. Beyond being an excellent sensory play activity, bubble wrap can be painted and pressed onto paper to create textured, dotted prints — perfect for hearts, flowers, animals, and more.
Why This Is a Water Activity
Bubble wrap painting belongs to the Water element of learning, which represents creativity, imagination, joy, and artistic expression.
This activity is no-goal, process-oriented activity that never demands specific output goals, which is highly essential to stimulate their creative side of brain. Anything that appears out of hands became the art and joy of experiencing that flow would be a fun and therapy for little minds!
The open-endedness is what makes it a Water activity rather than a rule-based one. Kids aren’t following a strict formula; they’re experimenting with texture, color layering, and pattern, which builds comfort with creative risk-taking. Watching paint transform from a flat brushstroke into a raised, dotted texture also introduces a playful element of surprise, encouraging kids to stay curious and try the process again with a new color or shape.
This activity also supports emotional engagement through repetition — pressing and lifting the bubble wrap has a satisfying, almost rhythmic quality that keeps kids absorbed in the process rather than fixated on a “perfect” final picture. That focus on enjoying the process over the product is the heart of Water-based creativity.
Benefits of Bubble Wrap Painting
- Process over product: Kids focus on enjoying the experience rather than achieving a specific goal.
- Sensory integration: The bumpy texture of bubble wrap offers rich tactile input.
- Fine motor development: Pressing, rolling, and lifting build hand strength and coordination.
- Hand-eye coordination: Aligning the bubble wrap shape with the paper builds spatial awareness.
Art Supplies Needed
- Bubble wrap
- Paint
- Paintbrushes
- Thick sheet of paper or cardstock
- Cardboard (for mounting shapes)
- Scissors
- Sketch pen (for tracing shapes)
- Glue
How to Make Bubble Wrap Heart Prints
This bubble wrap heart print project is an easy, preschool-friendly art activity that results in a beautiful, giftable pattern.
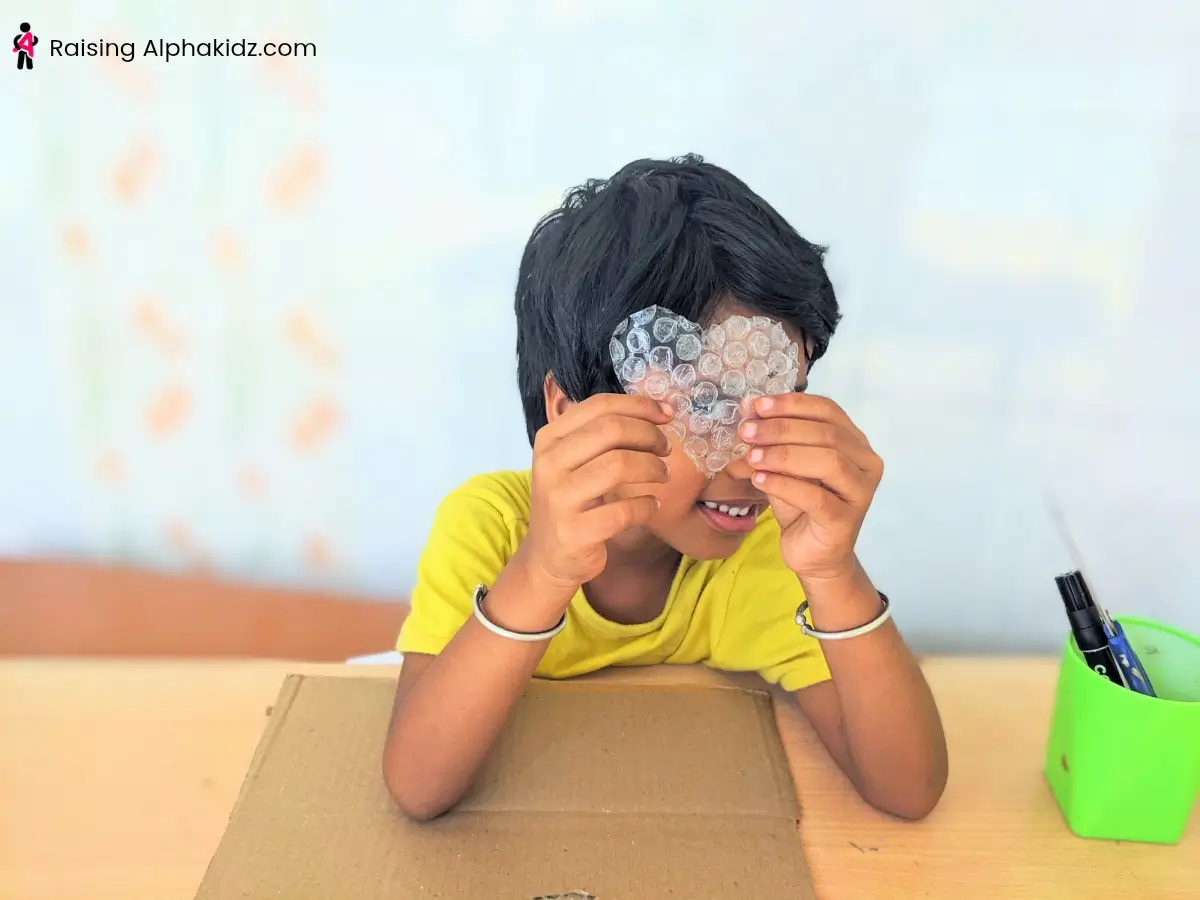
1. Cut the bubble wrap
Trace a heart shape onto a piece of bubble wrap using a sketch pen, then cut along the outline with scissors.
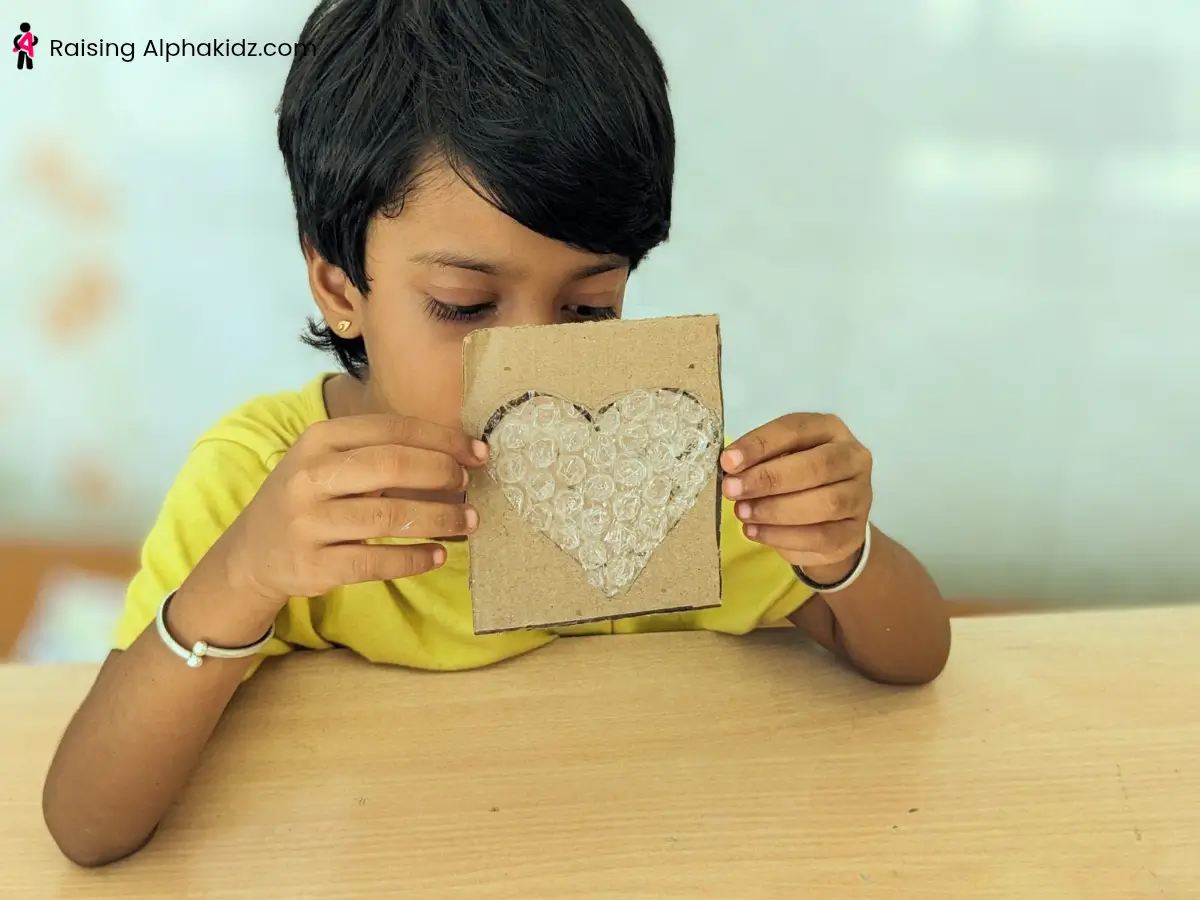
2. Mount it on cardboard
Glue the heart-shaped bubble wrap cutout onto a piece of cardboard and let the glue dry completely.
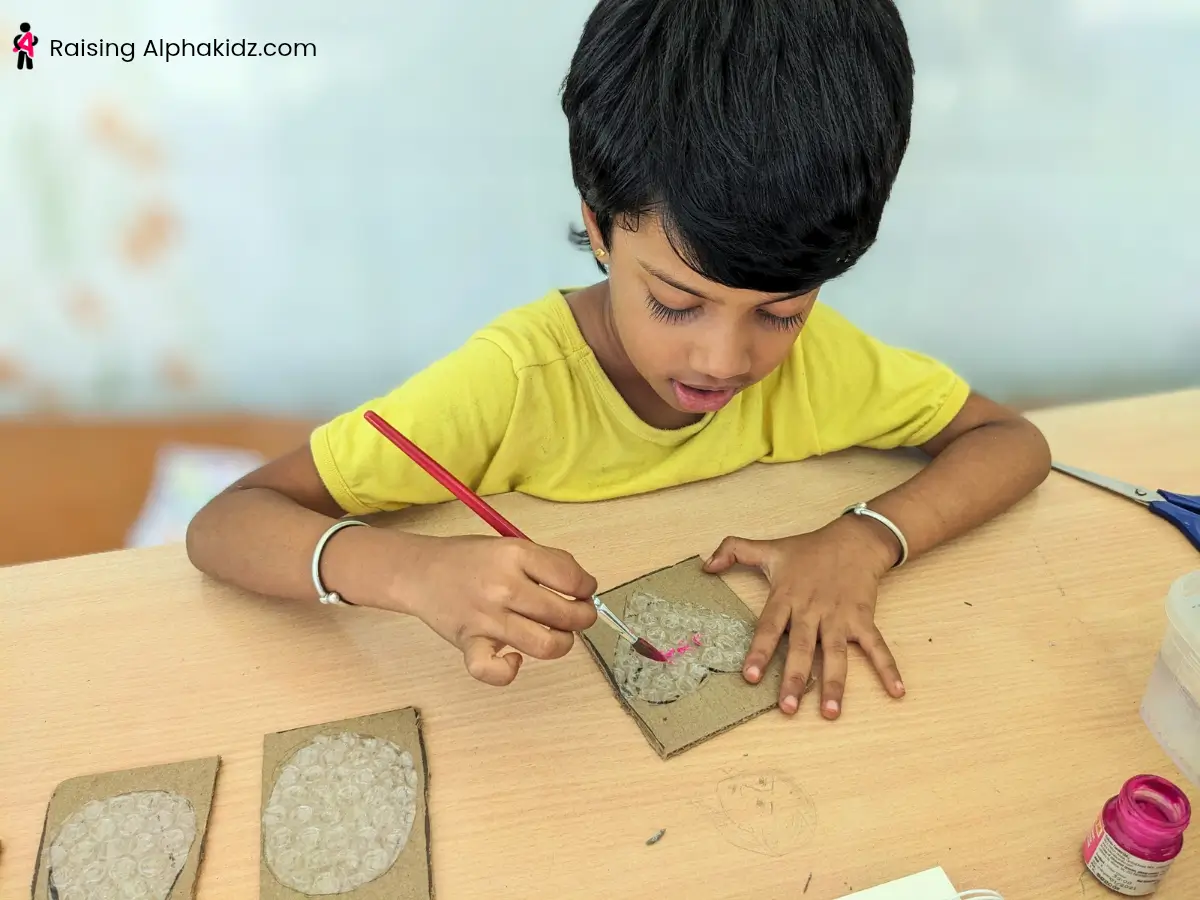
3. Apply Paint on Bubble Wrap
Once dry, use a paintbrush to apply paint over the raised bumps of the bubble wrap, covering the entire heart shape.
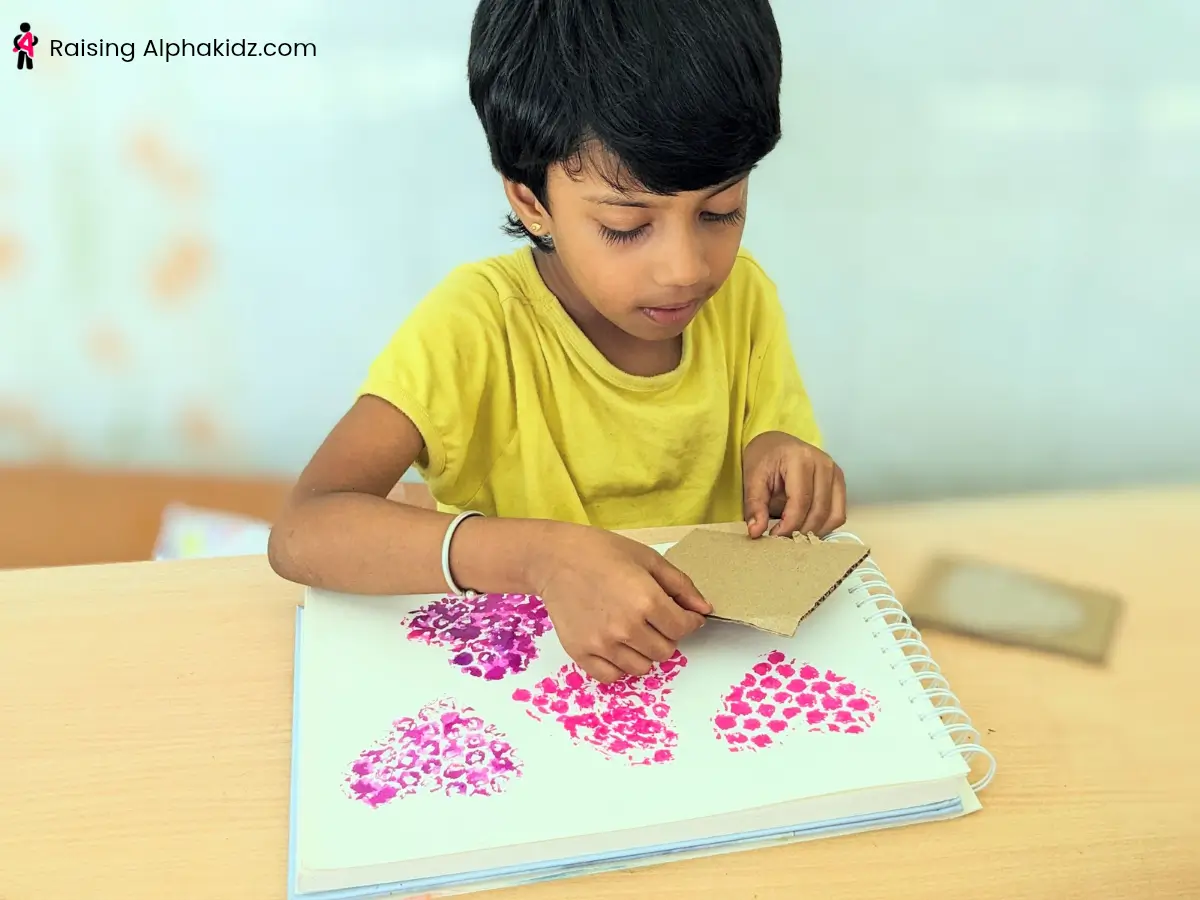
4. Make the Bubble Wrap print
Press the painted side of the bubble wrap firmly onto a piece of canvas or watercolor paper.
5. Reveal the print
Lift the cardboard away to reveal a textured, dotted heart print.
6. Repeat with new colors
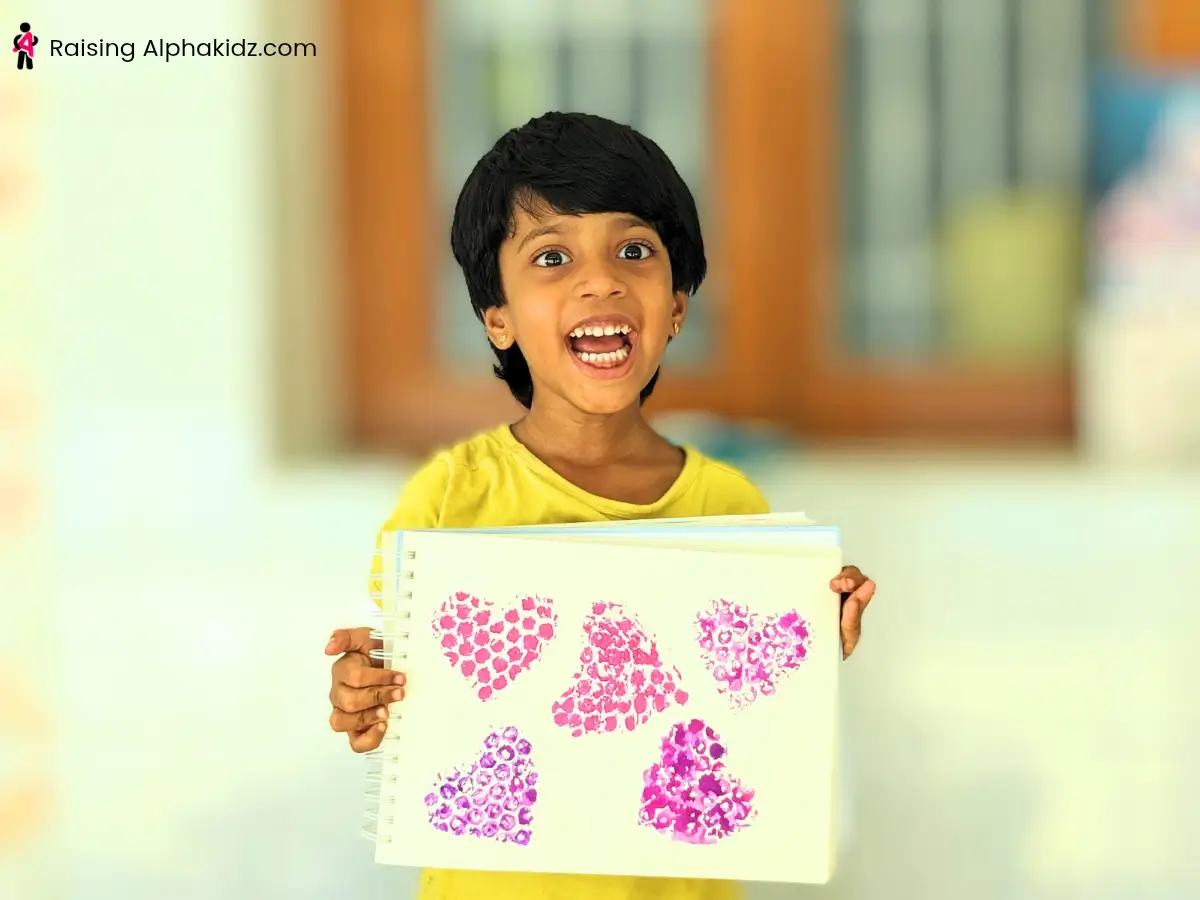
Reapply paint in different shades and continue stamping to build a colorful pattern of hearts across the page.
7. Let The Bubble Wrap Art dry
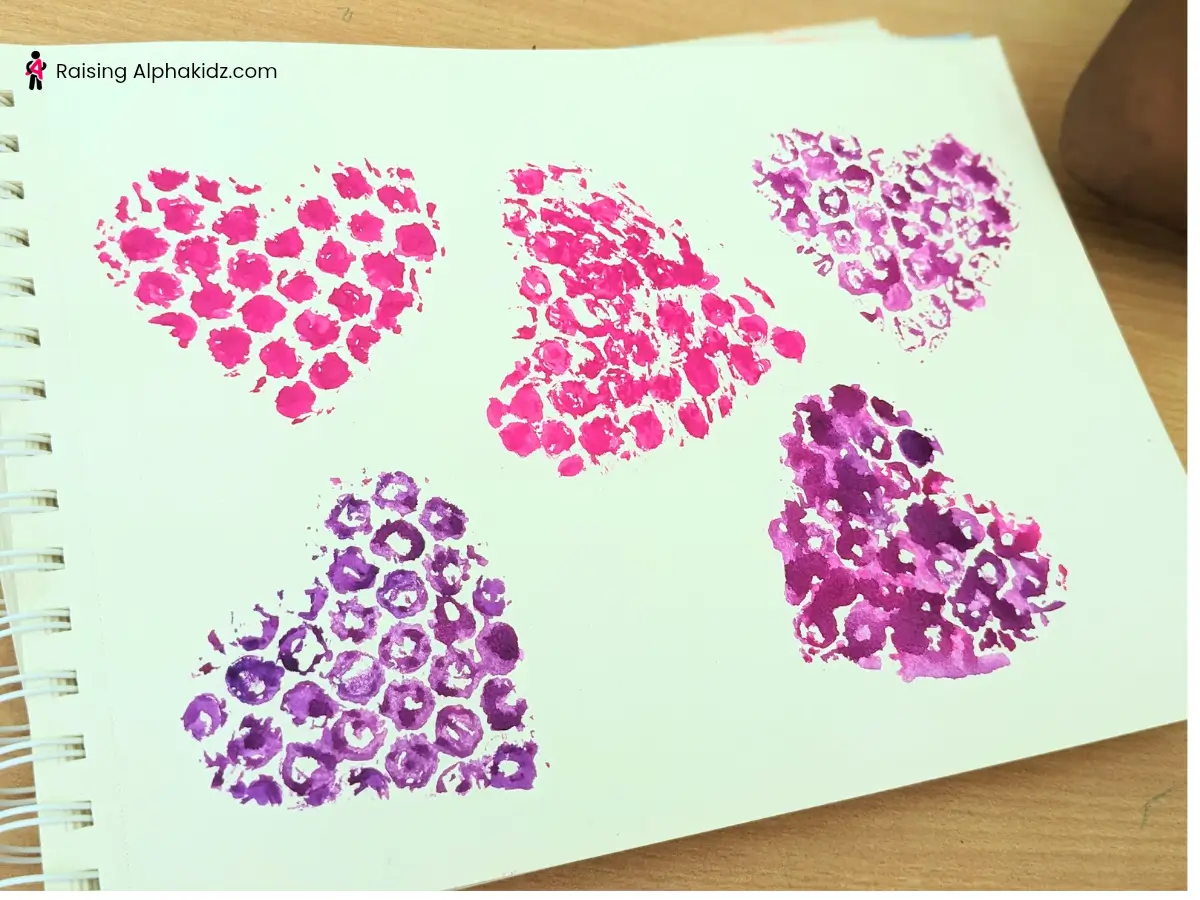
Set the finished piece aside until the paint is fully dry.
More Bubble Wrap Art Ideas to Try
Rolling pin print: Wrap a strip of bubble wrap around a rolling pin, apply paint, and let toddlers roll it across paper for an easy, low-mess textured background.
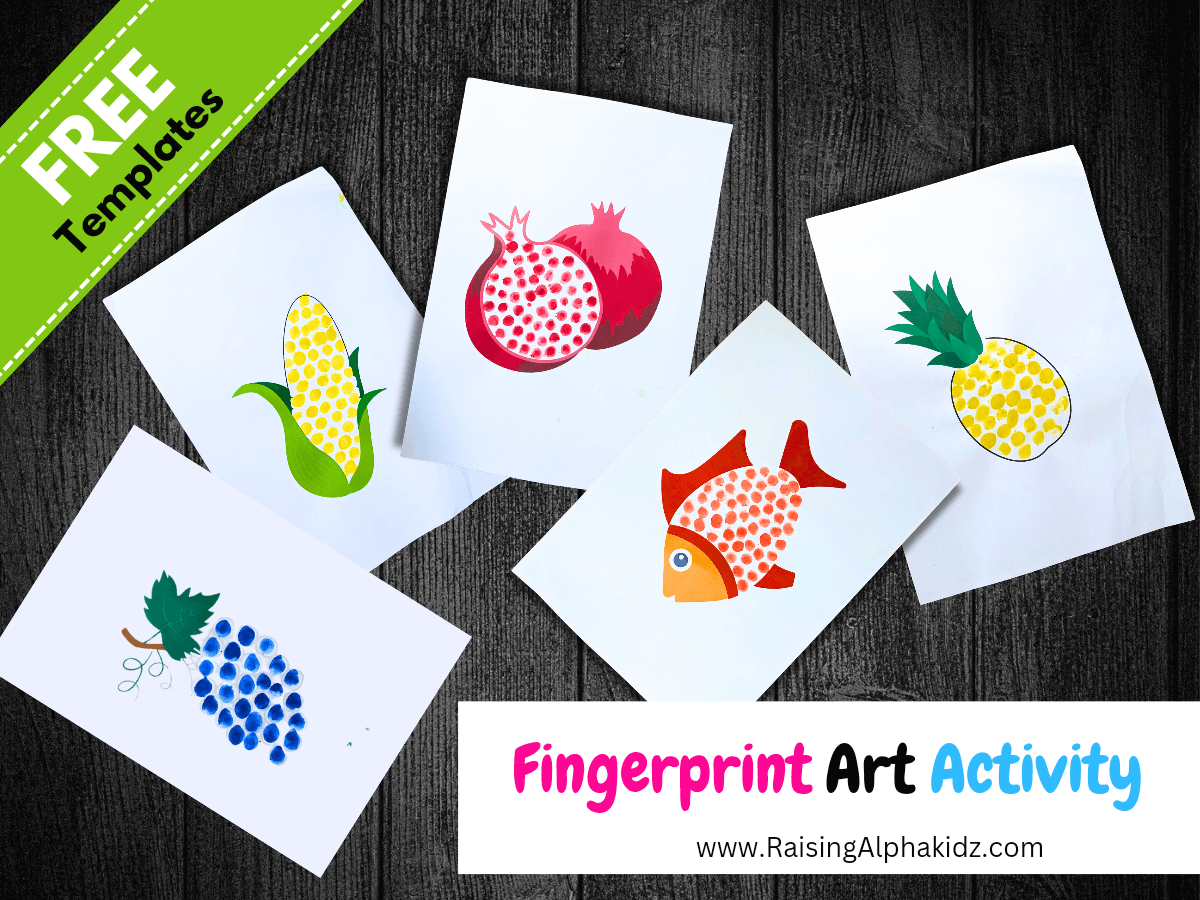
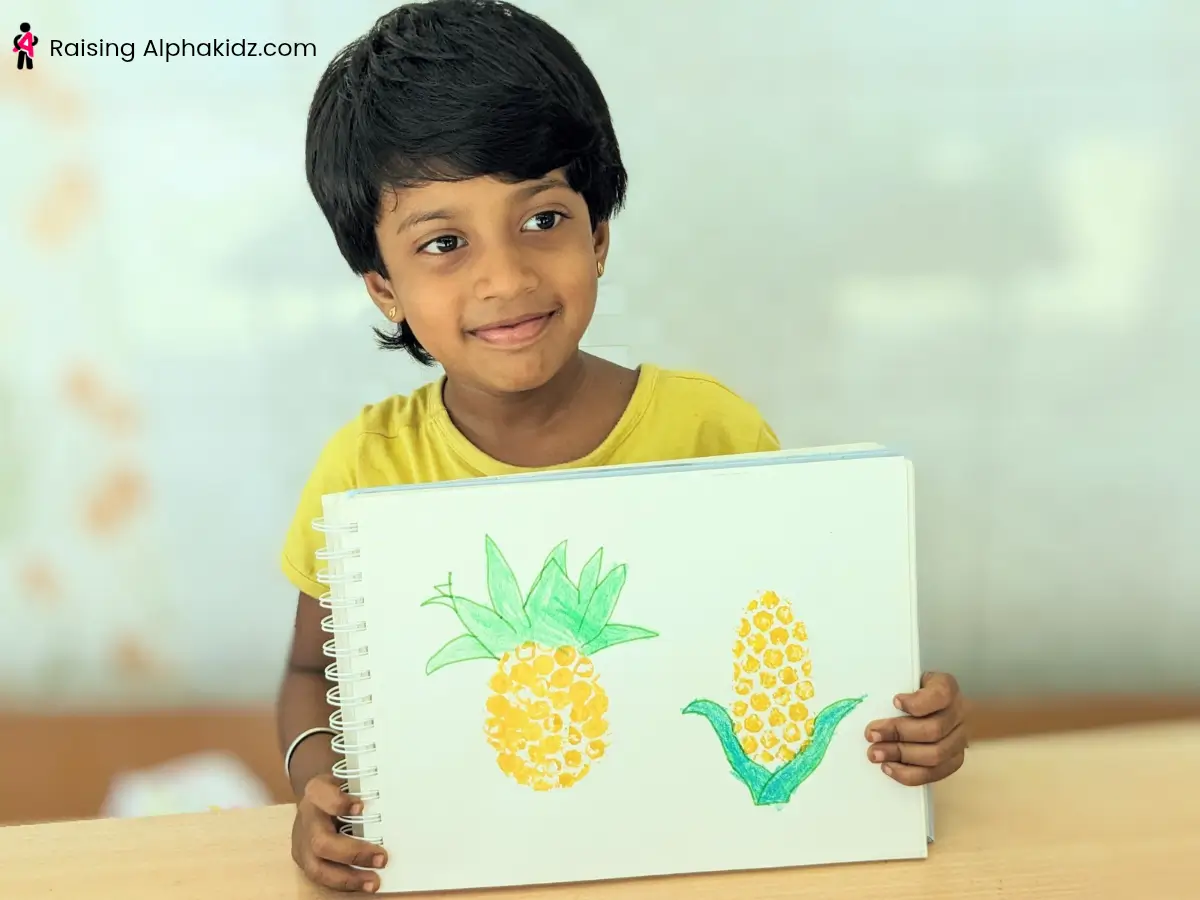
Corn print: Cut the bubble wrap into a corn cob shape, stamp it in yellow paint, then draw green leaves at the base to complete the ear of corn.
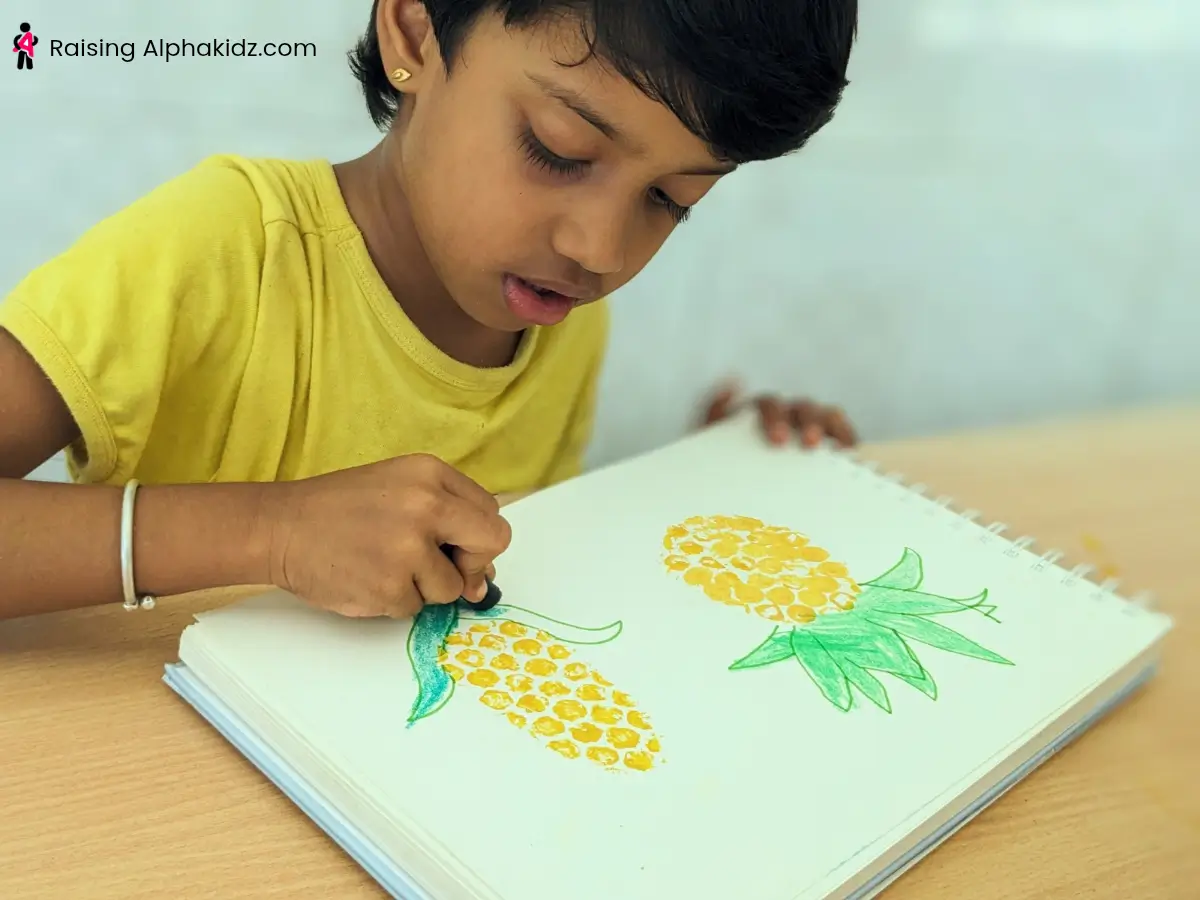
Pineapple print: Cut the bubble wrap into a circular shape, stamp it in yellow or gold paint, then add a green crown of leaves on top.
Fish print: Cut an oval body shape, stamp it in blue or orange, then draw a tail, fins, and an eye to bring the fish to life.
Turtle print: Cut a rounded shell shape from the bubble wrap, stamp it green or brown, then draw a small head, tail, and legs around the print.
Flower print: Cut several small petal shapes or one round bloom shape, stamp in bright colors, then draw a stem and leaves underneath.
Classroom and Homeschool Adaptations
- In classrooms, pre-cut shapes ahead of time so children can focus on painting and stamping.
- For homeschool settings, tie the shapes into a theme — ocean animals, garden flowers, or fruit — to connect the art activity with a lesson.
- For toddlers, skip the cutting step and let them explore free-form stamping with a full sheet of bubble wrap instead.
Tips for Best Results
- Use a thick layer of paint for crisp, well-defined prints.
- Press firmly and evenly to avoid smudging.
- Let each color dry slightly before adding an overlapping print.
- Keep a damp cloth nearby for easy cleanup.
FAQs About Bubble Wrap Painting
What can you do with bubble wrap prints?
Bubble wrap prints make wonderful handmade gift cards, greeting cards, wall displays, or wrapping paper for a personal touch.
What do children learn from bubble wrap painting?
Kids build fine motor skills, hand-eye coordination, and sensory awareness while exploring color, texture, and pattern-making in an open-ended way.
Can I paint with bubble wrap with kids of any age?
Yes. Toddlers can enjoy simple rolling or free-form stamping with adult supervision, while preschoolers and older kids can manage shape-cutting and more detailed prints.
Is bubble wrap art messy?
It’s fairly low-mess compared to other paint activities, since the paint stays contained to the bubble wrap surface until it’s pressed onto paper.
A Simple Takeaway
Bubble wrap painting proves that everyday recycled materials can turn into genuine creative tools. With just paint, paper, and a scrap of packaging, kids get a hands-on lesson in texture, pattern, and color — all while having fun with the process rather than chasing a perfect picture.
If your child enjoyed this easy bubble wrap art project, explore more Water element activities for playful, imagination-led creativity that keeps the focus on joy and self-expression.
More Process Art Activities To Try Out
Related Posts: Onion Stamp Art | Print Making With Vegetables