
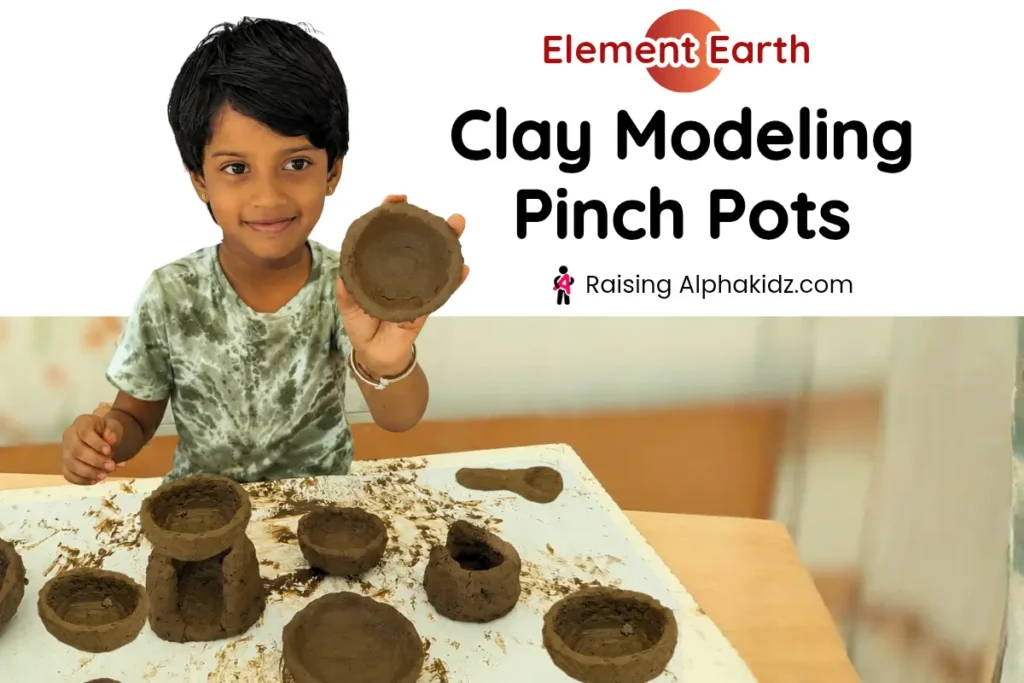
Clay Modeling Pinch Pots for Kids: A Simple, Screen-Free Activity That Builds Real Structure
Key Takeaways
- Element: Earth (Sensory, Patience)+ Water(Creative Flow)
- Skills: Fine motor control, Texture Exploration, focus, 3D Spatial Awareness, Bilateral Coordination Proprioception.
- Experiences: The joy of ultimate control over their tiny creations, combined with a moment of worry when the edges split open, followed by relief when a wet finger easily erases the mistakes.
- Age Group: Kindergarten, Elementary
Hello Alpha Raisers!
Today, let’s pitch in and make tiny pinch pots with our little creators. This activity is exactly the kind of spice every parenting routine needs — a little messy, a little magical, and deeply satisfying for small hands. If you’ve got a block of clay and a miniature “monster” running around the house looking for something to do, clay modeling pinch pots can turn that restless energy into focused, creative play. Let’s dive right in.
What Is Clay Modeling?
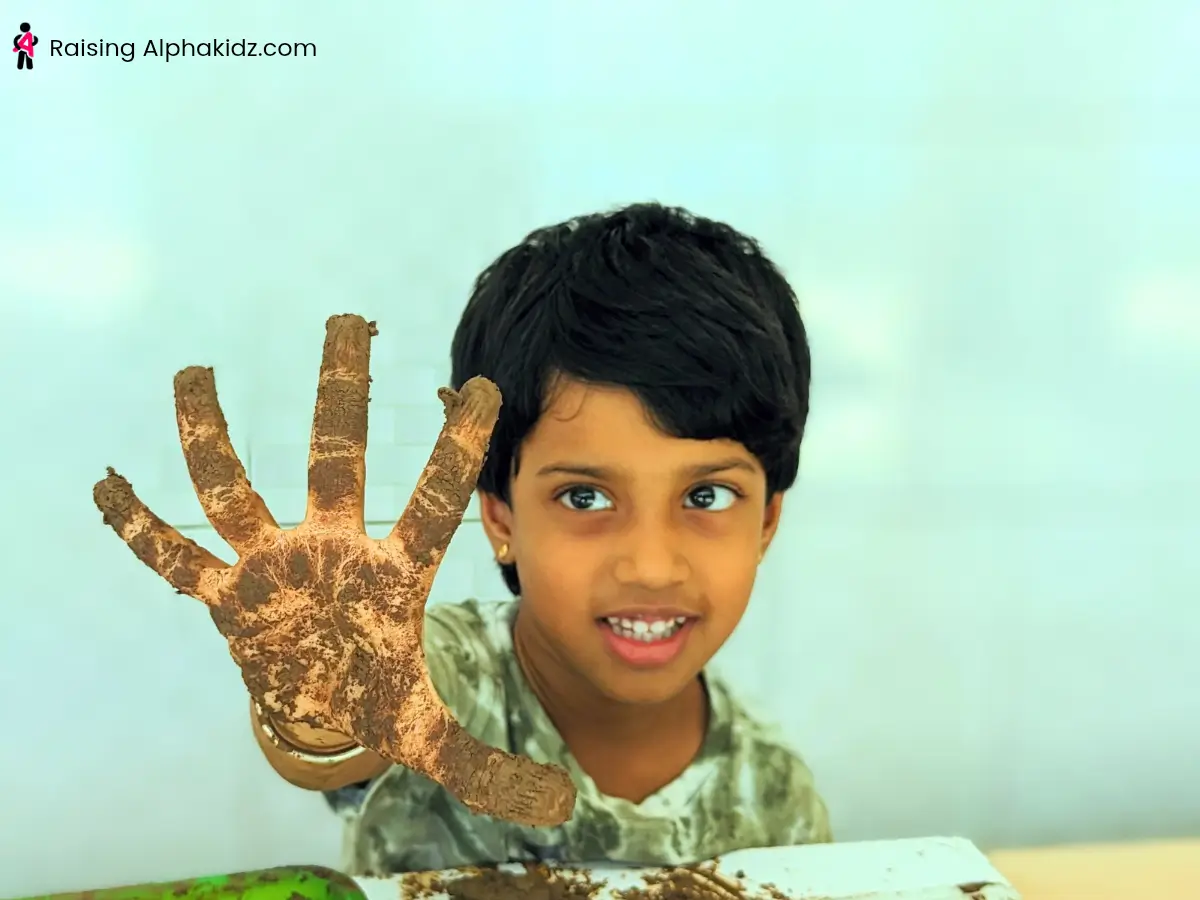
Clay modeling is one of humanity’s oldest creative activities — the practice of shaping flat, wet mud into three-dimensional structures.
Long before 3D printers and molding machines existed, humans learned to understand form, balance, and structure with nothing more than their hands and a lump of clay. That same foundational understanding is exactly what makes clay modeling such a valuable first step for kids, long before they encounter more modern tools and technology.
What Are Pinch Pots in Clay Modeling?
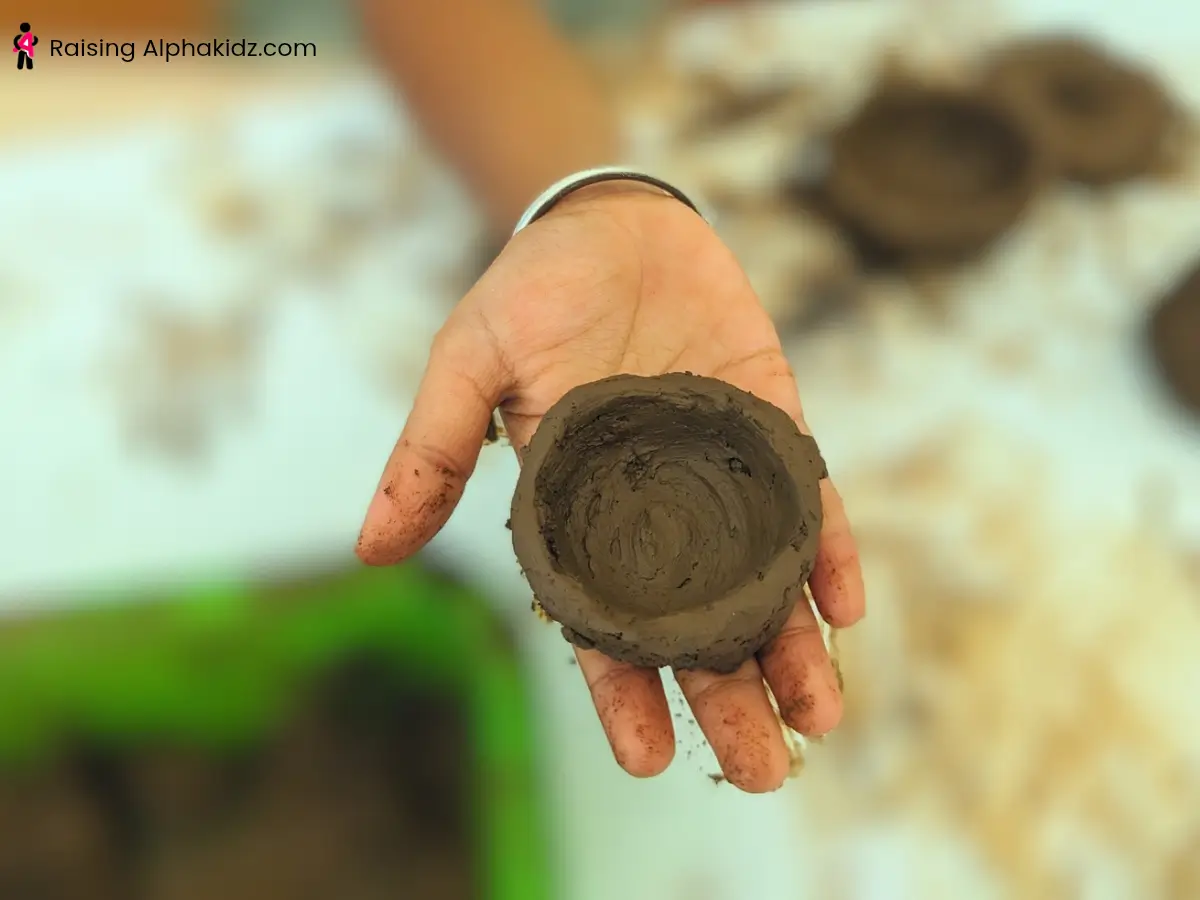
Pinch pots are simple, bowl-shaped vessels shaped entirely by hand — no tools, no wheel, just fingers and clay. It’s one of the most basic clay modeling techniques for kids to start with, and it mirrors the exact method early humans used to make the very first pottery.
Through pinch pots, kids learn the basics of clay modeling: how to shape wet clay, control pressure, and build a stable form.
Why This Is an Earth and Water Activity
Clay modeling pinch pots draw from two elements: Earth and Water. The shaping stage is rooted in Earth — stability, foundation, patience, and grounding.
Clay is a raw, earthy material, and forming a pinch pot demands slow, deliberate movement rather than rushed results.

As kids press, pull, and thin the clay walls, they learn about weight balance and symmetry so their creation doesn’t collapse — the same foundational thinking used later in geometry, architecture, and engineering.
But the activity doesn’t stop at structure. Once the pots are shaped and dried, the process shifts into Water territory — creativity, imagination, and artistic expression.

Painting the finished pieces, choosing colors, and turning a plain pot into a pretend-play teacup or keepsake bowl is open-ended, joyful, and led entirely by the child’s own ideas. There’s no “correct” way to paint a pinch pot, which is what makes this second stage distinctly Water rather than Earth.
Together, the two stages give kids a complete creative arc: build something stable and grounded first, then bring it to life with color and imagination.
Hidden Lessons
- Fine motor development: Pushing, pulling, and twisting clay strengthens finger tendons and hand grasp.
- Structural reasoning: Kids learn about weight balance and symmetry so their pots hold their shape.
- Patience and focus: Clay can’t be rushed, so kids build tolerance for slow, screen-free tasks.
- Sensory regulation: The tactile feedback of wet clay offers a calming, grounding sensory experience.
Craft Essentials
- Clay (terracotta clay works well for beginners)
- Water
How to Make Clay Modeling Pinch Pots With Kids
1. Prepare the clay
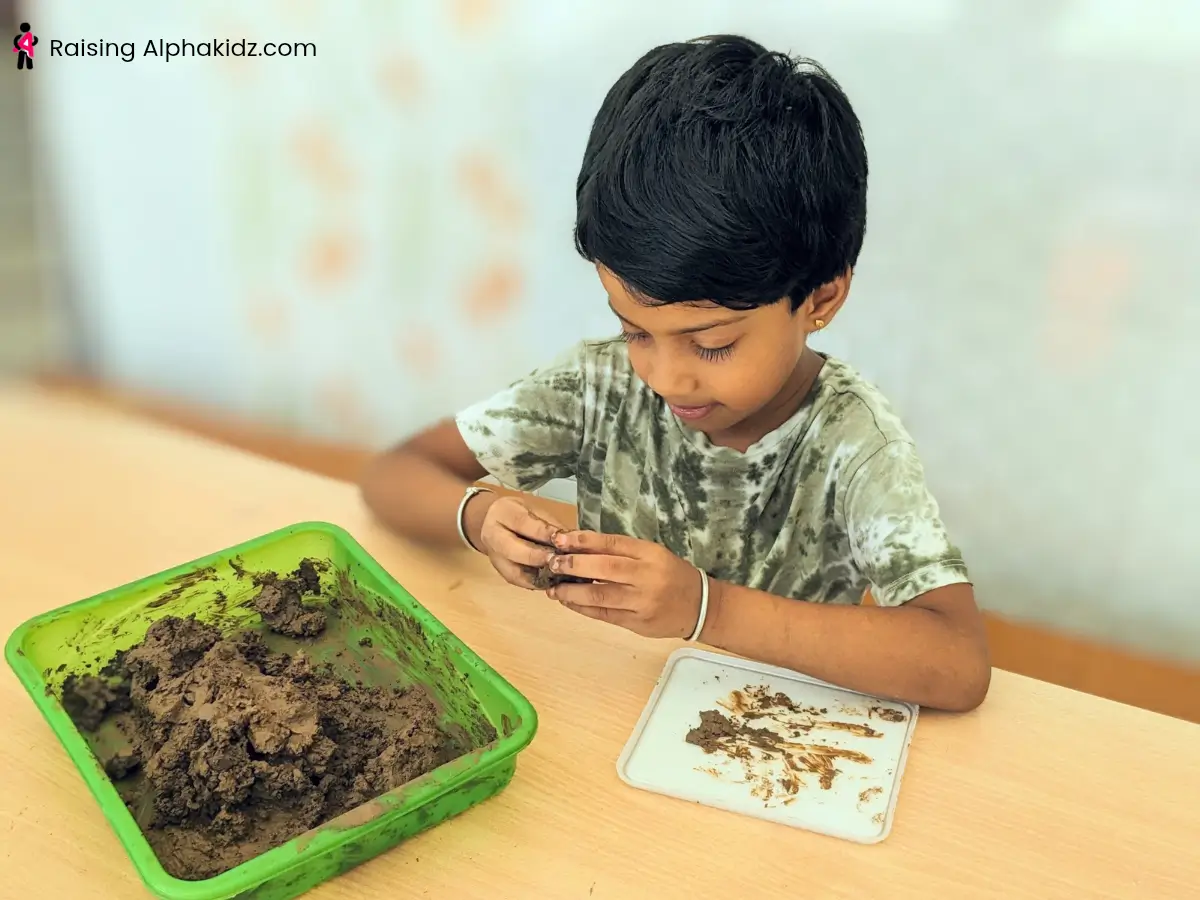
Choose a smooth clay free of stones and mix in a little water until it reaches a moldable, play-dough-like consistency. Unlike play dough, clay can feel messier and slightly sticky, so a workspace covering helps.
2. Make a Clay ball
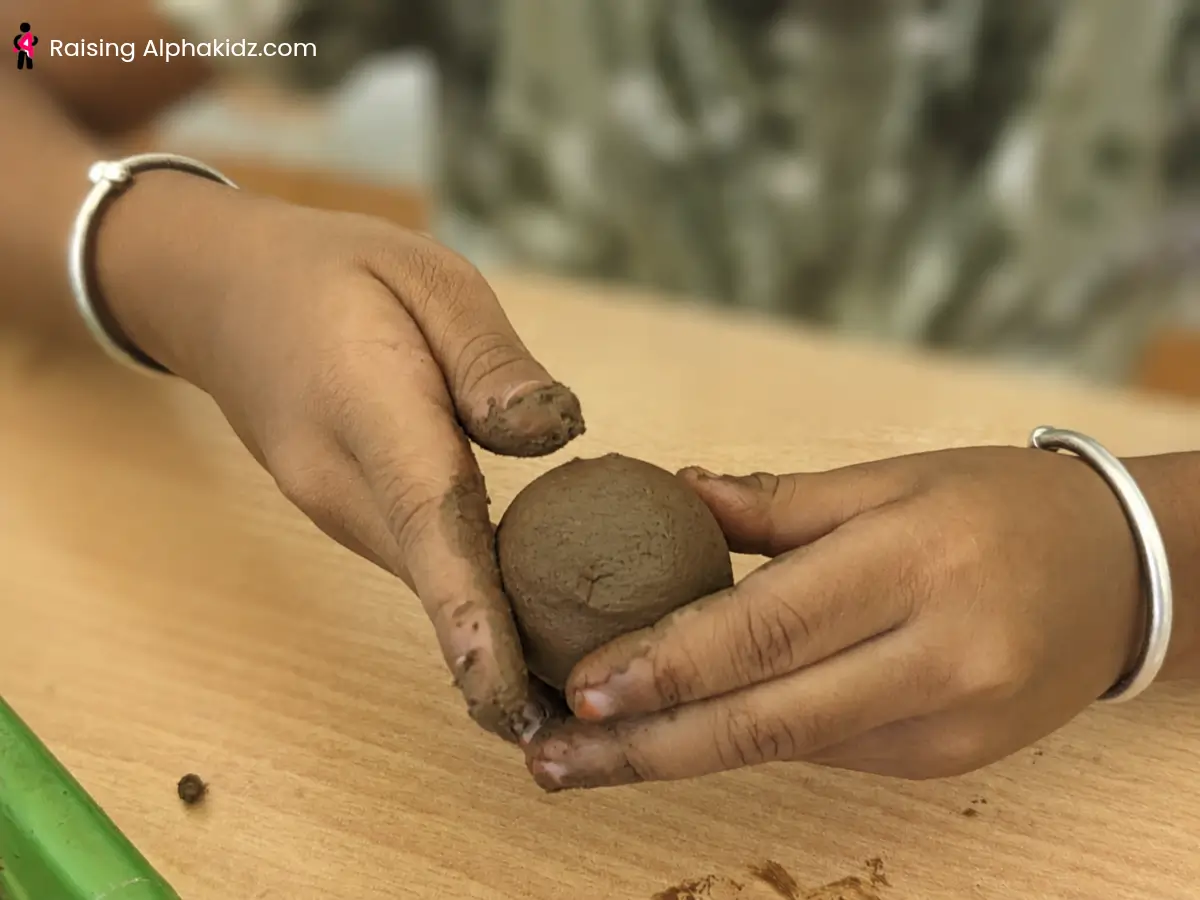
Guide your child to roll the clay between their palms until it forms a smooth, round ball.
3. Create a “navel” hole.
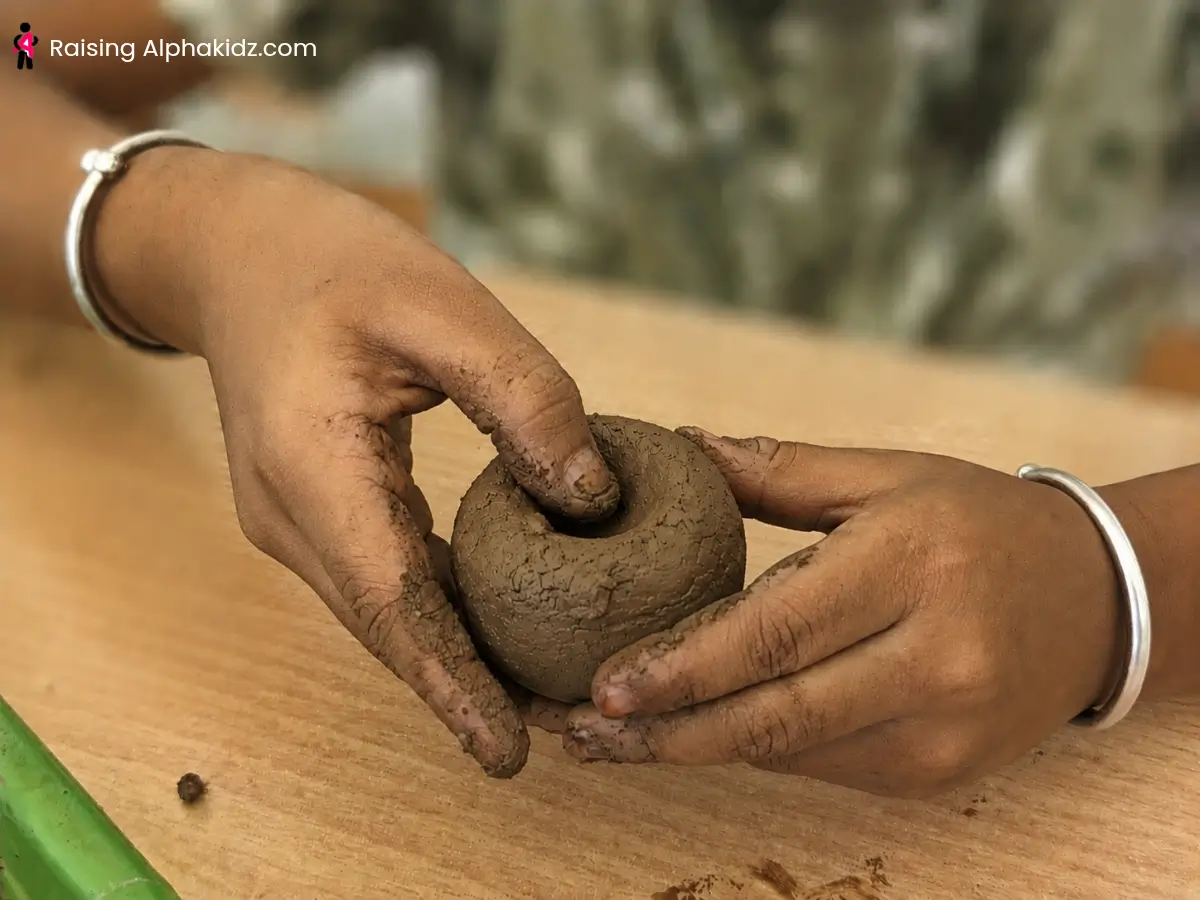
Have your child press their thumb into the center of the ball to create a small hole — this is where the inside of the pot will form.
4. Press and mold Pinch Pots
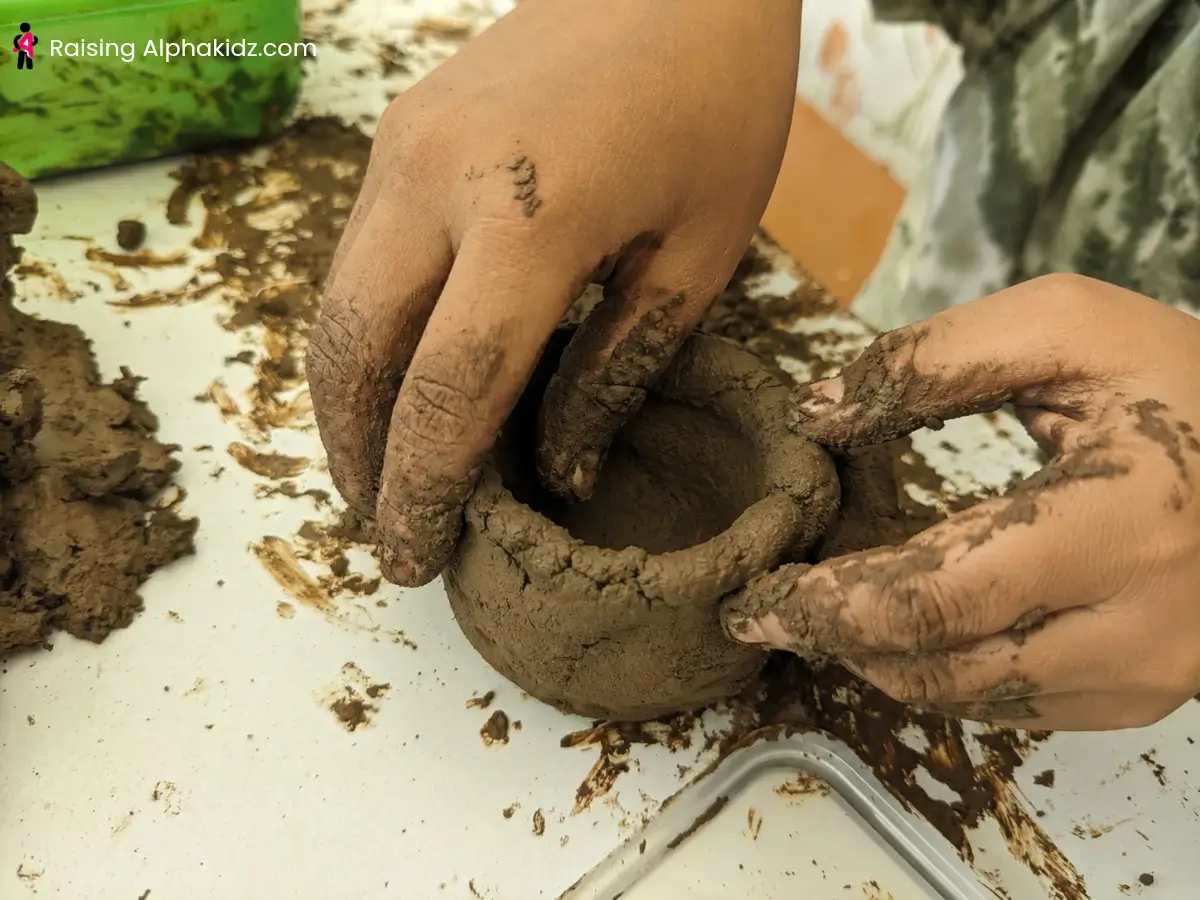
Using the thumb inside the hole and the other four fingers supporting the outside, gently deepen the hole while keeping the walls thin and even. Avoid letting clay pile up unevenly in one spot.
5. Level the surface Of Pinch Pots
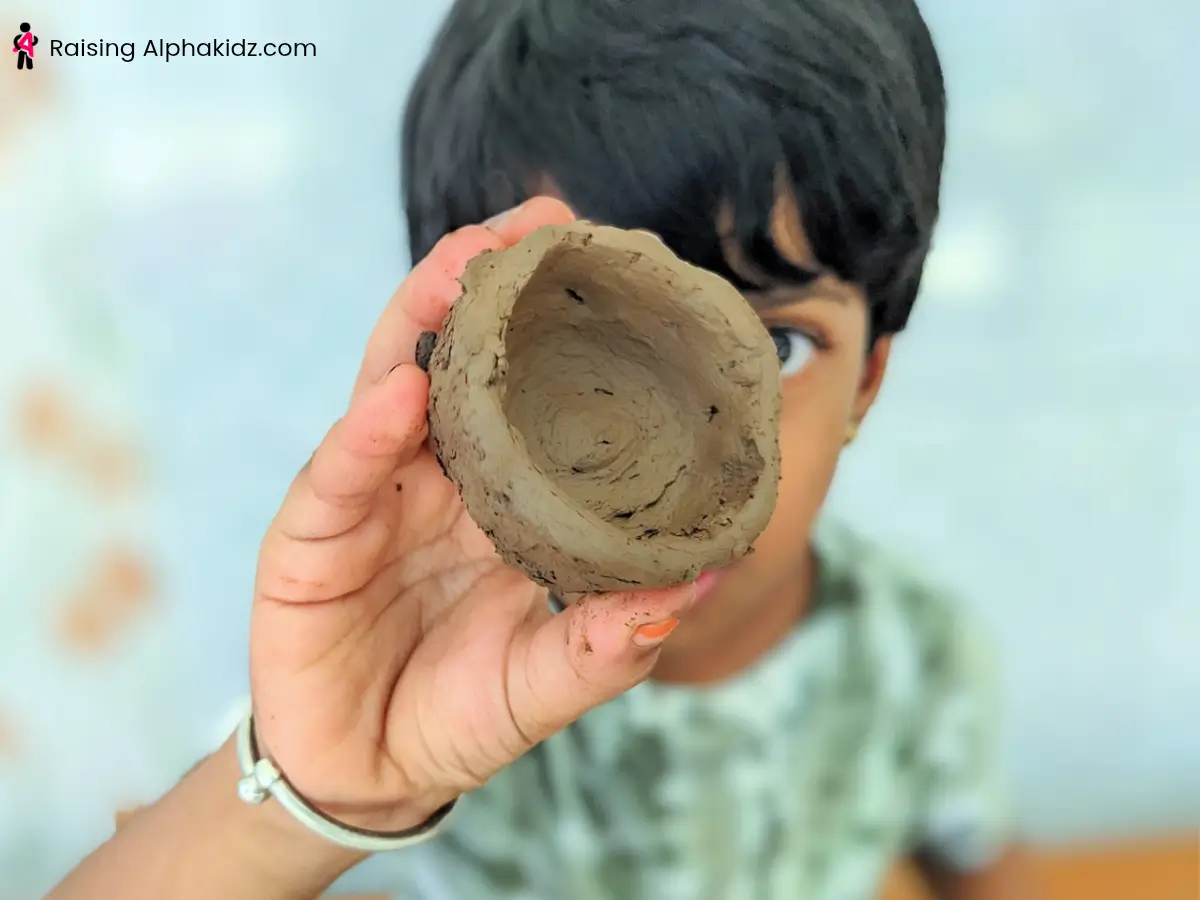
Once the basic pot shape is formed, smooth the inner surface, outer surface, and rim for a clean, even finish.
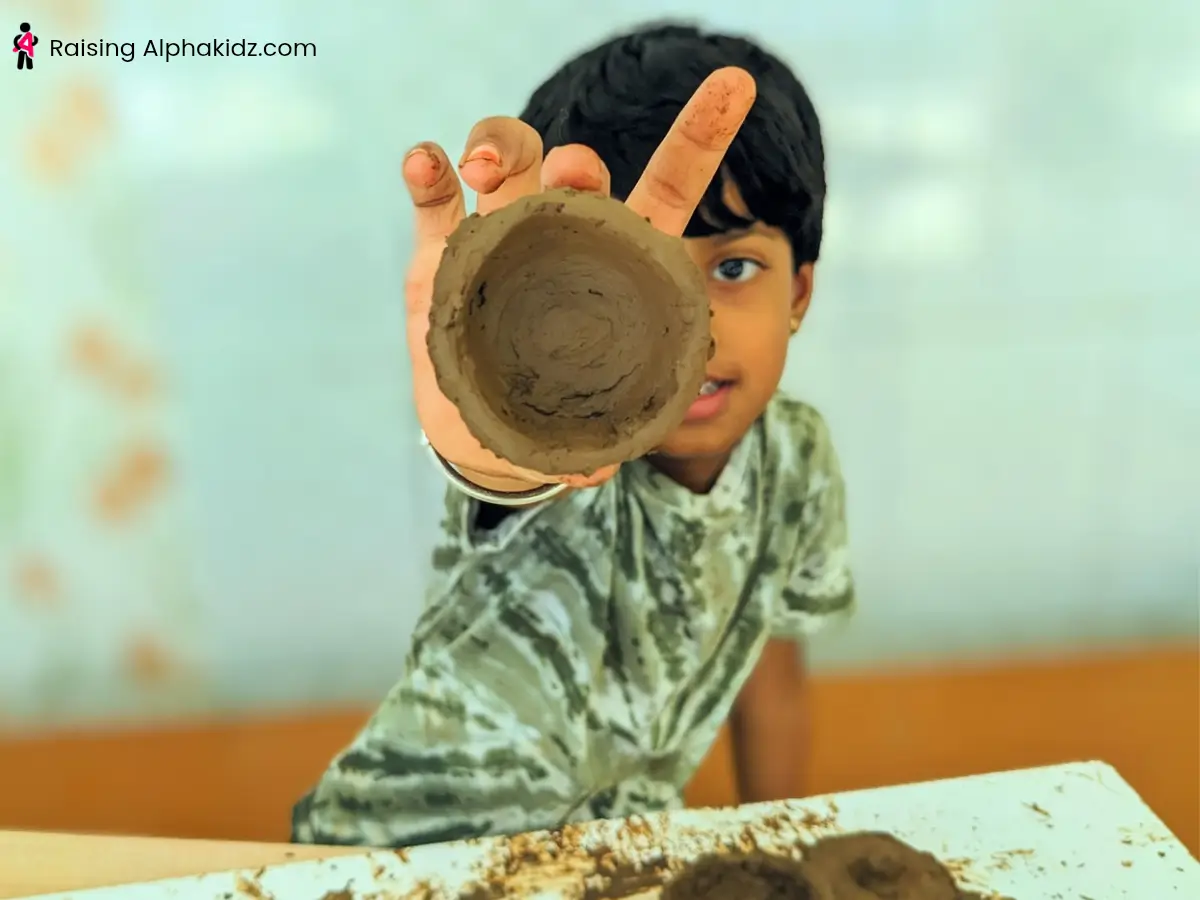
6. Explore different Clay Modeling Pinch Pots
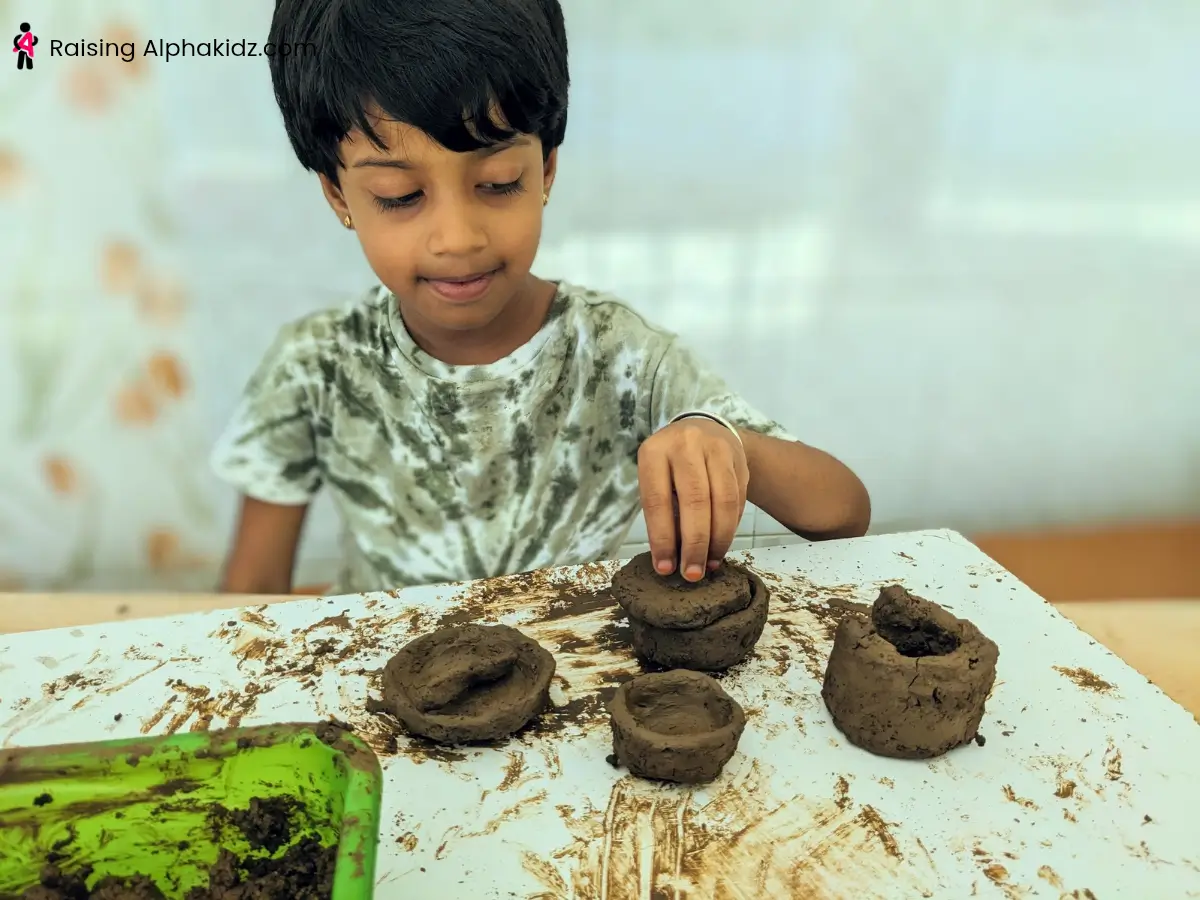
Using the same core technique, kids can create bowls, plates, tiny pots with lids, and even miniature kitchen tools.
7. Try Clay pinch plates
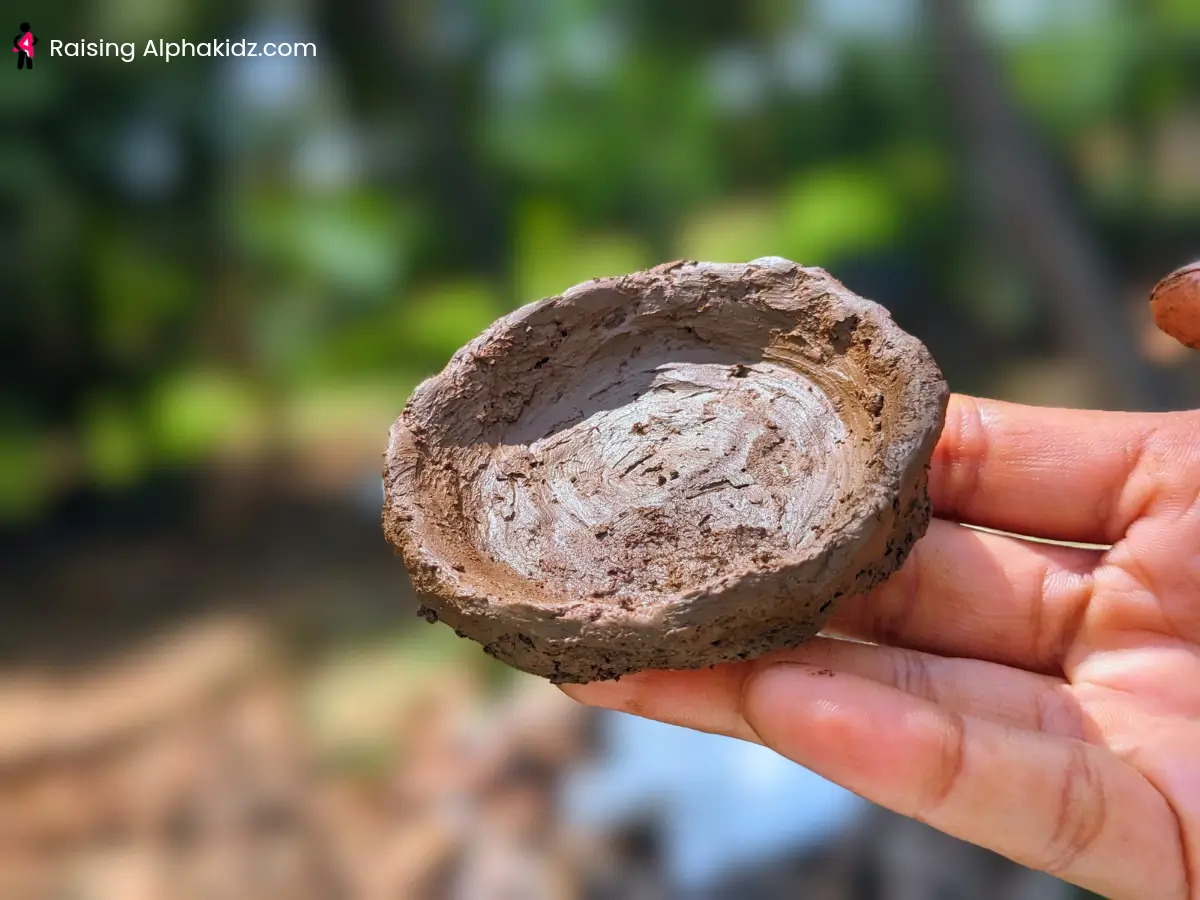
Follow the same pinching process, but widen the depth and keep the outer surface shorter and flatter to form a plate shape.
8. Make pinch pot lids
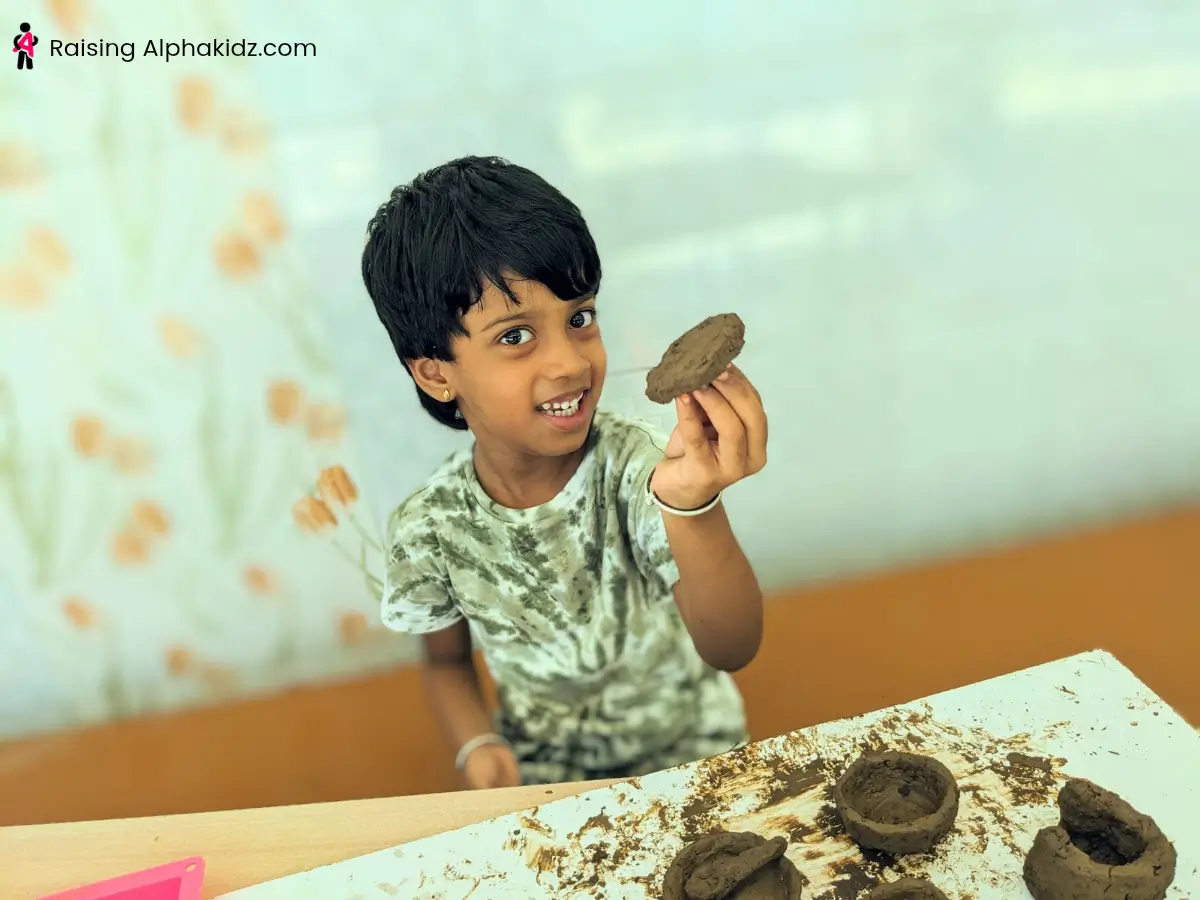
Flatten a small ball of clay into a circular patty and add a small knob-like protrusion in the center to resemble a lid.
9. Try a clay ladle
Roll a long, thin rod of clay and gently flatten one end into a shallow dip to resemble a ladle.
10. Build a mini wood stove.
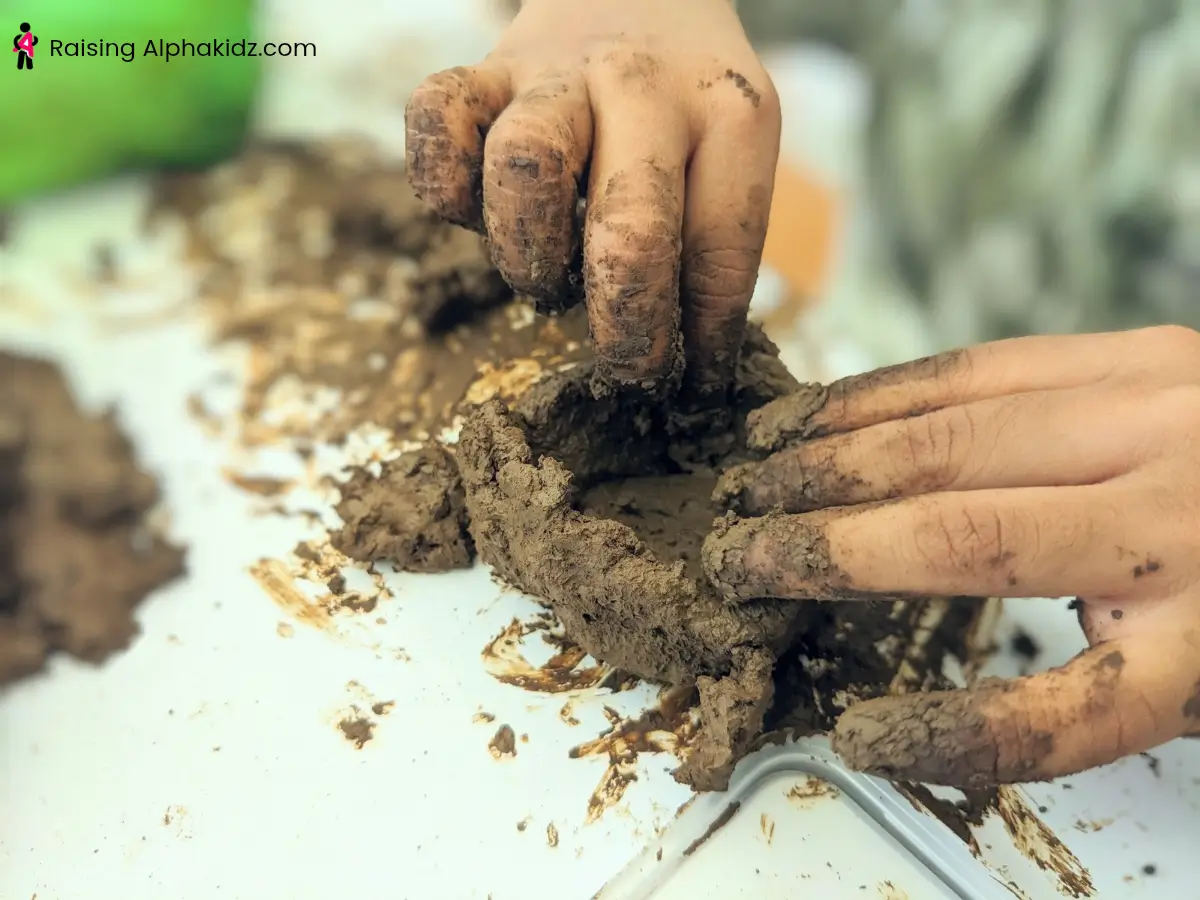
Shape a pot-like base with a raised gap on one side to resemble a stove opening — a fun addition for pretend cooking play.
11. Sun-dry the Clay Modeling Pinch Pot pieces
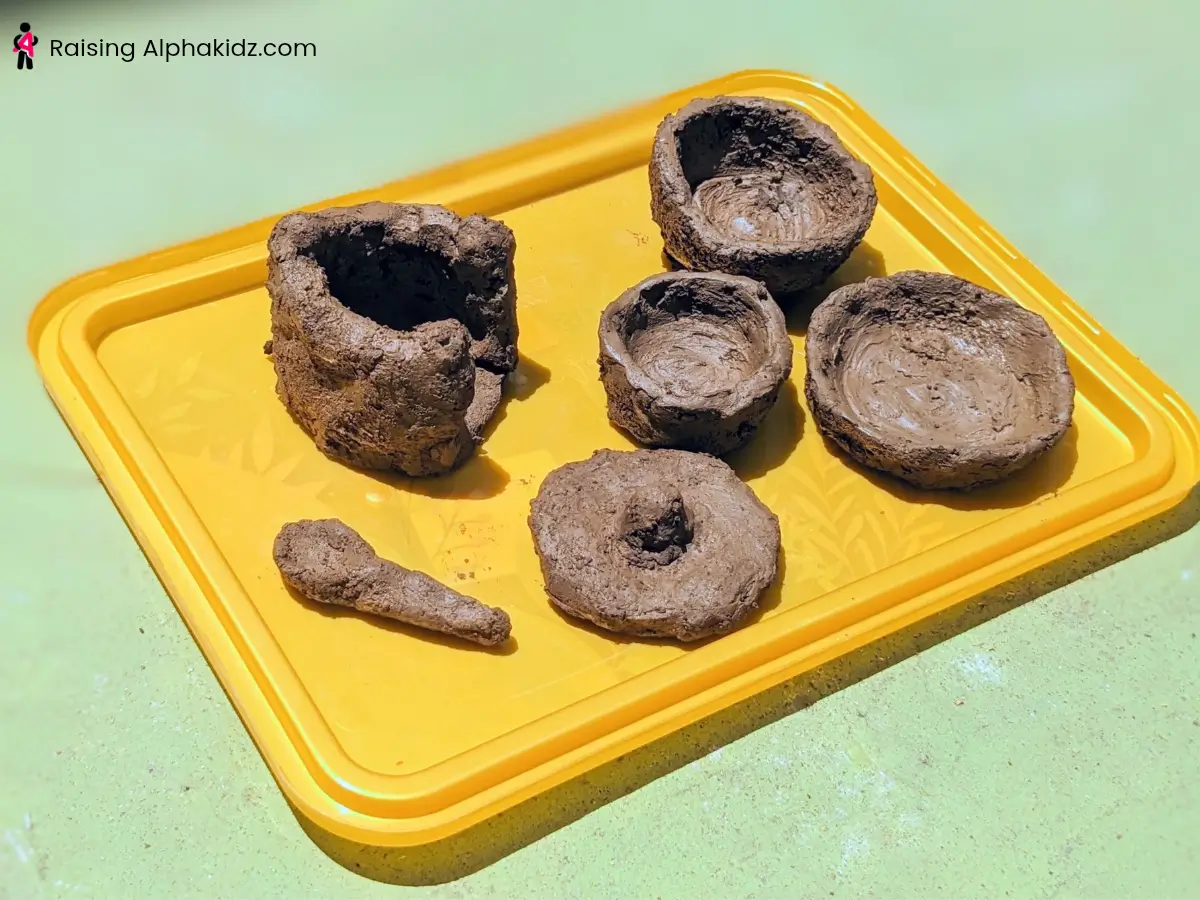
Once all the pieces are shaped, place them in sunlight and allow them to dry for one to two days.
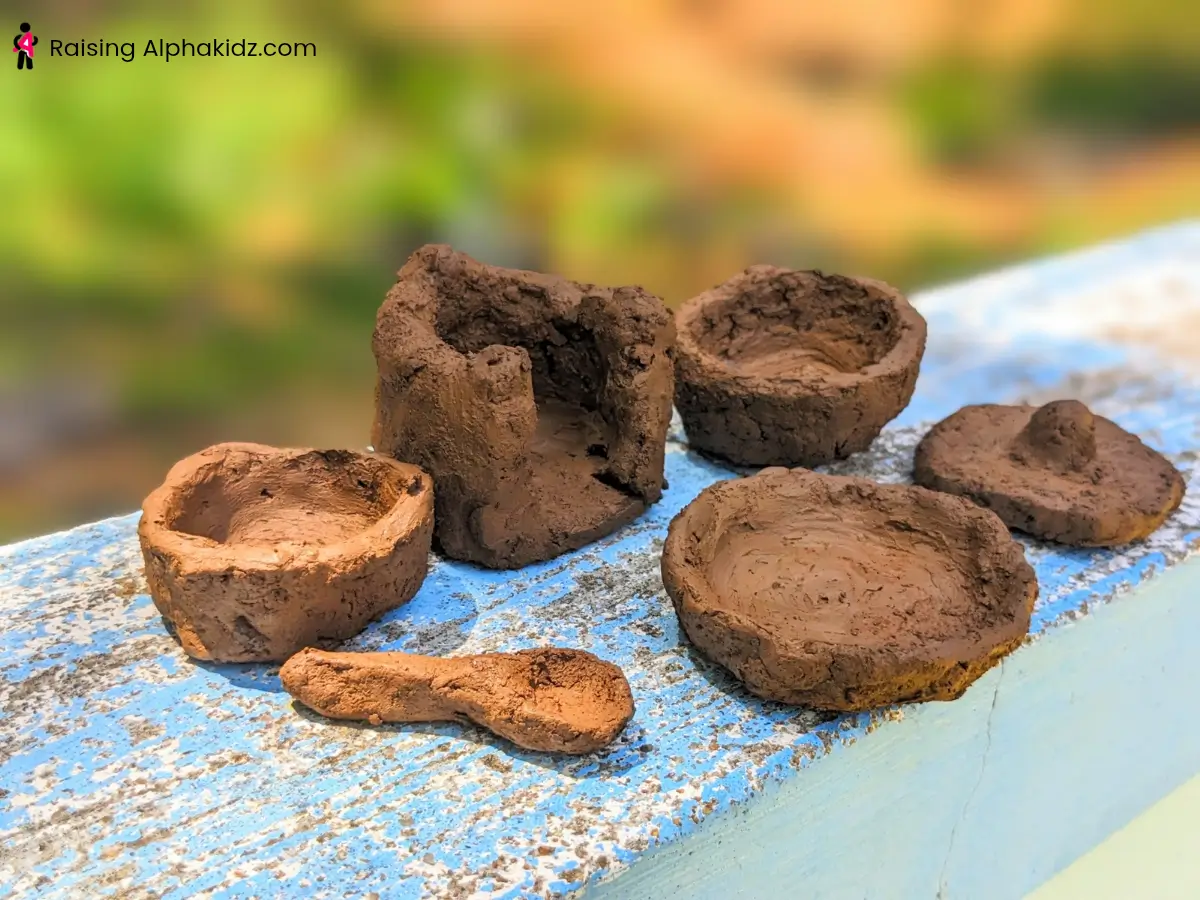
12. Paint Pinch Pots Sets
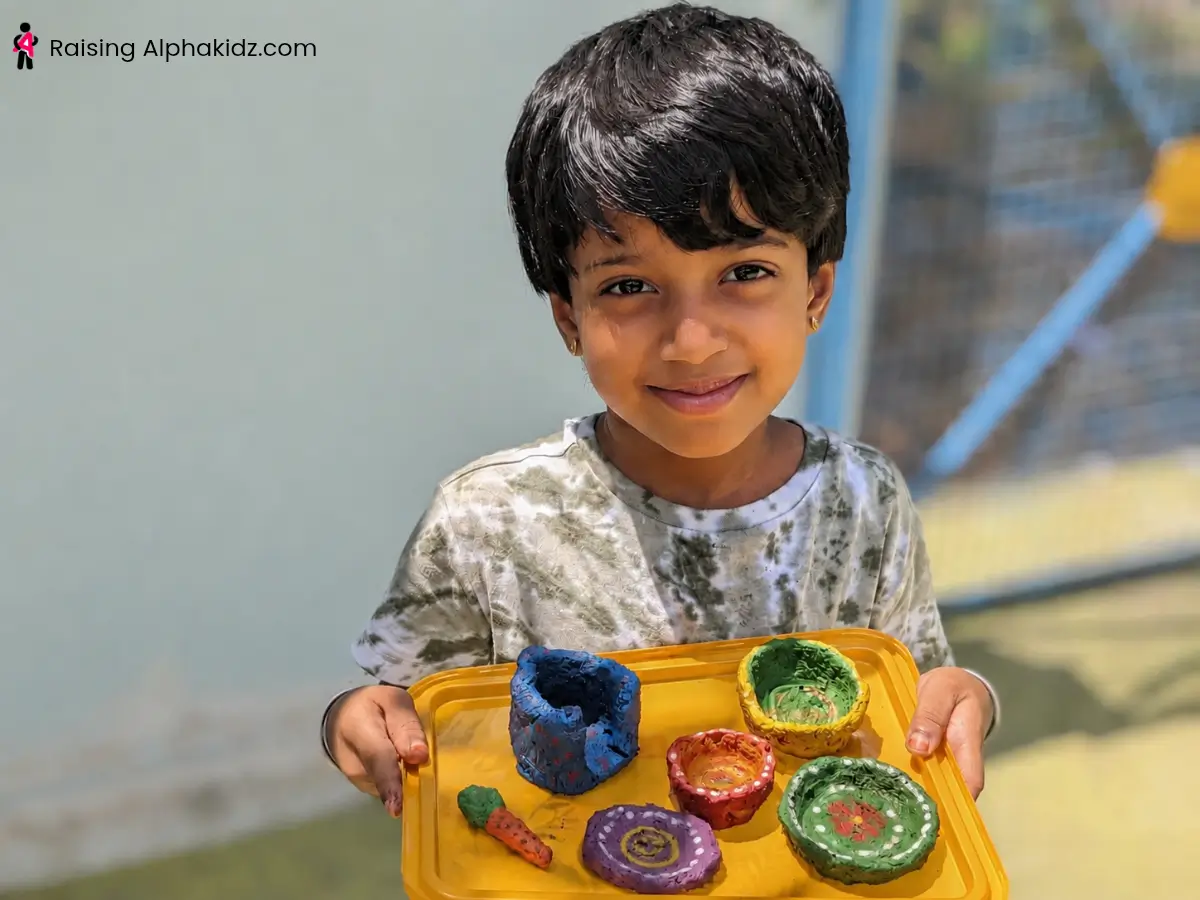
Once fully dry, turn drying into a second creative session by offering acrylic paint and brushes.
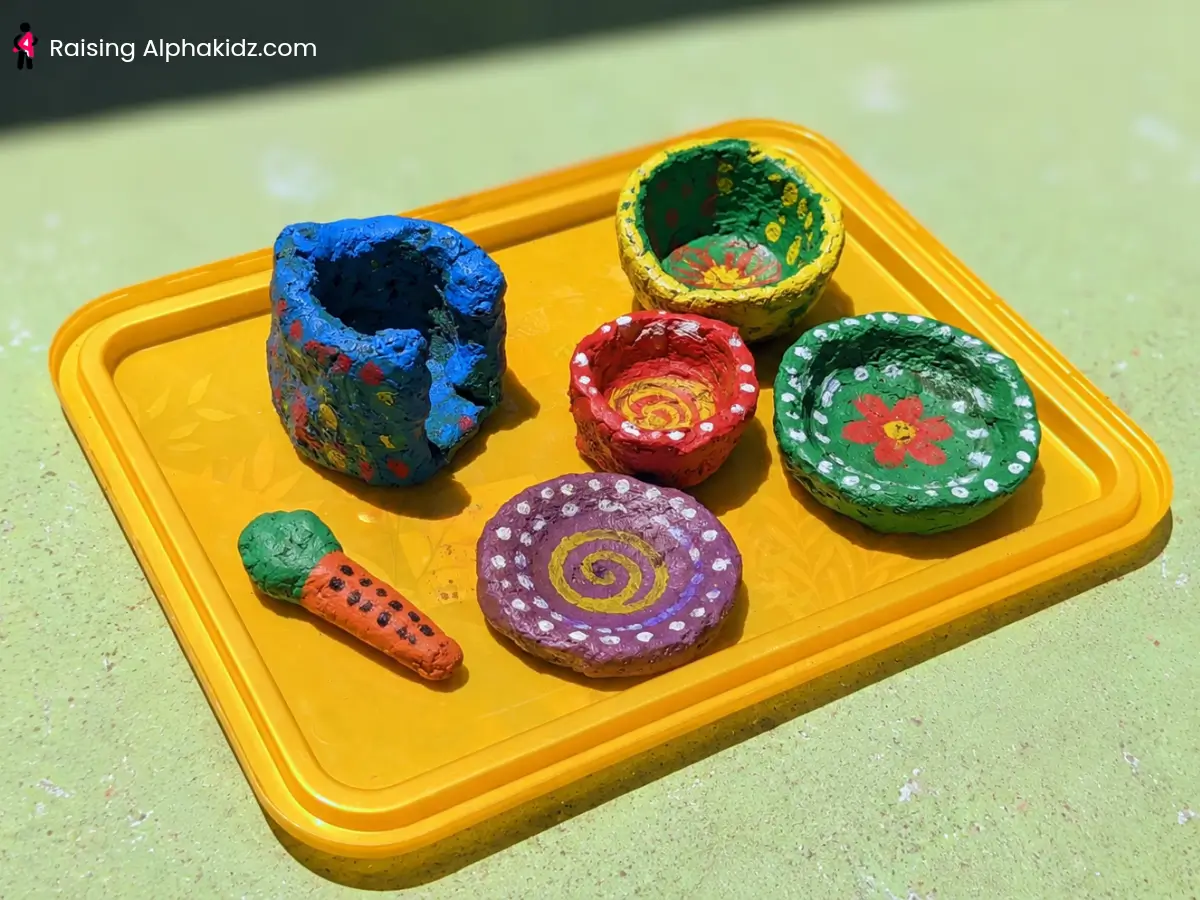
Painted pinch pots make wonderful keepsakes or pretend-play kitchen utensils.
Behind The Scene Outcomes
- Understanding of 3D structure and spatial reasoning
- Early exposure to balance, symmetry, and stability concepts
- Improved fine motor coordination and hand strength
- Increased patience and frustration tolerance during a slow-paced task
Tips for a Smooth Clay Modeling Session
- Keep a bowl of water nearby to re-moisten clay that starts to dry out.
- Encourage even pressure to prevent walls from becoming too thin or collapsing.
- Let kids experiment freely — lopsided first attempts are part of the learning process.
- Use a tray or mat to keep cleanup simple.
Classroom and Homeschool Adaptations
- In classrooms, assign each child a small, pre-portioned ball of clay to manage mess and material use.
- For homeschoolers, pair this activity with a simple history lesson on ancient pottery-making across different cultures.
- Extend the activity by having kids design a full pretend-play kitchen set using pinch pot bowls, plates, lids, and ladles.
Variations to Try
- Terracotta-style clay for a more traditional pottery look
- Polymer clay for older kids who want a firmer, oven-baked finish
- Adding texture by pressing leaves, buttons, or fabric into the clay surface before drying
FAQs About Clay Modeling Pinch Pots
What clay should I use for pinch pots?
Air dry clay is the easiest choice for beginners since it requires no kiln or oven. Terracotta and polymer clay are good options for older kids seeking a more advanced project.
What are common mistakes in pinch pottery?
The most common issues are walls that are too thin (causing cracks) or too thick in one spot (causing uneven drying). Applying steady, even pressure while pinching helps avoid both.
Are pinch pots beginner friendly?
Yes. Pinch pots are considered the most basic clay modeling technique and are a perfect starting point for young children with no prior clay experience.
How can I teach pinch pots to kids?
Start with a simple demonstration of rolling a ball, pressing a center hole, and pinching evenly. Let kids practice at their own pace, and remind them that lopsided first attempts are a normal part of learning.
A Simple Takeaway
Clay modeling pinch pots offer something increasingly rare in a fast-paced digital world: a slow, hands-on activity that rewards patience with a real, tangible result. With nothing more than clay and water, kids build foundational structural thinking that will support them in geometry, engineering, and problem-solving for years to come.
If your child enjoyed this grounding, hands-on project, explore more Earth element activities for patient, foundational learning — or more Water element activities for open-ended, joyful creativity, since this one offers a bit of both.